It’s been a busy few weeks, and I am thrilled to show you the progress!
So, we left off at putting up the trim. I then spent every day off priming, caulking and painting. I was dragging my feet and making excuses for a few days before attempting the wallpaper. After getting a $2,500 quote to hang the paper, I realized I am definitely cheap enough to try to hang it myself, and since the paper is affordable (unlike our Farrow & Ball paper in the primary bath), I figured the risk was worth it.

After watching a lot of videos on YouTube (shout out to Spencer Colgan Wallpaper & Painting, I would be lost without his instruction!), I finally worked up the courage. Per his infinite wisdom, I decided the best place to start was over the kitchen side opening. I went a little cheap with the paper, estimating that since they are 10′ panels, and my ceilings are only 9′, I could use the excess to cover the stretches of the cased openings, saving having to buy enough rolls to cover them. It worked like a charm!
First panel, I thought, “um, is it really this easy??” And then panel two…. I had to do my first match while simultaneously doing my first corner…. Tears were shed. Lots of them. And when Austin didn’t answer his phone, I sucked it up and found a roll of painter’s tape for an extra set of hands. I made changes for the next corner, for sure.
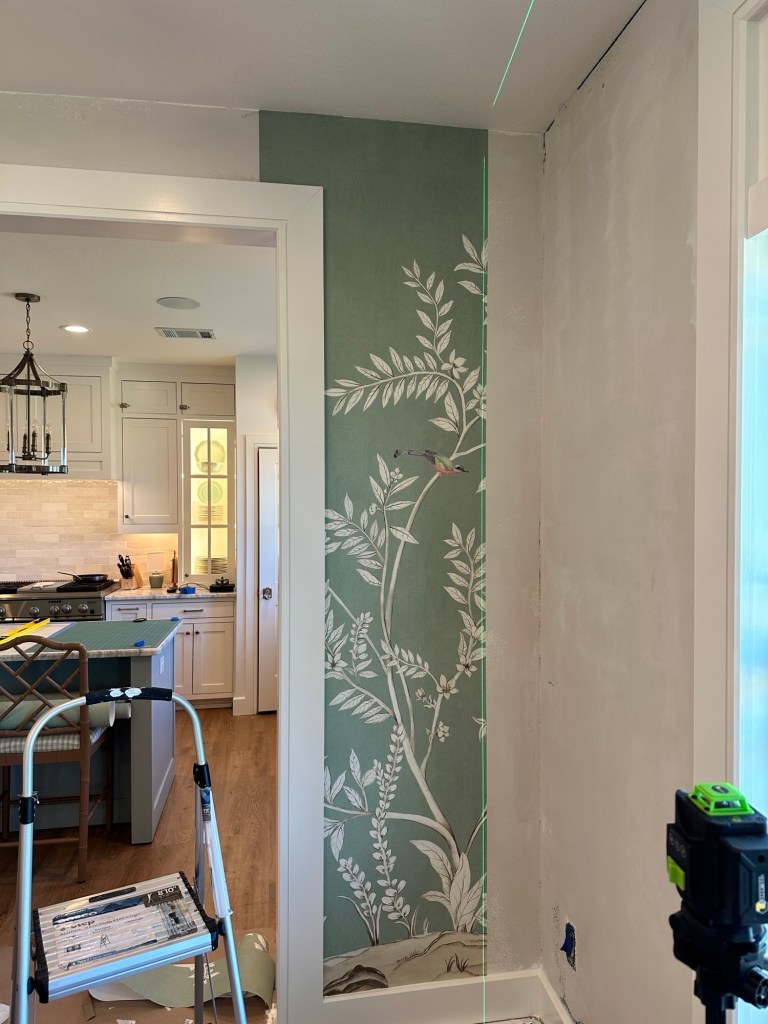
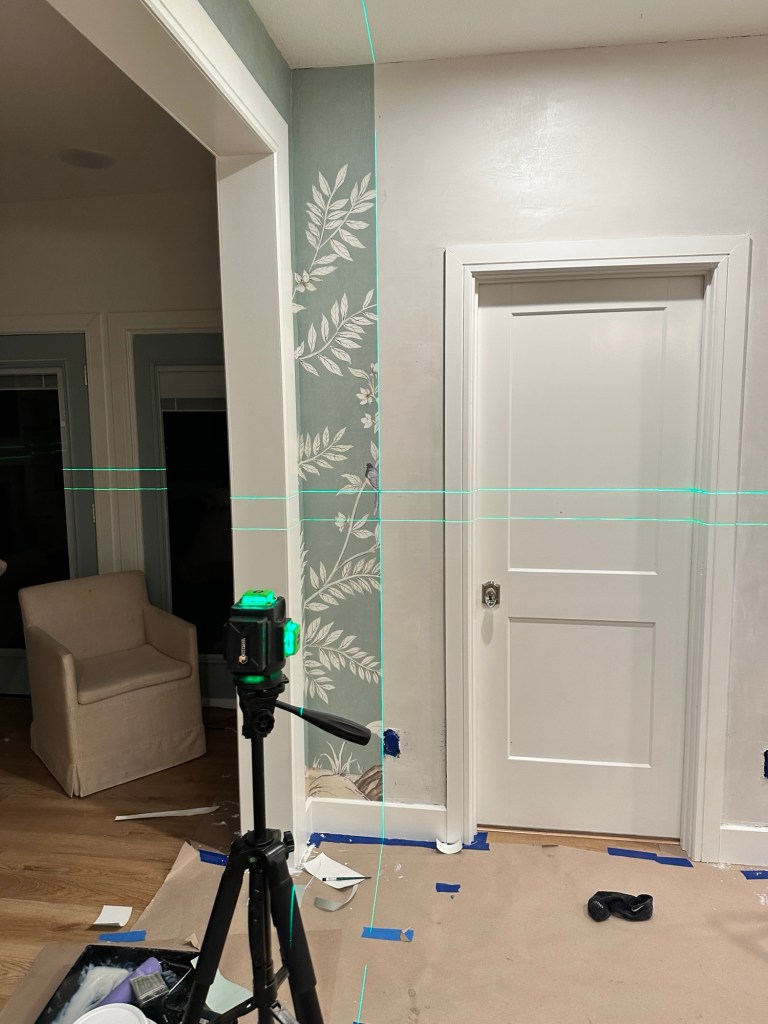
Pro Tip: I found it easier to do a corner if you only paste one part of the wall at a time. So, most of the time I pasted matching wall, then cut the paper, then pasted the adjoining wall. The third corner I chose to do backward, since it was such a small space and the panel needed to be level with no reference point.
Which brings me to my next Pro Tip: get a laser level!! It was the real MVP of this project. Since there were three areas where the pattern would have to line up without a reference point (i.e., on either sides of the window, and the cased openings), the laser level saved the day. It has both vertical and horizontal lines, and the satisfaction of having all the blue birds line up on the horizontal line is a dopamine hit like no other. So. Satisfying.
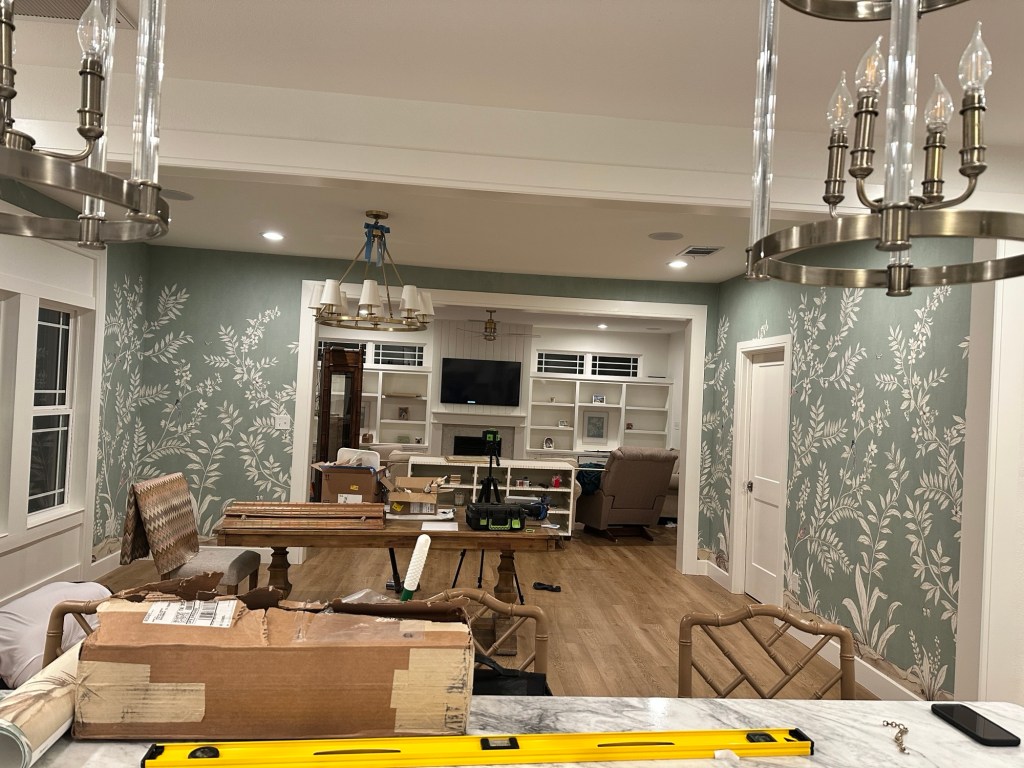
This project took 14 hours over two days. And while I could point out every area of mistake, I am proud to have completed this by myself! I took the paper to Home Depot to be color matched to fix some spots where I cut the top too short, or made scratches in the paper. Is it visible in the right light? Yes. Is it visible under the lights I’d have on for guests? Not really. I can live with that.


Don’t be afraid to step out of your comfort zone, you can learn anything!
xo, Amanda
Discover more from The House on Ladd
Subscribe to get the latest posts sent to your email.
