A Jewel Tone Thanksgiving 2023

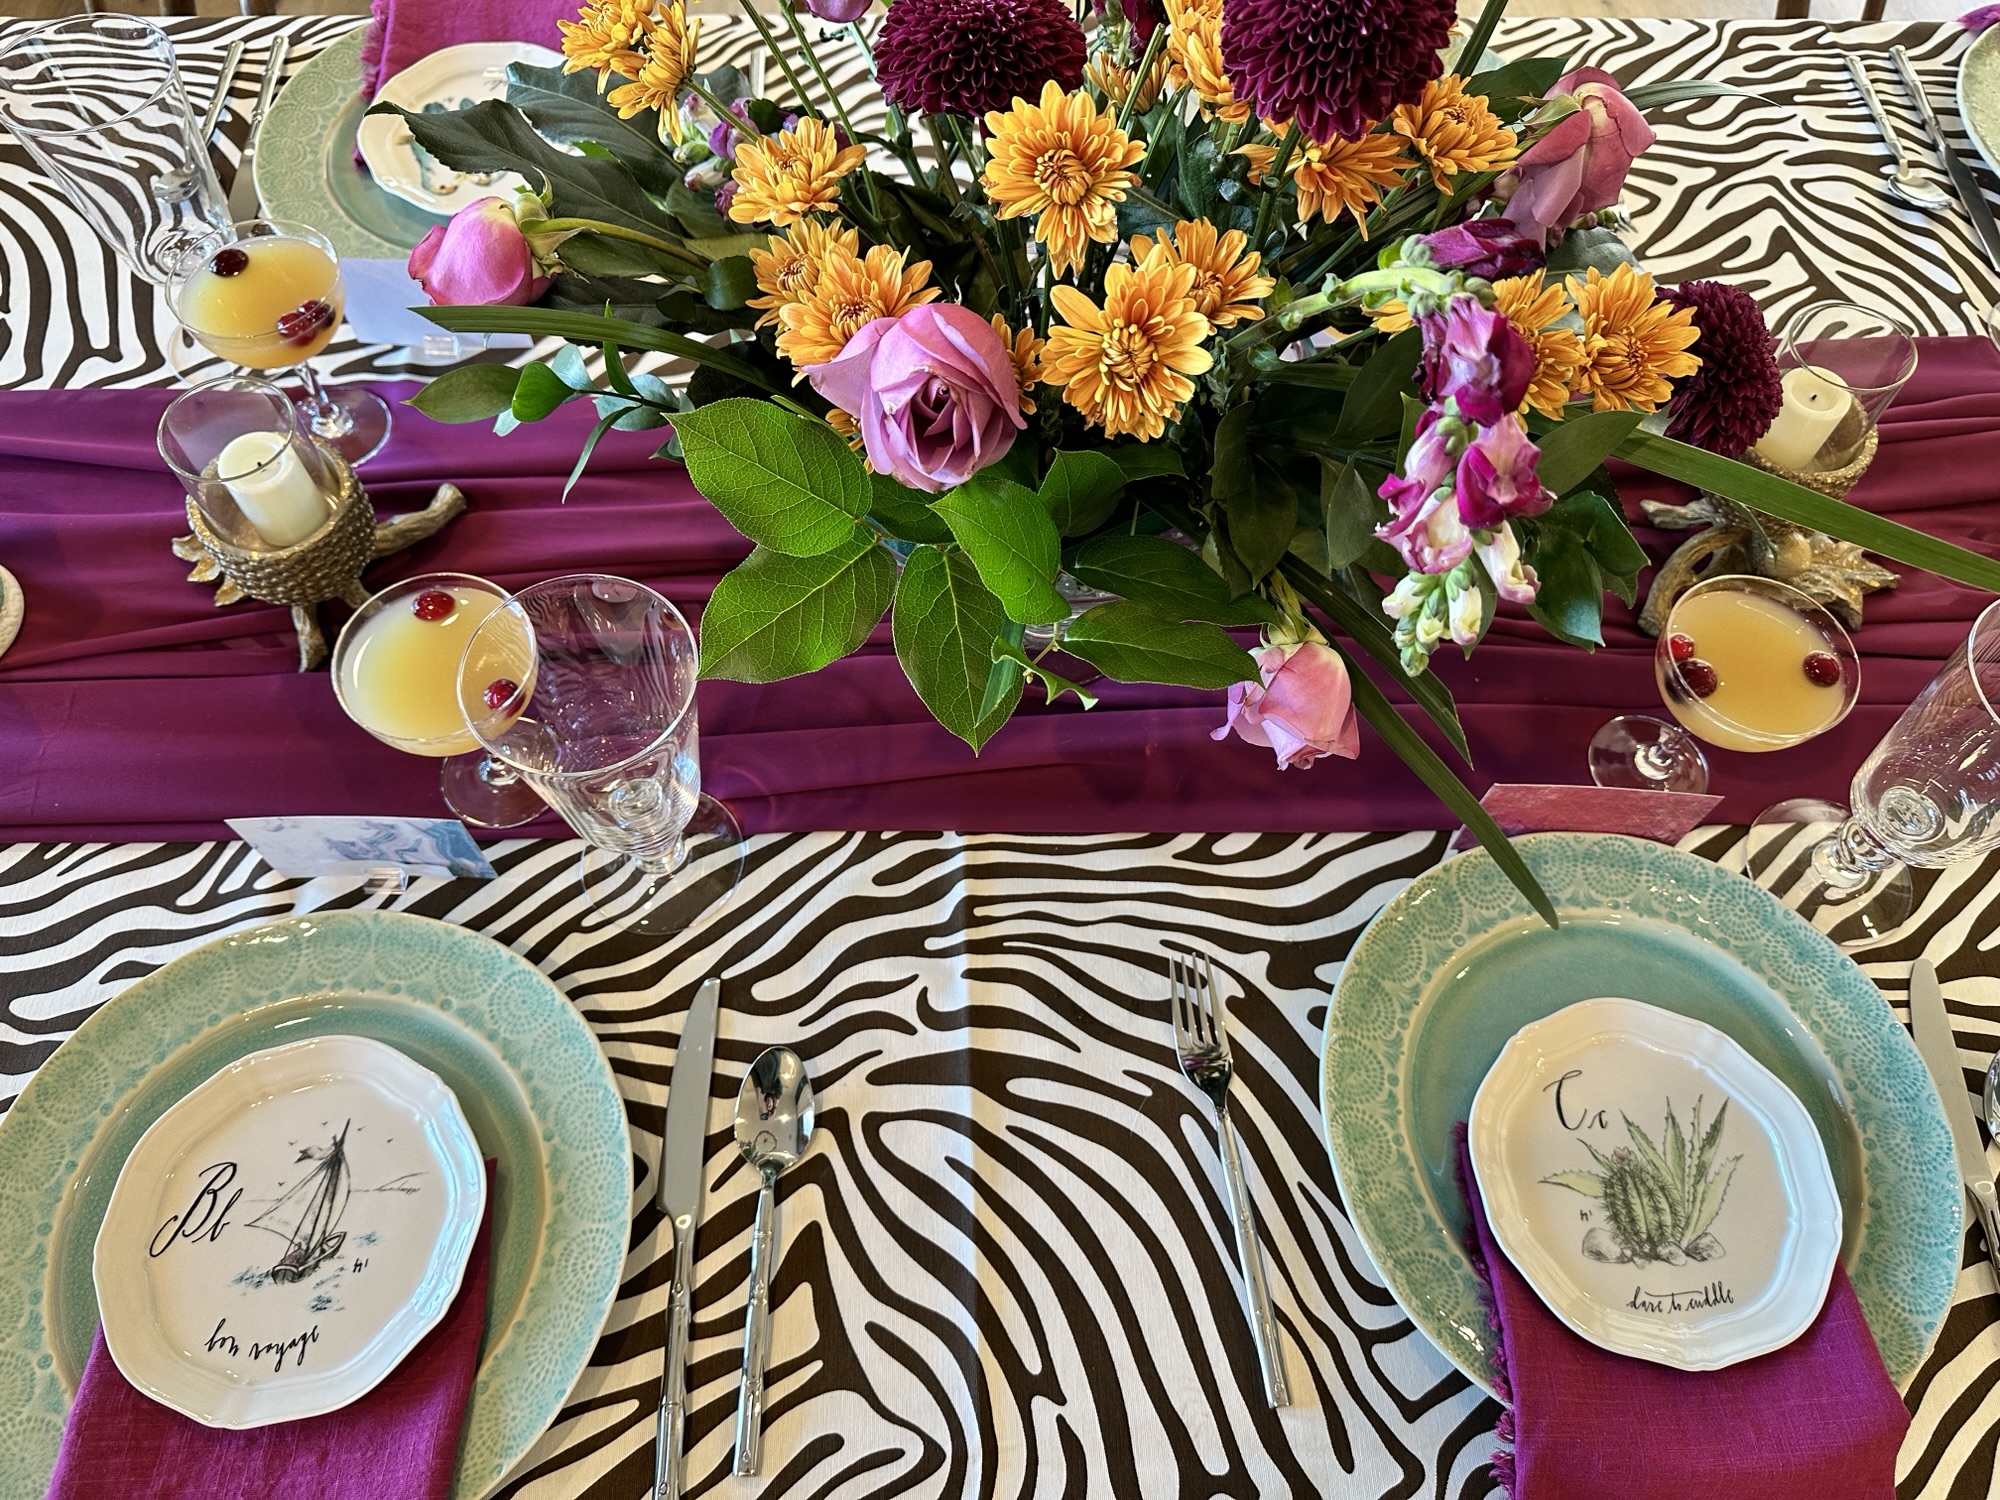
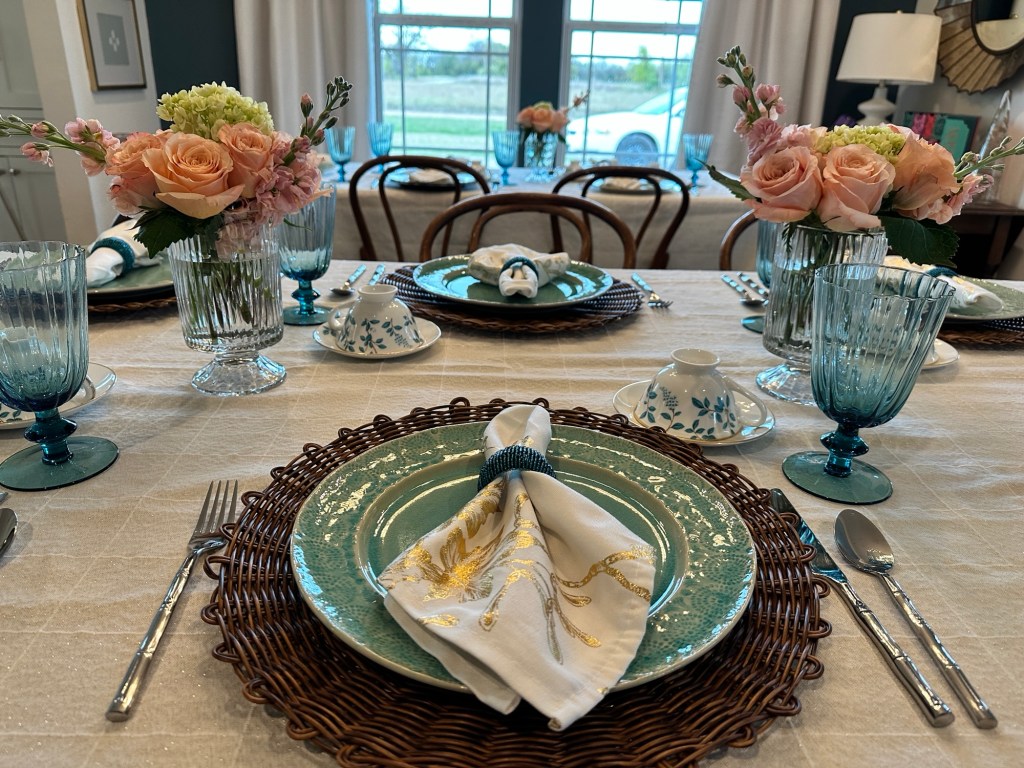
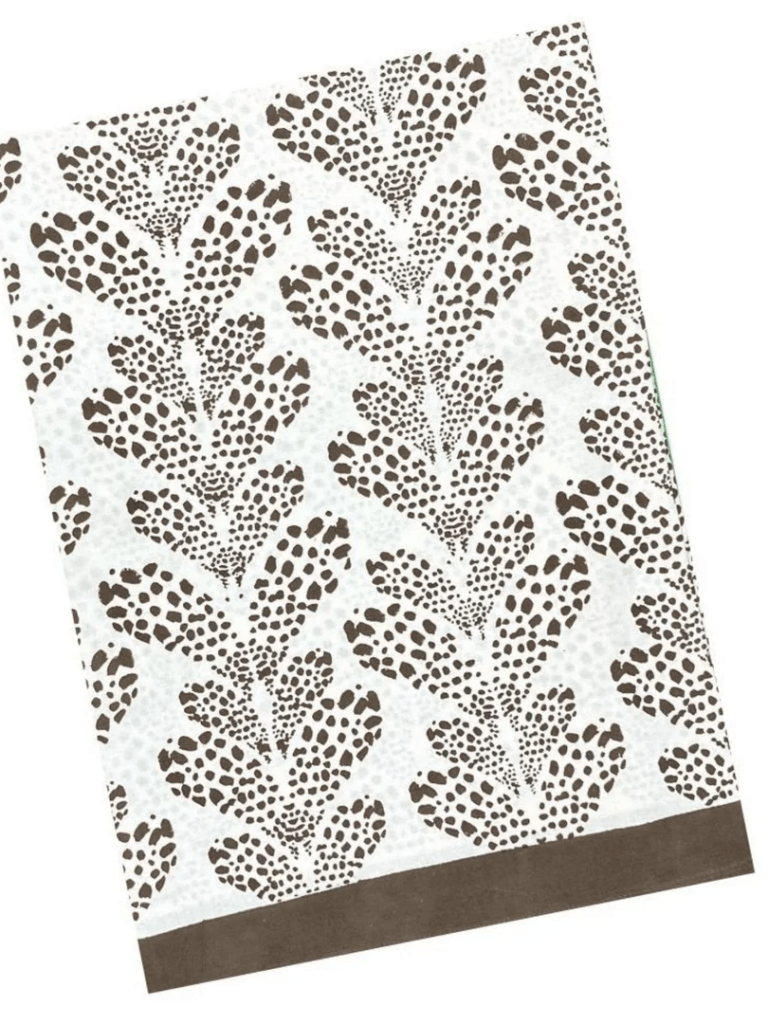
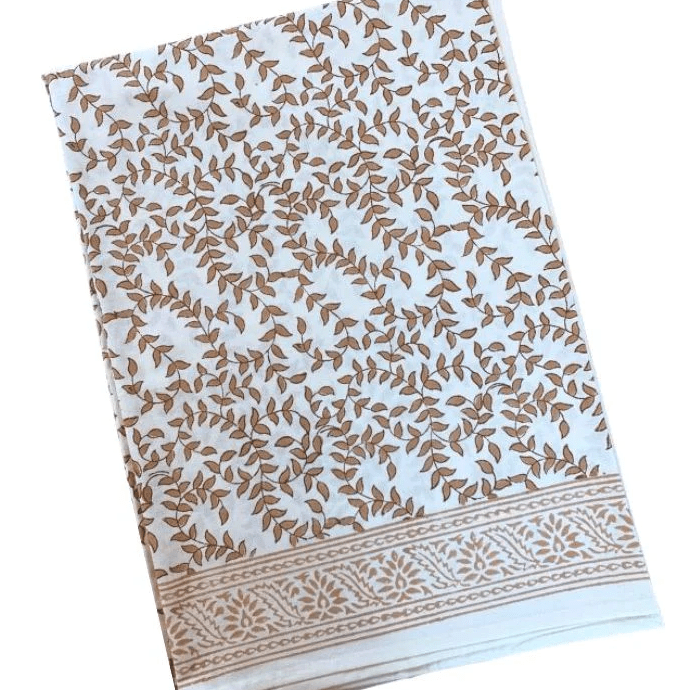
I love to host Thanksgiving! I love the planning, the prep, and most of all: the table scape! When planning for this year’s table, I could not get the brown zebra tablecloth from Mrs. Alice out of my head. The second it went on sale I snatched it up! Who even am I?

That tablecloth has sold out, but here are some similar options.


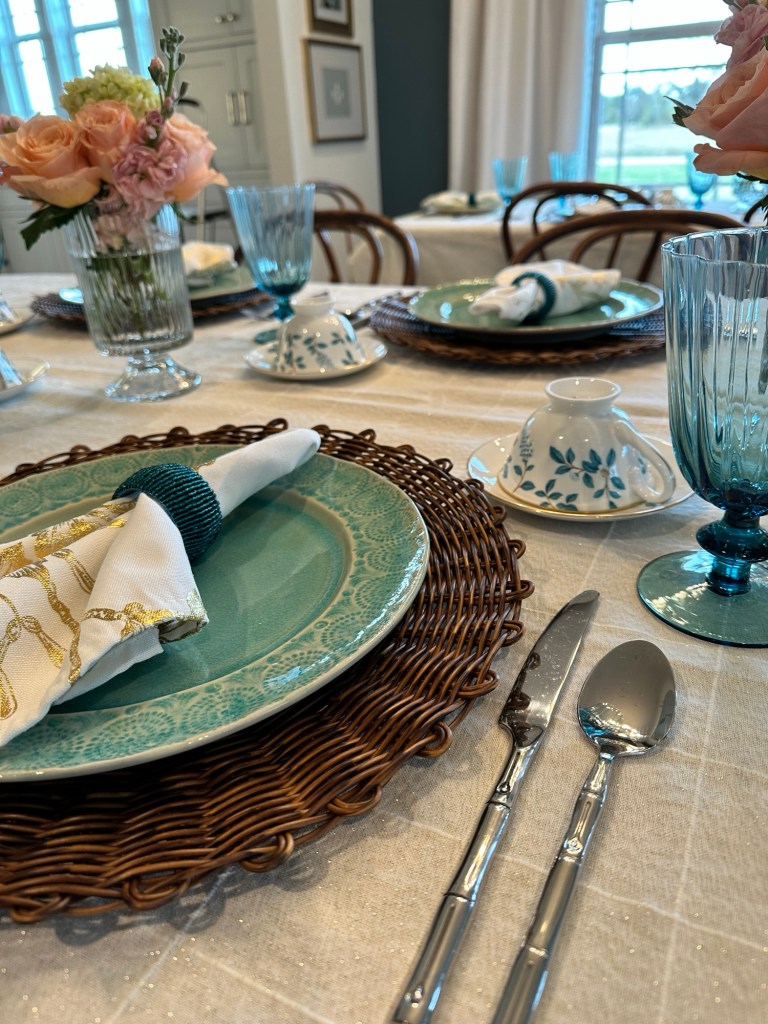
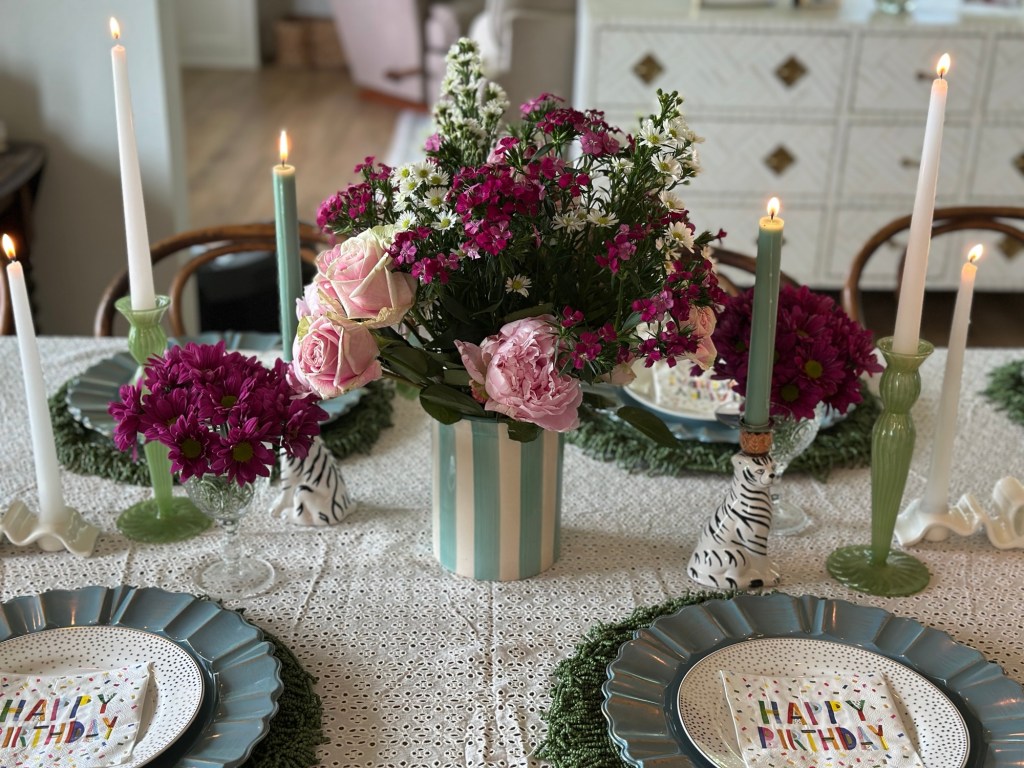
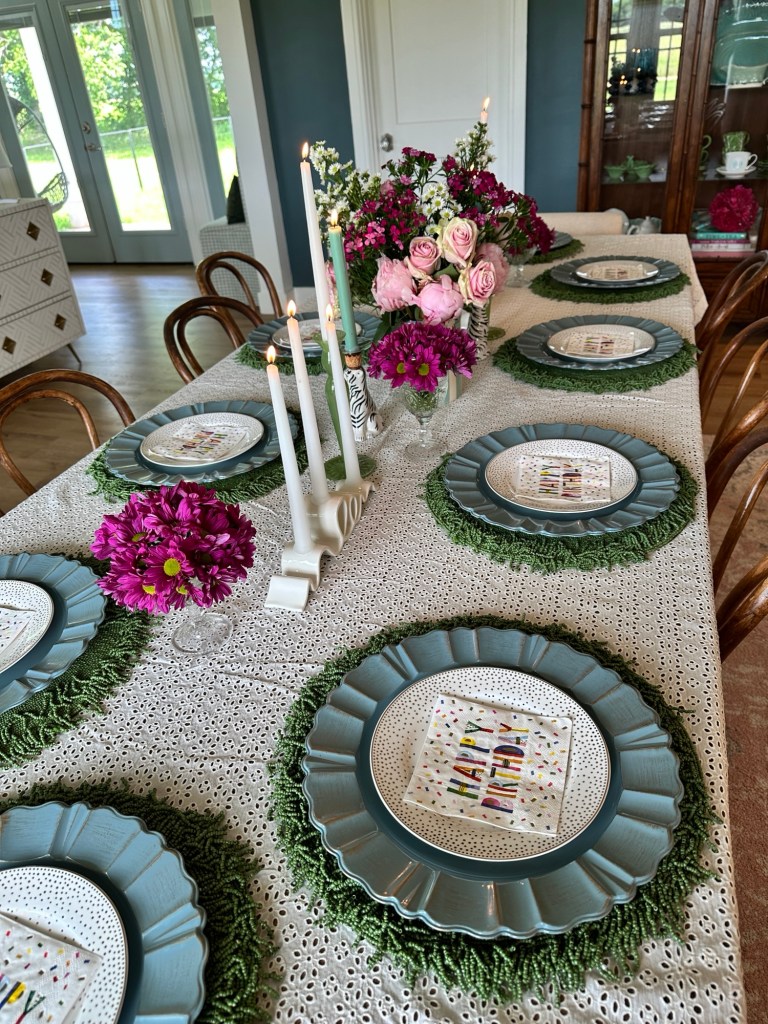
My “wedding china,” if you will, is the mint Old Havana line from Anthropologie. I say that because Anthro started doing wedding registries a month after I got married… So I would buy myself a few plates during sales or with extra money I had saved, and now have enough dinner and salad plates for 14! I love how the mint goes with so many color schemes. Mint and Lime, Mint and Red, Mint and… Fuchsia!


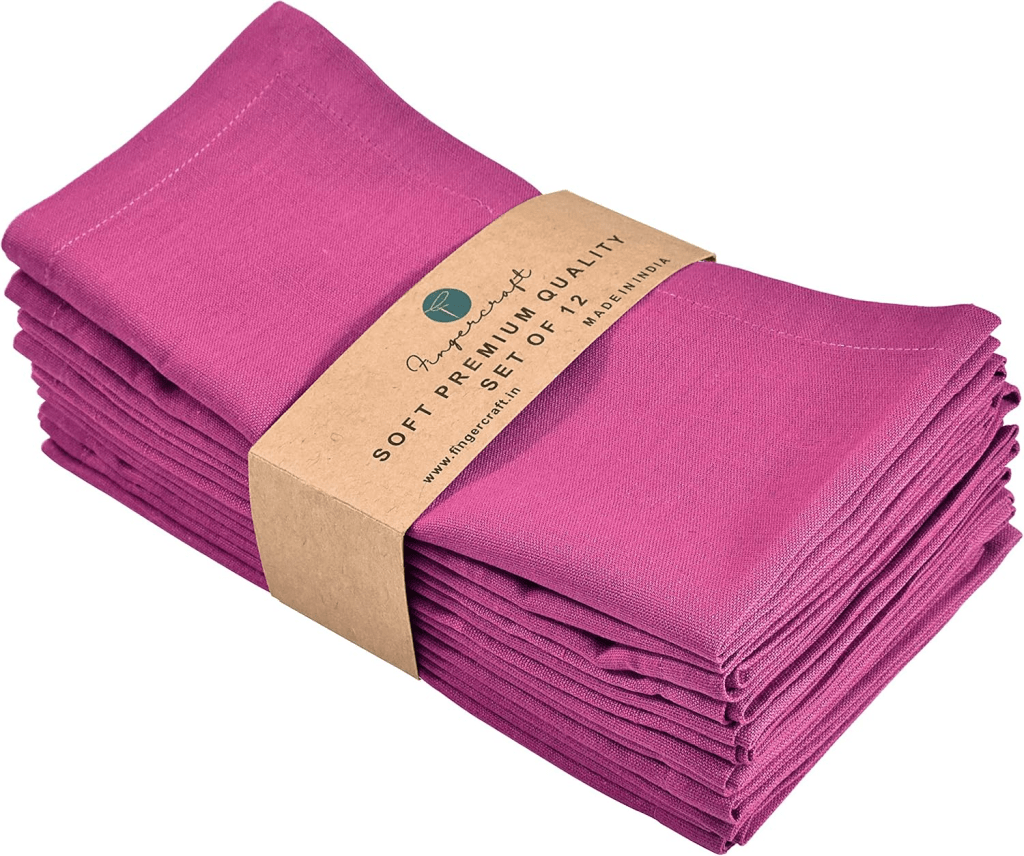
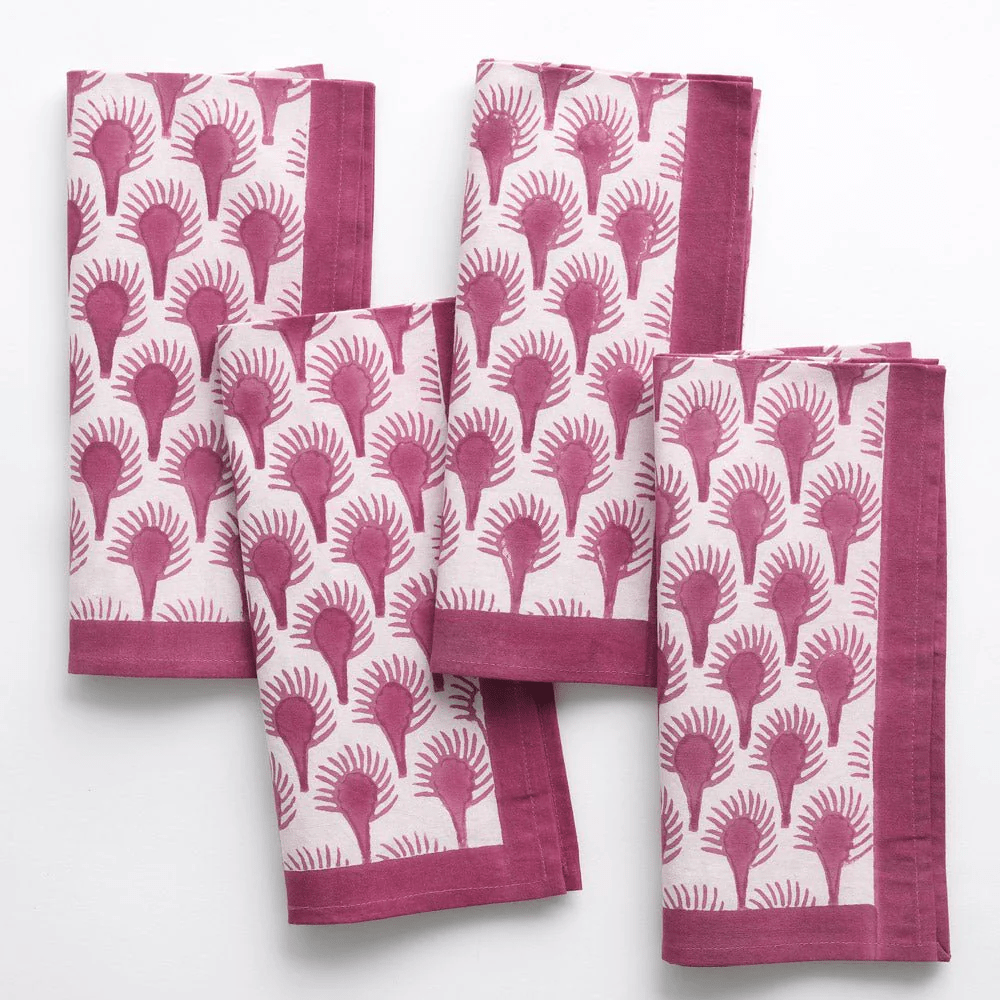
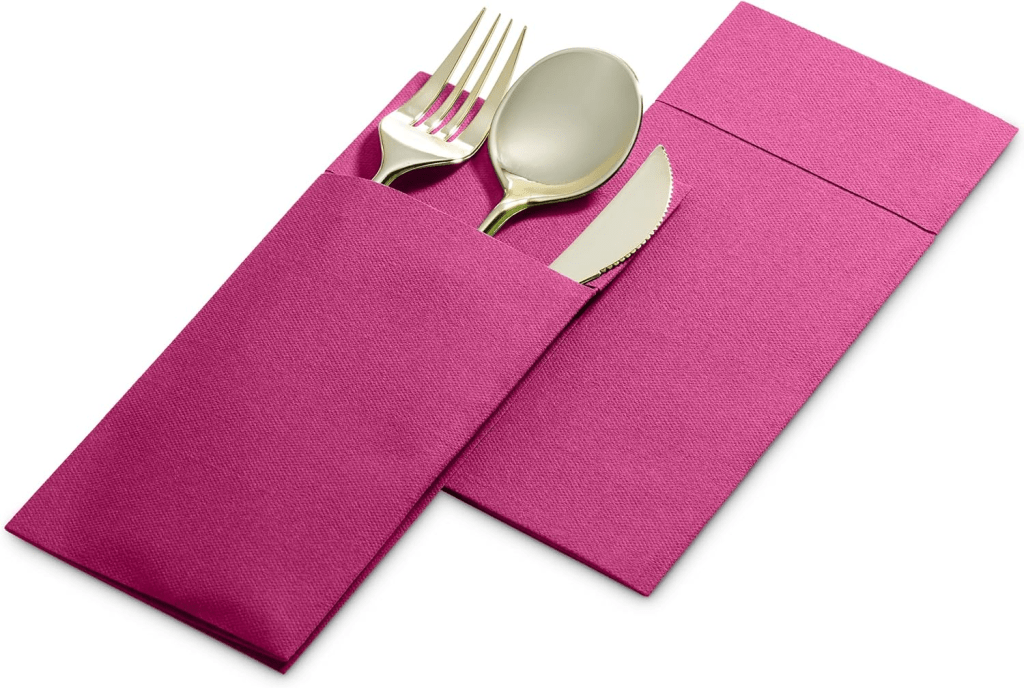
Bam! There it was, the most gorgeous combo for a fall table: Brown, Mint and Fuchsia. I immediately began the search for napkins. I love World Market napkins, so that’s where I went first. They had the fuchsia I was looking for. I linked a few different options, including disposable if that’s your flavor, below.

While looking around, I saw these adorable Table Dare cards from Anthropologie. I loved this idea! Since I had more guests than cards, I opted to make my own. I scoured the internet for appropriate, and non-humiliating dares (which was a little hard to find) and came up with the rest.

“Recite a Haiku about your favorite Thanksgiving side dish”

“Place a roll in your mouth and let Finn [my dog] take a bite.”

“Draw a turkey using either your teeth or your toes.”

We had so much fun with these!

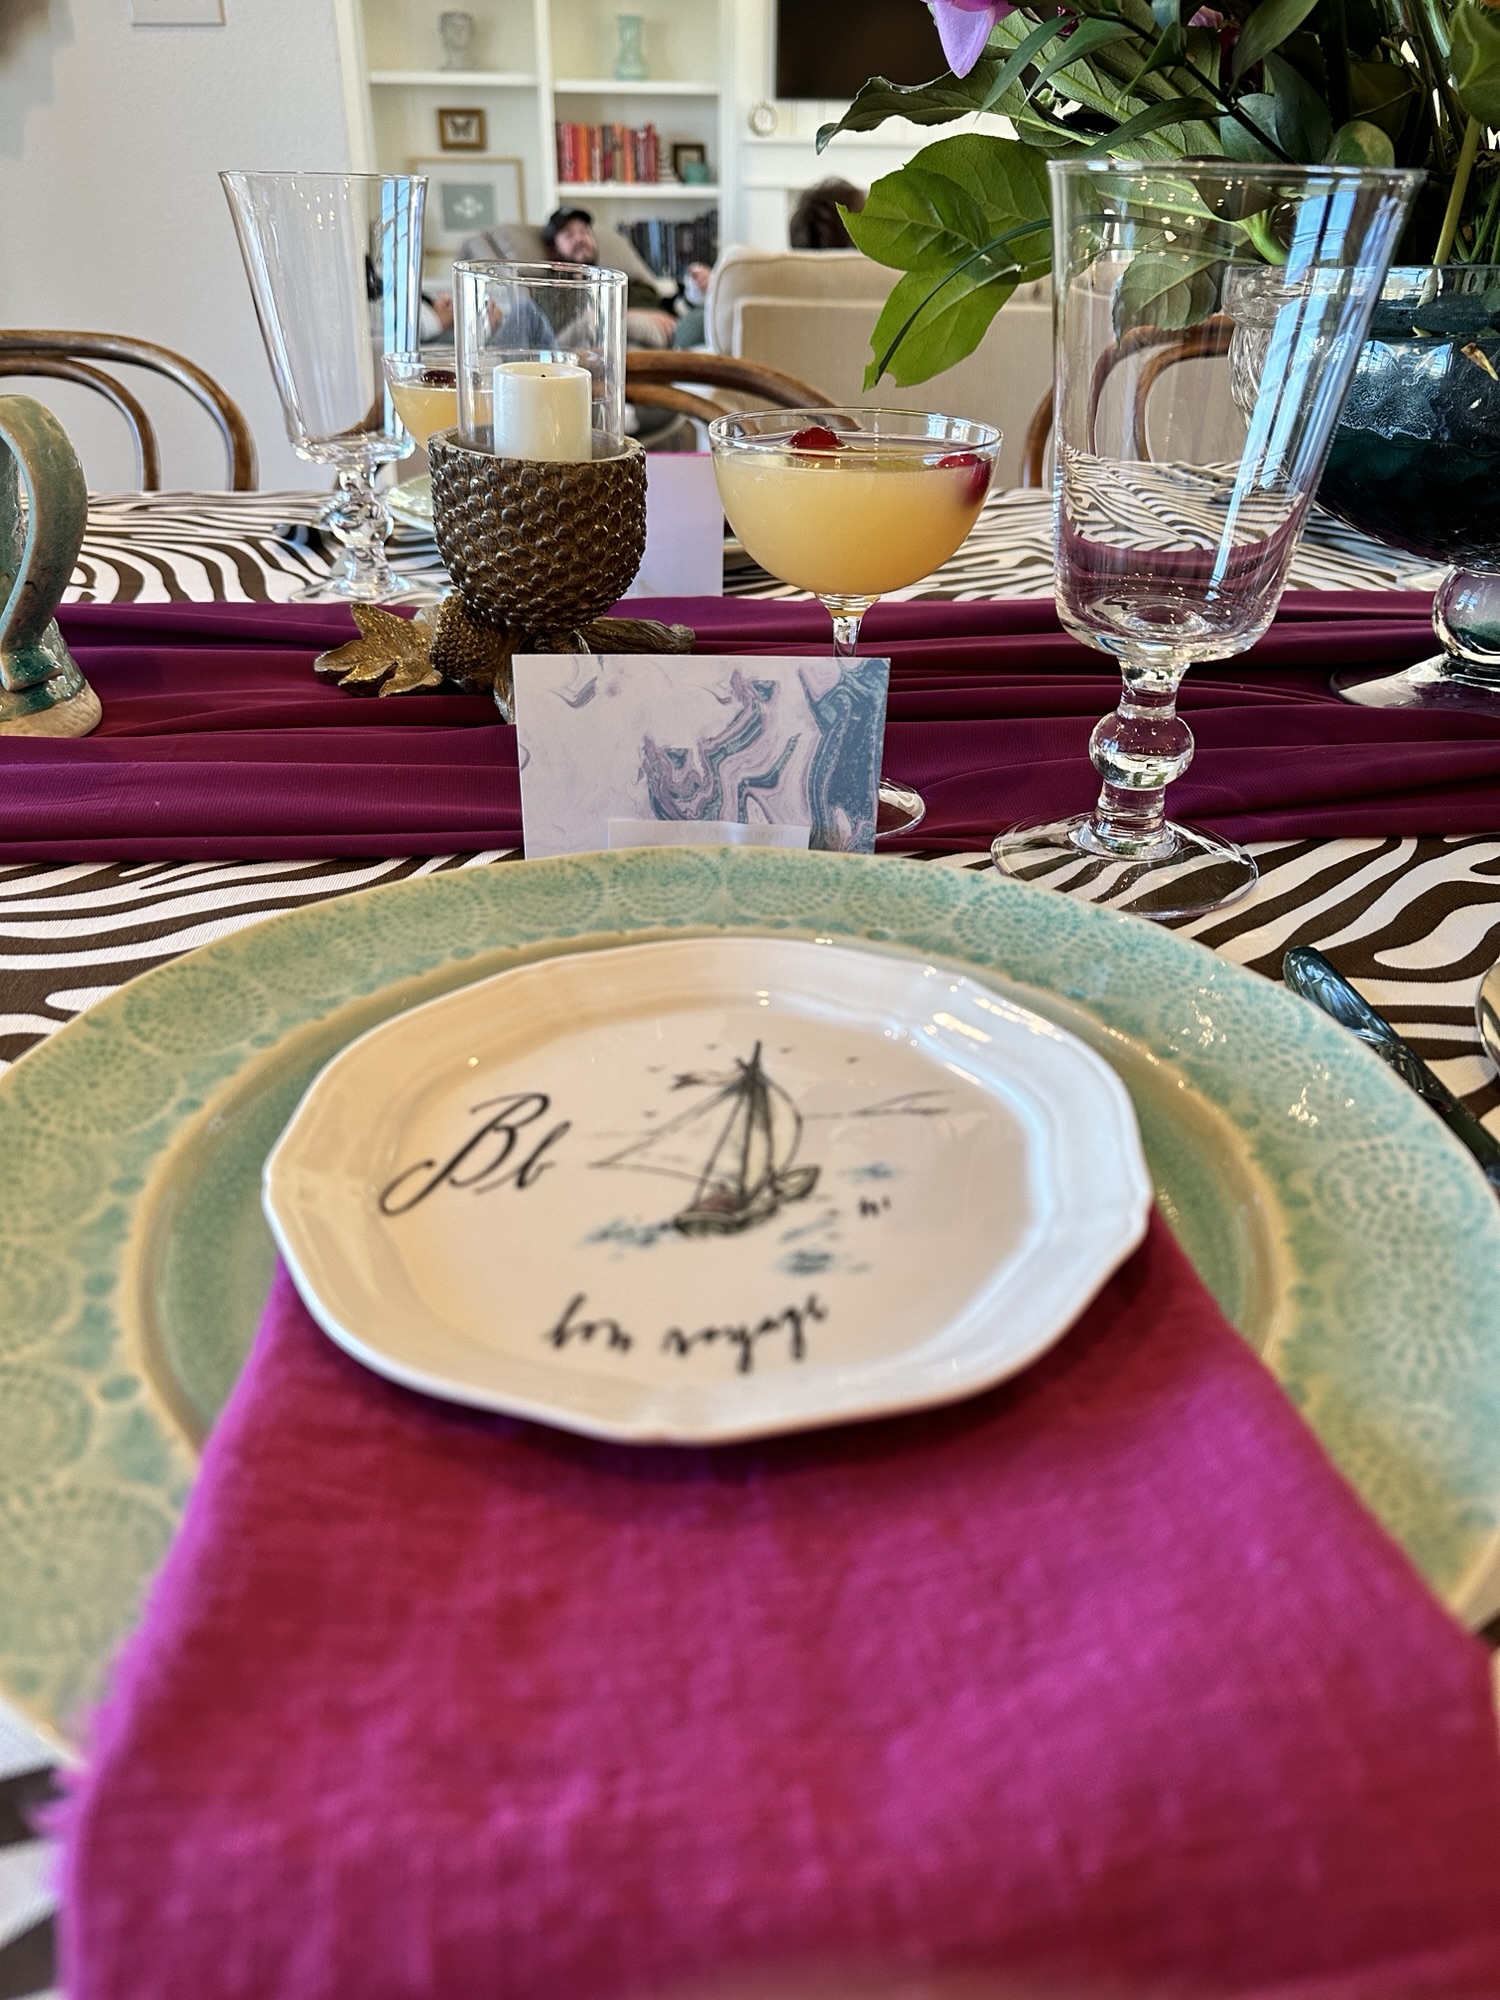
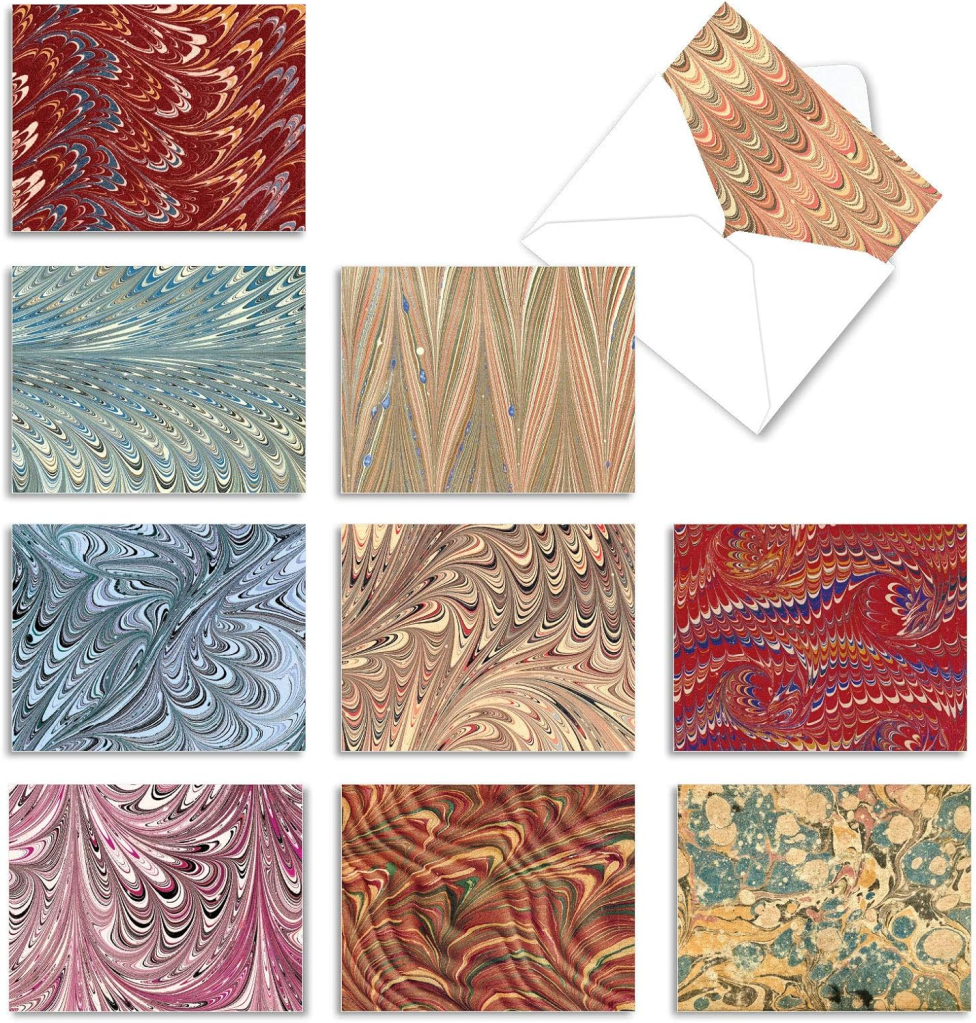
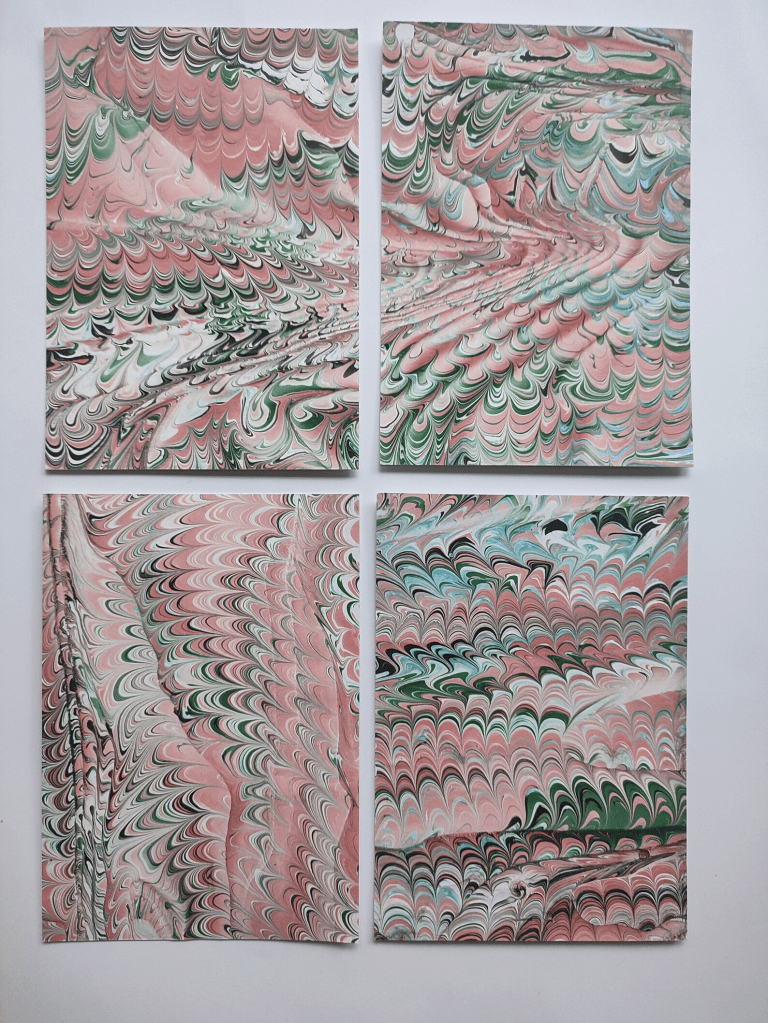
I attached them to place cards made from marbled paper and dispersed them randomly (making sure that the ones for guests or older family members were the easiest and least humiliating, of course). Then I made sure no one peeked before it was time to play. I love the way the marbled paper adds a little more texture to the table.

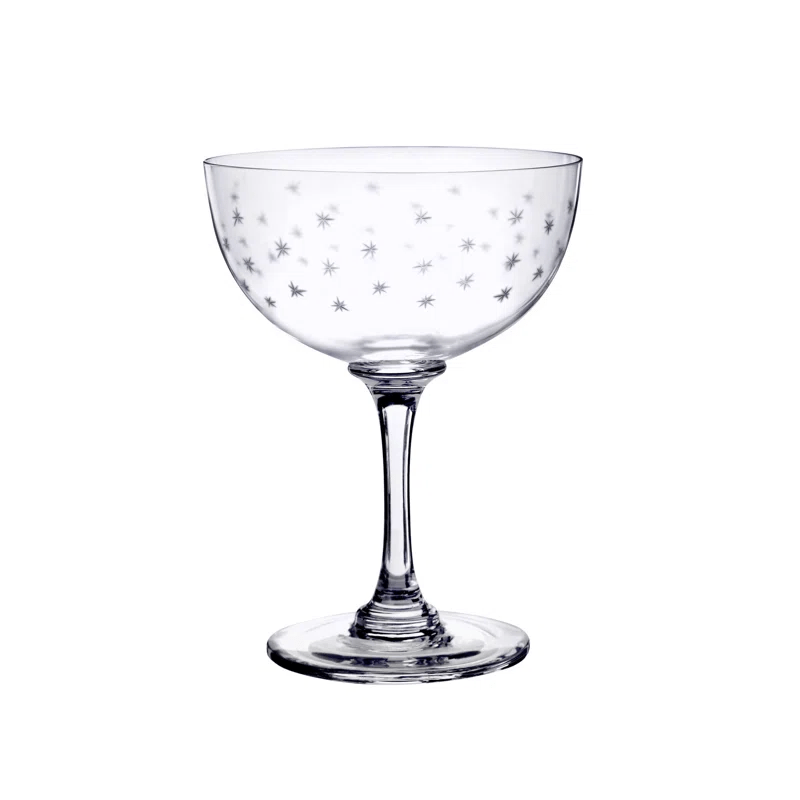
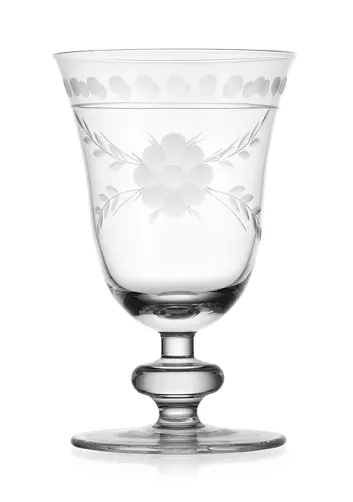
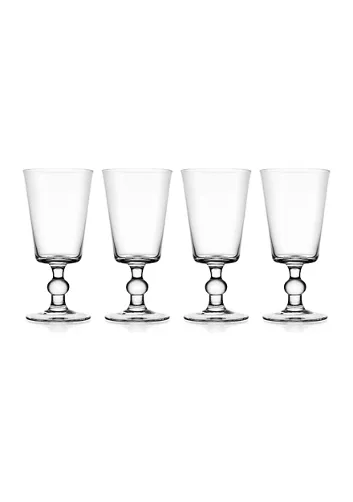
I added little coupe glasses, also from Mrs. Alice, with little stars etched on them. They are so adorable pared with my favorite goblets from Belk. And how perfect are these dessert plates from Anthropologie!? They have long since been discontinued, but I’ve found some on FB Marketplace and eBay over the years. You can collect the whole alphabet!

My coworker was kind enough to make the floral arraignment for me. Thanks, Katie! It was so good until I had to rush home for an emergency, causing the flowers to dump over in my car… While cleaning my car, I sat the container on the floor and my dog Daisy ATE MY HYDRANGEAS. Well, didn’t eat them, per se, but they were shredded. Why?? So I had to adjust them the next day sans the hydrangeas.

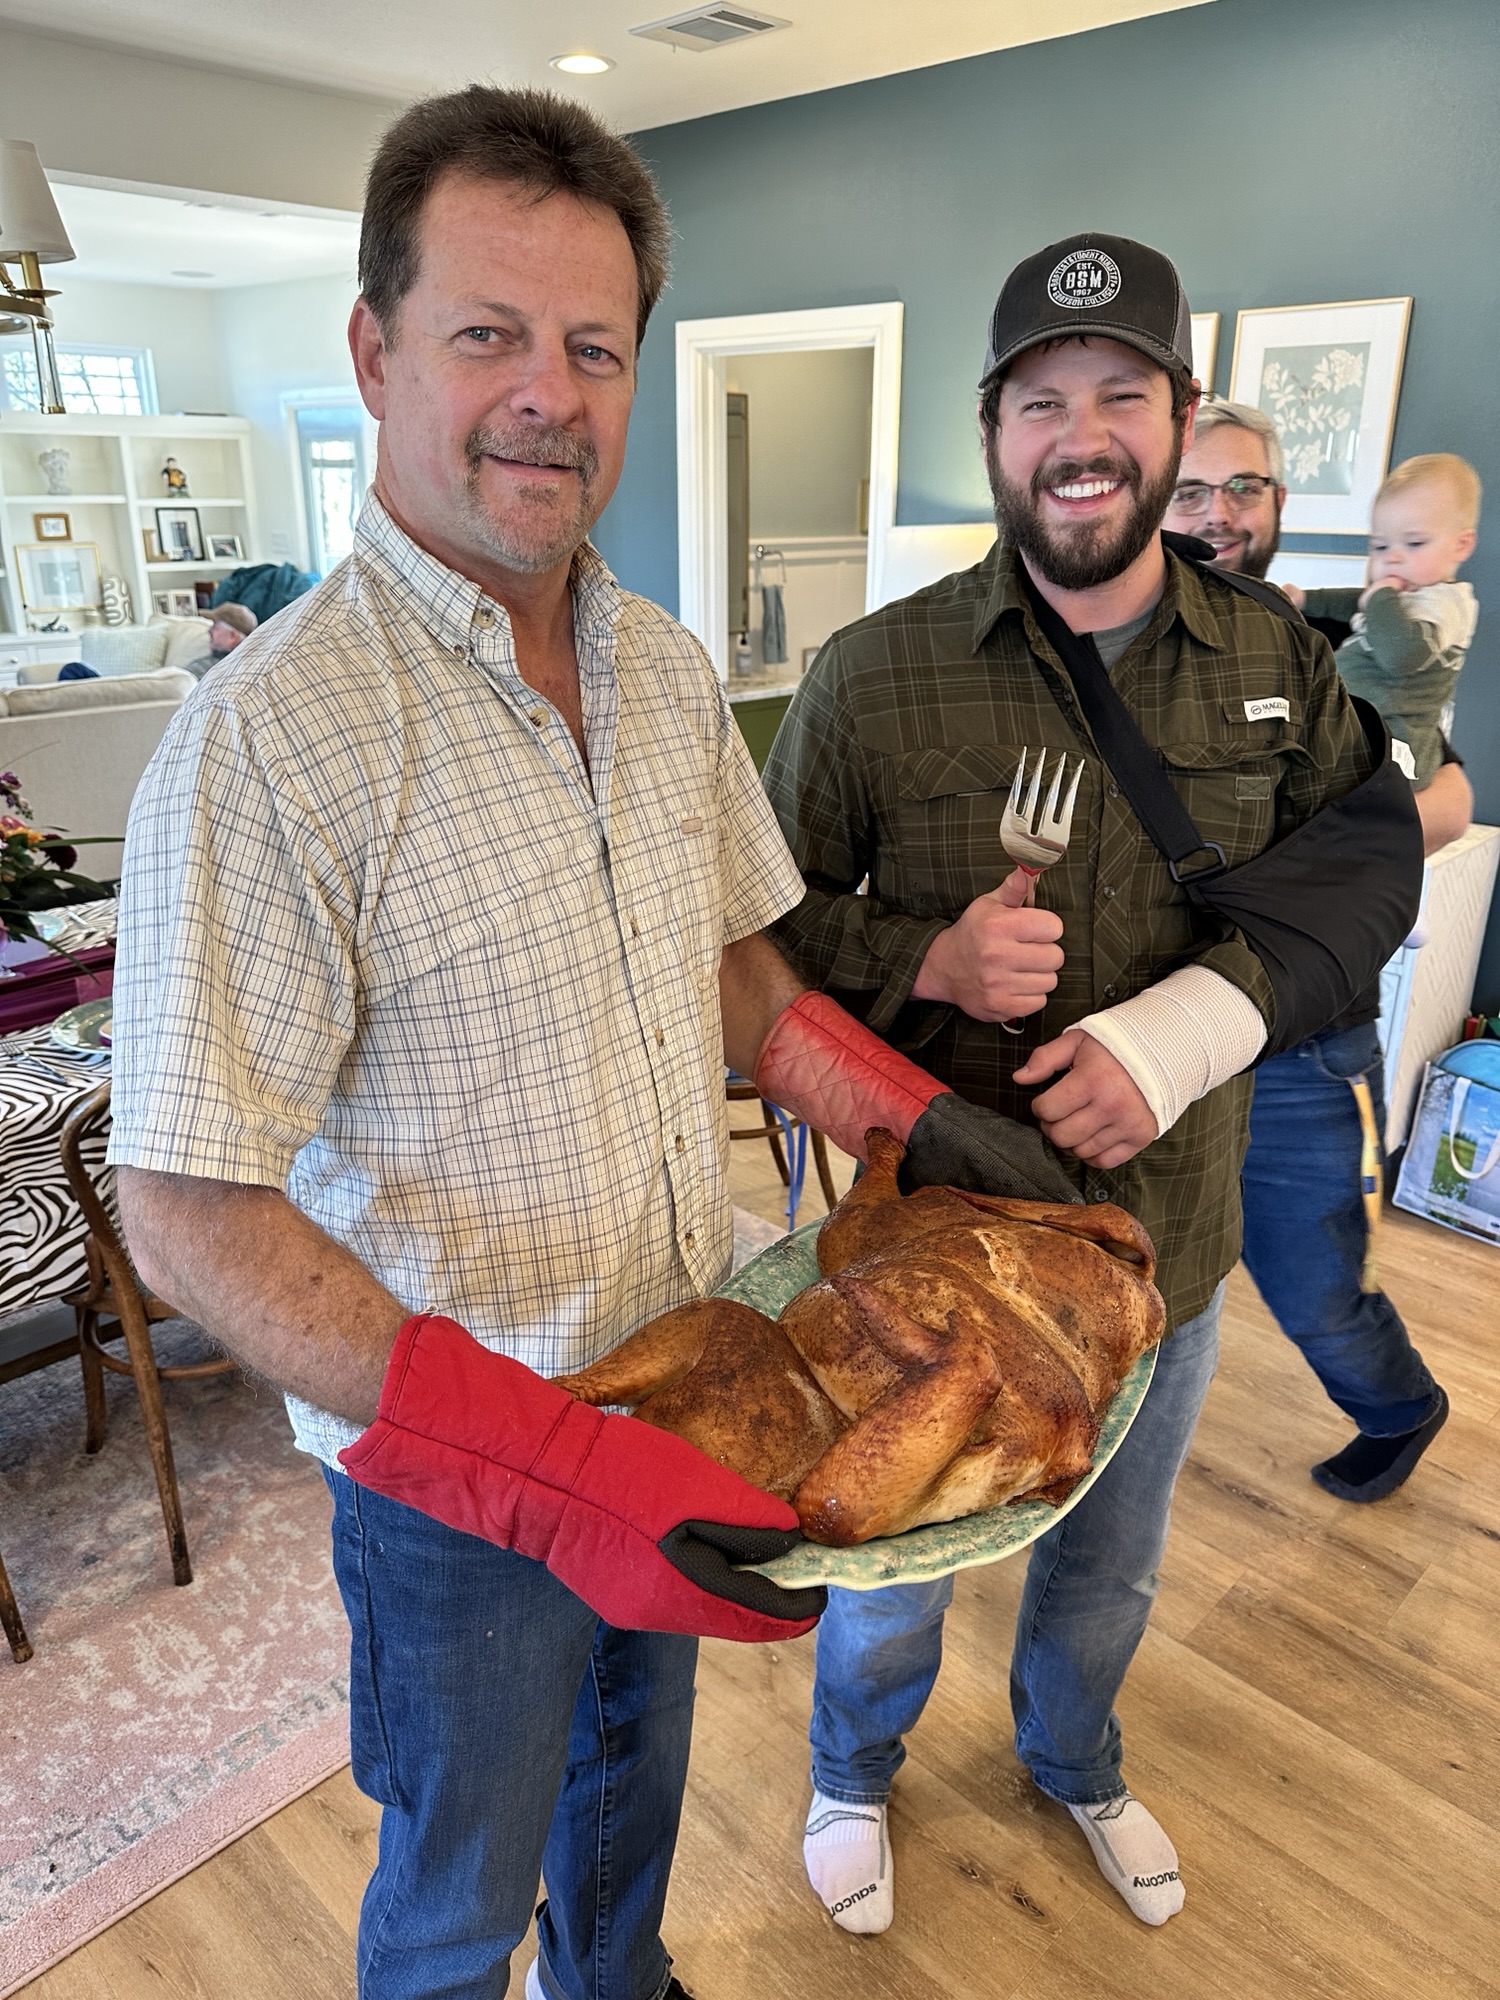
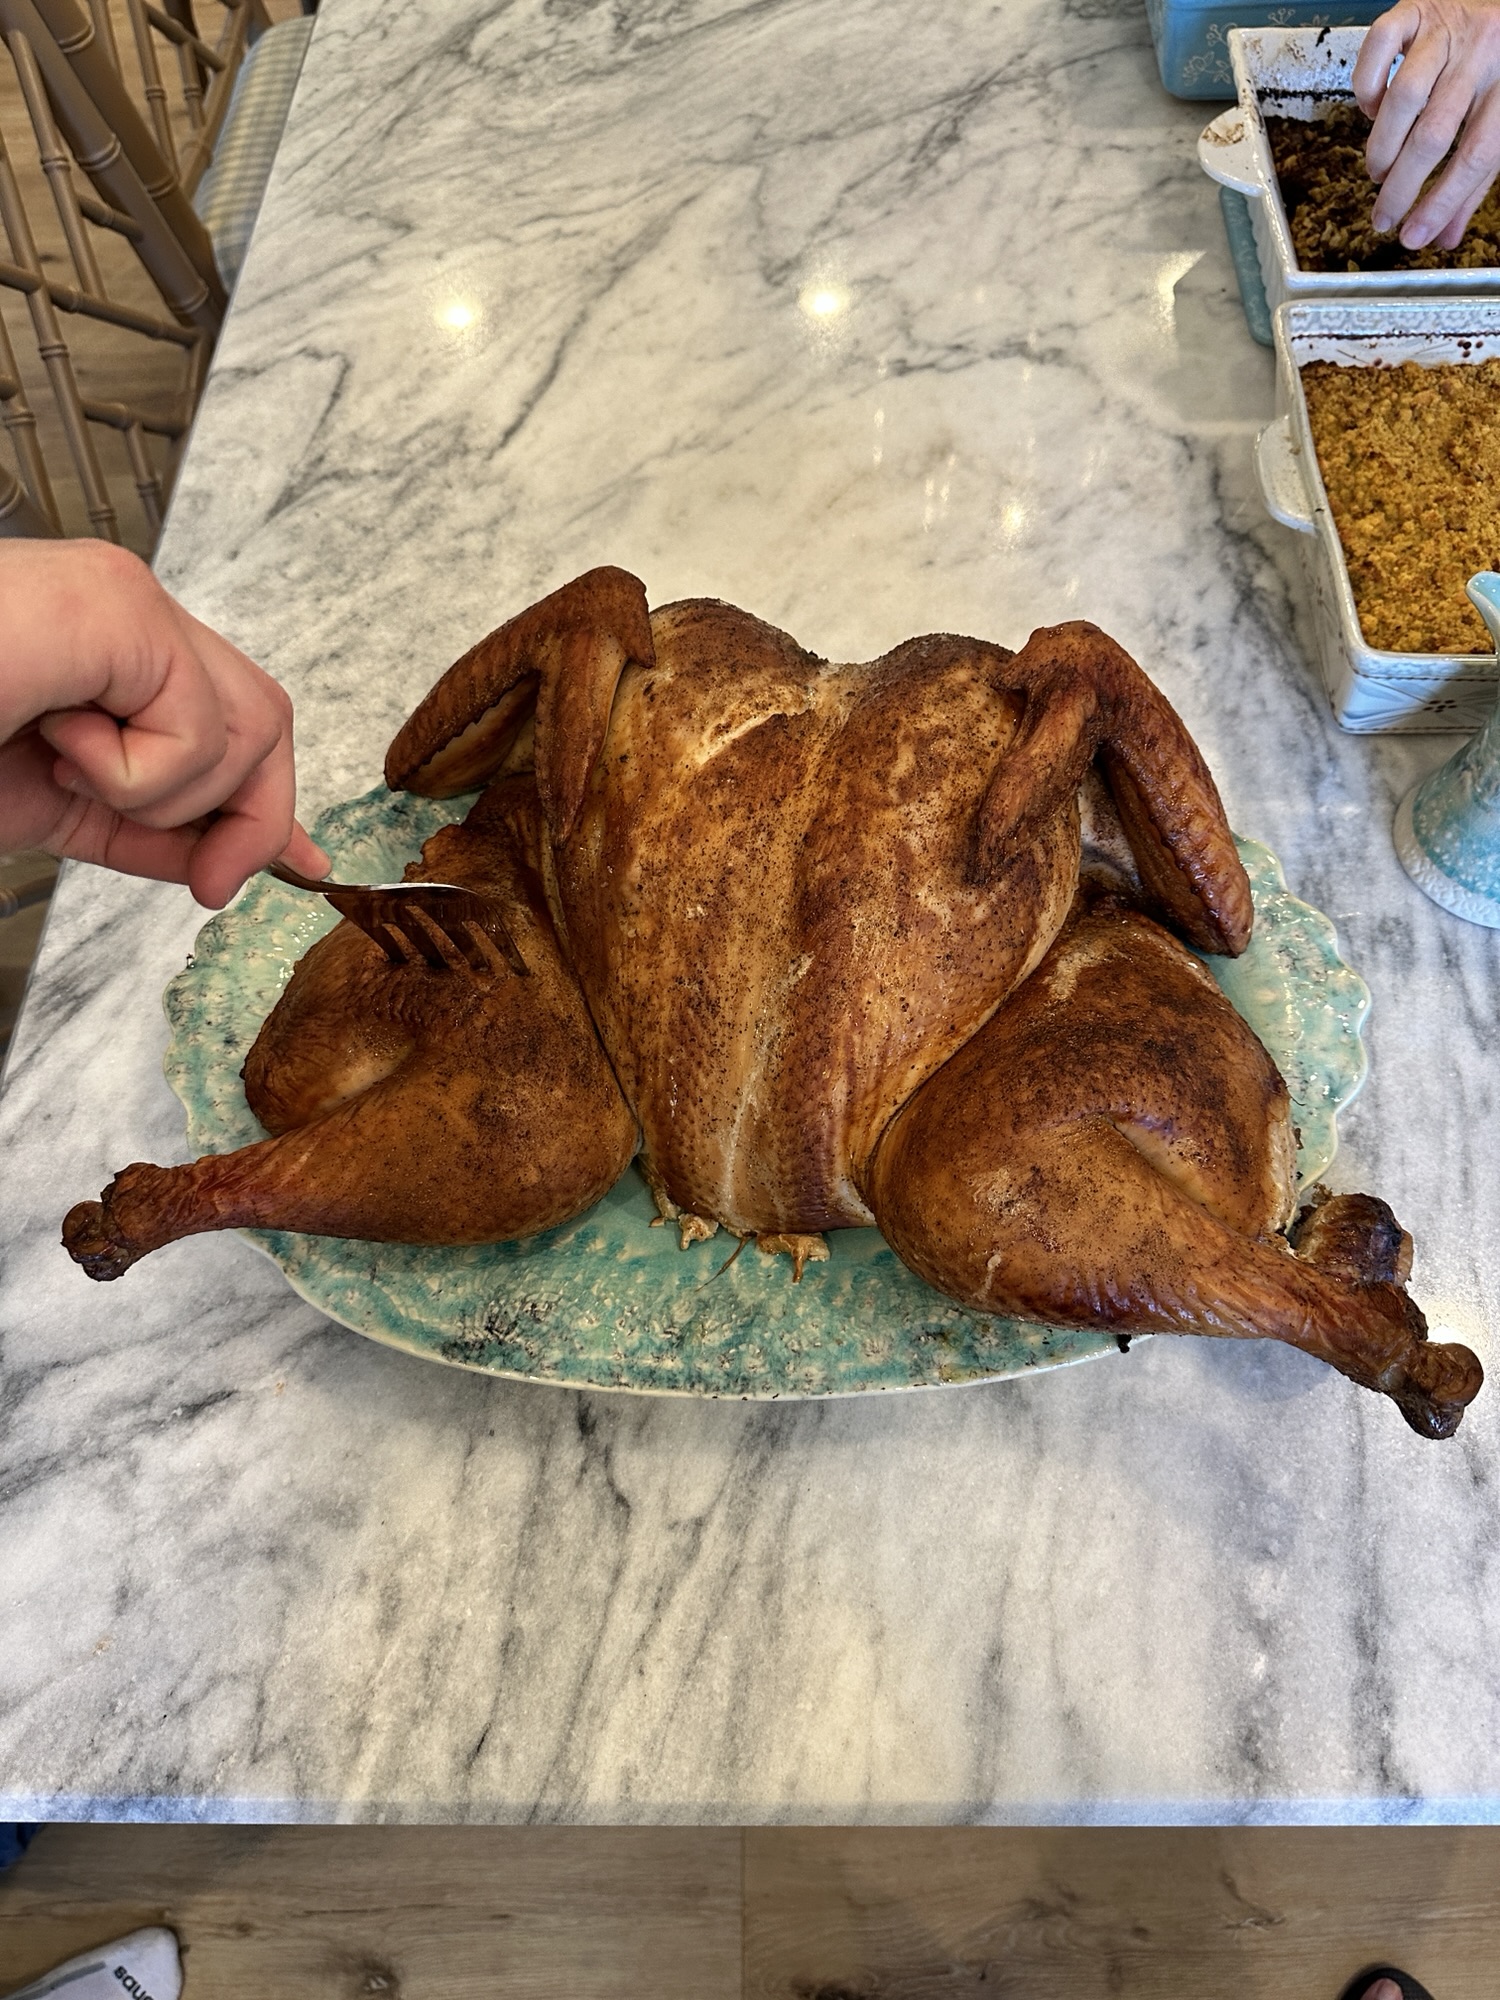
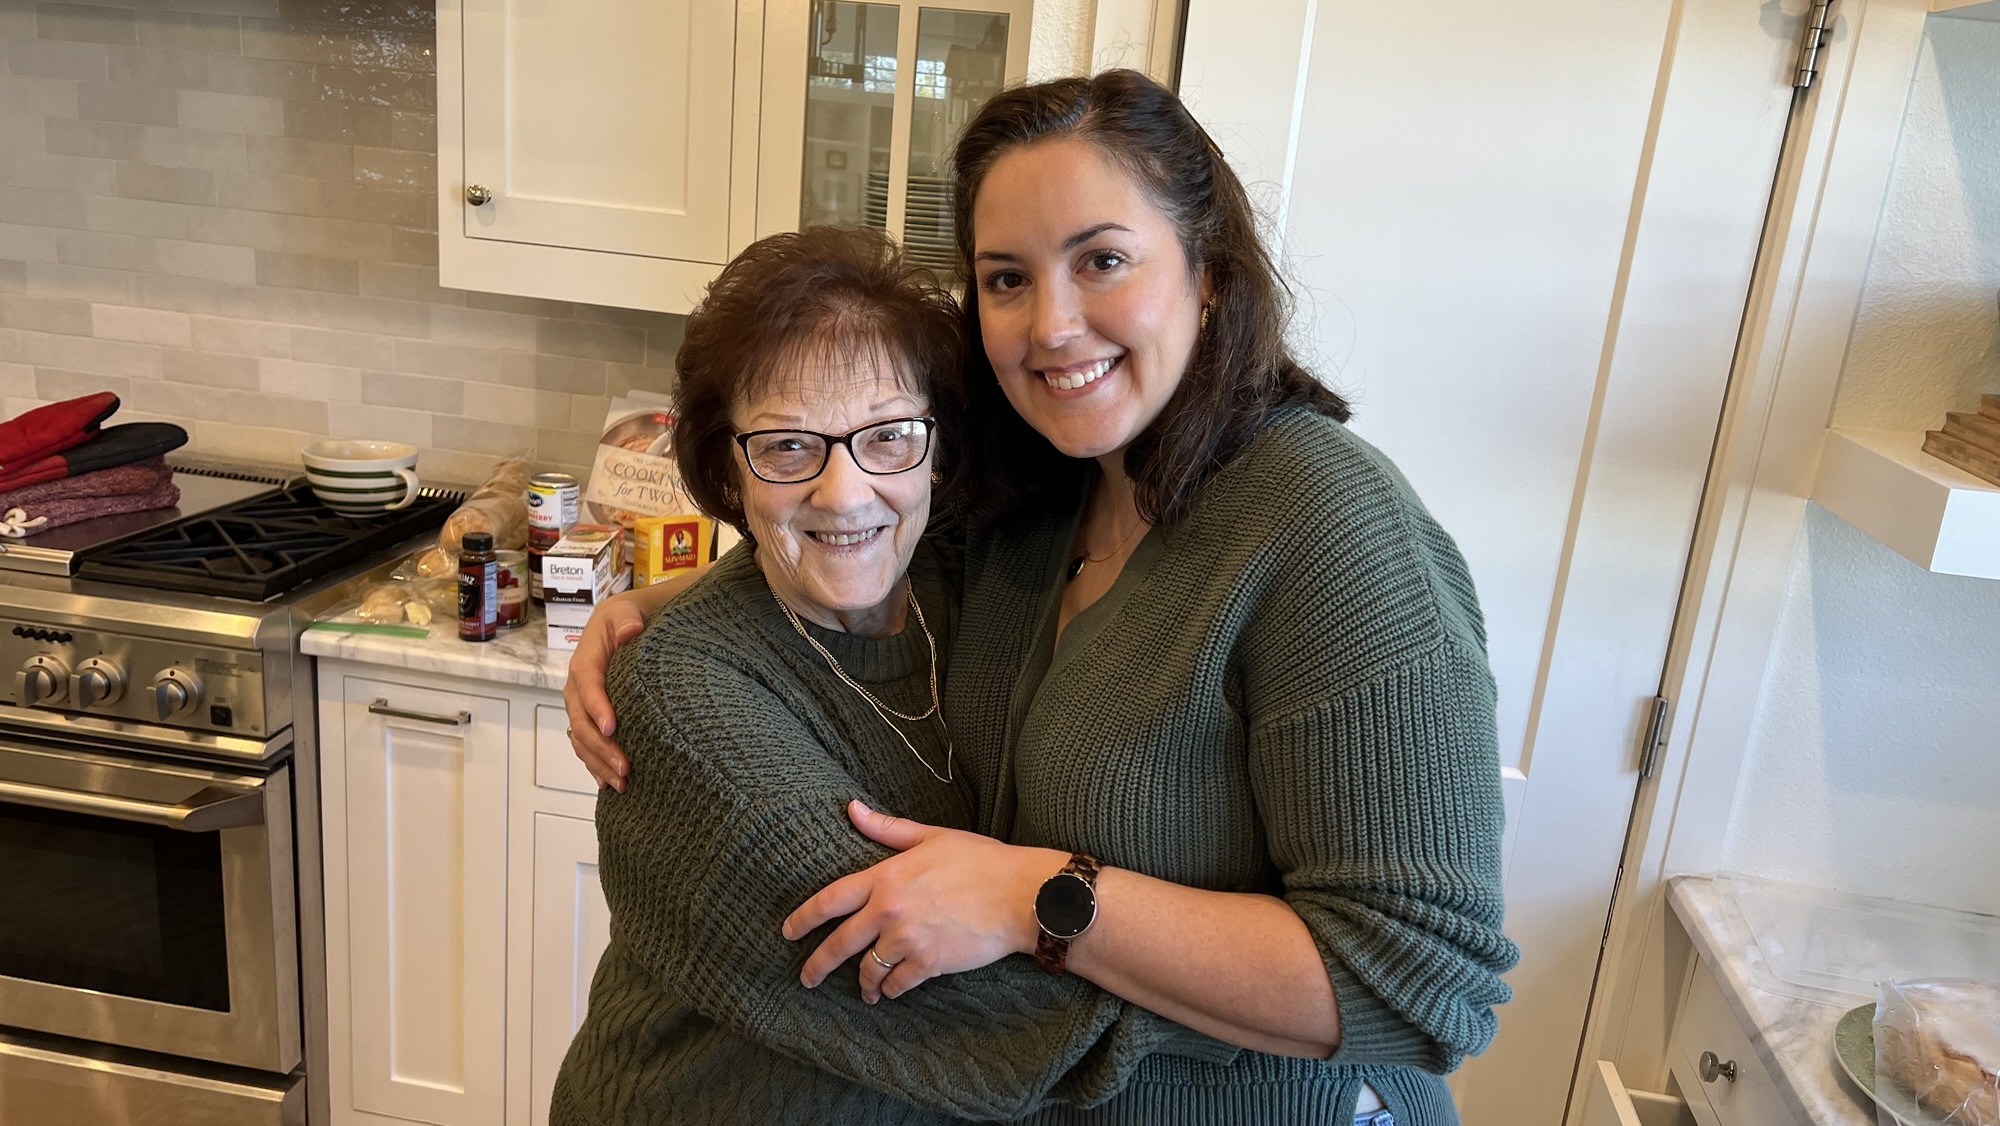
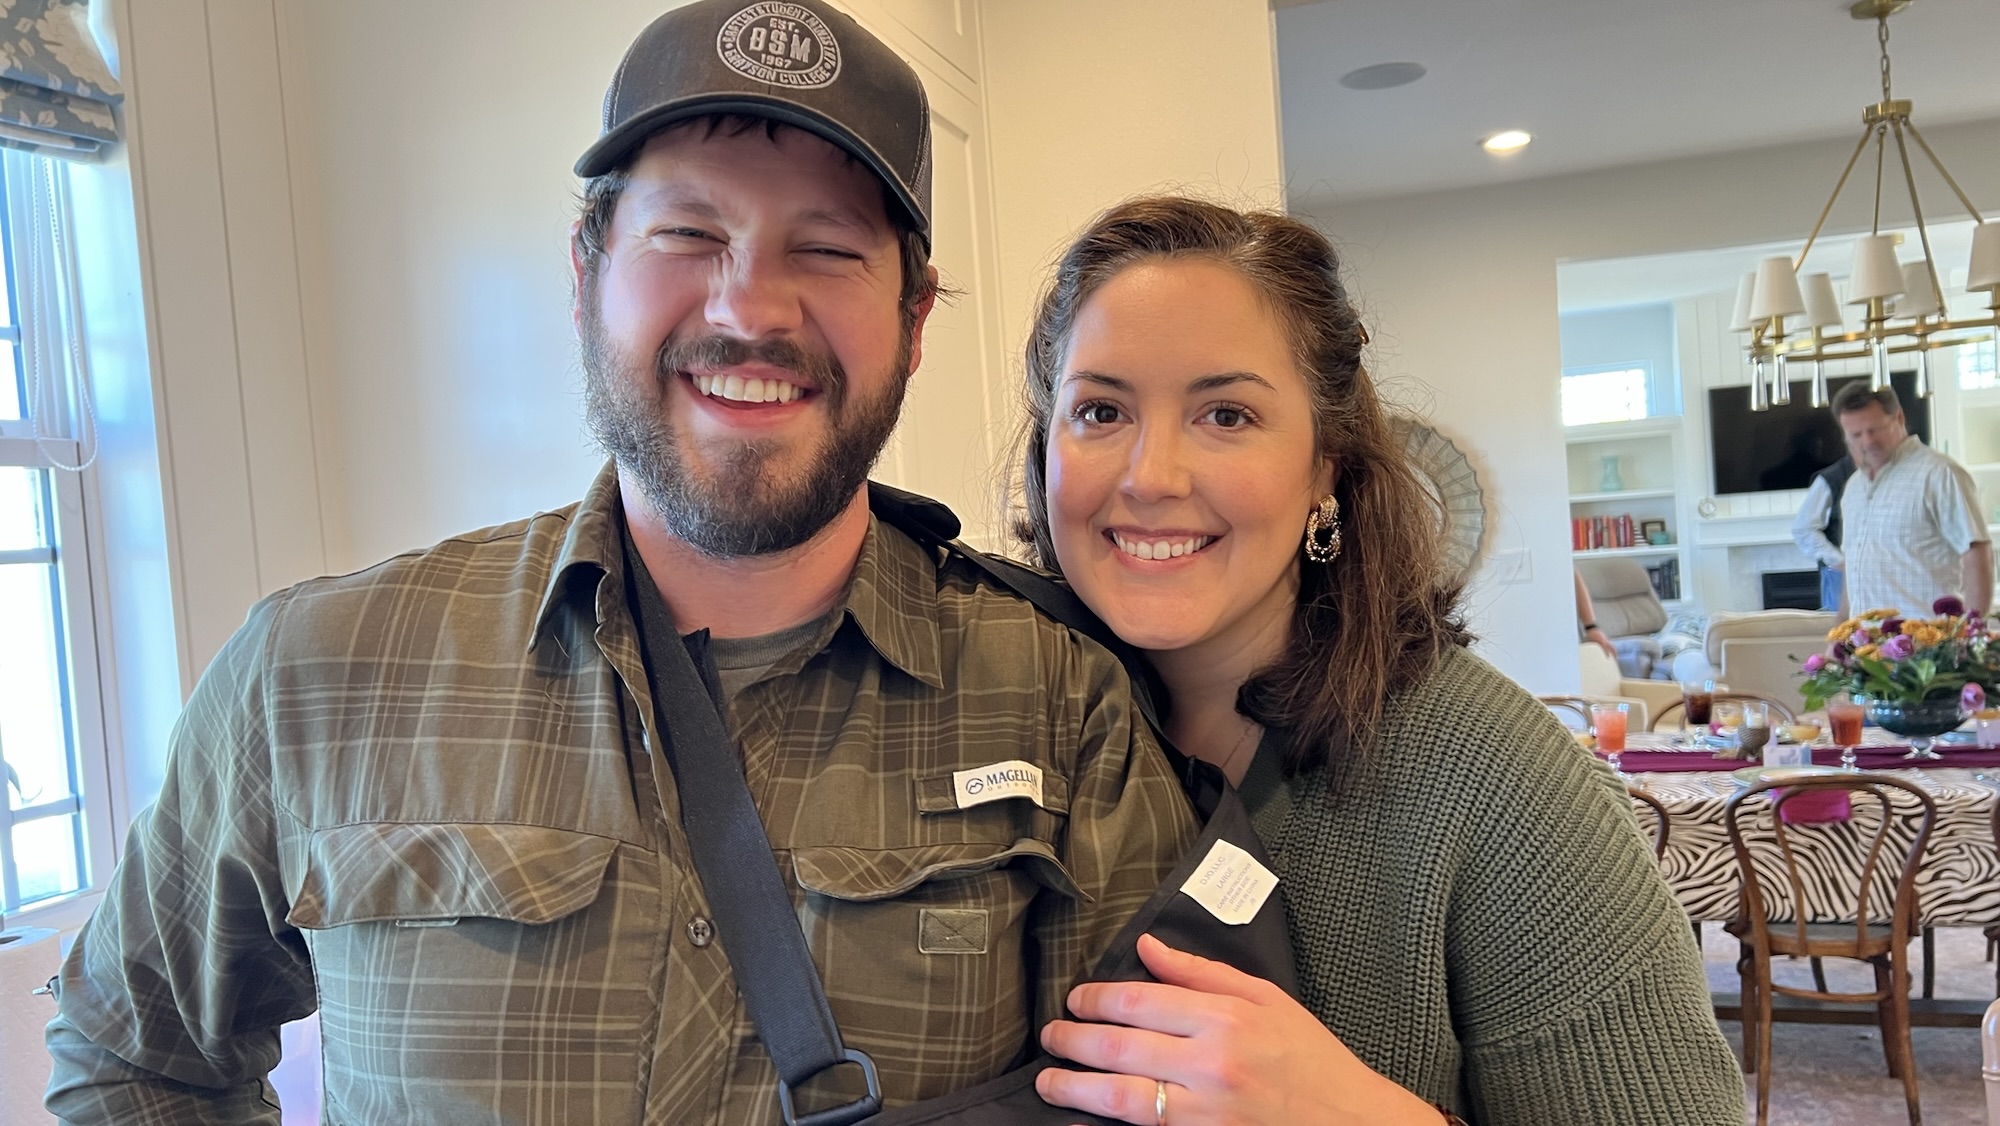
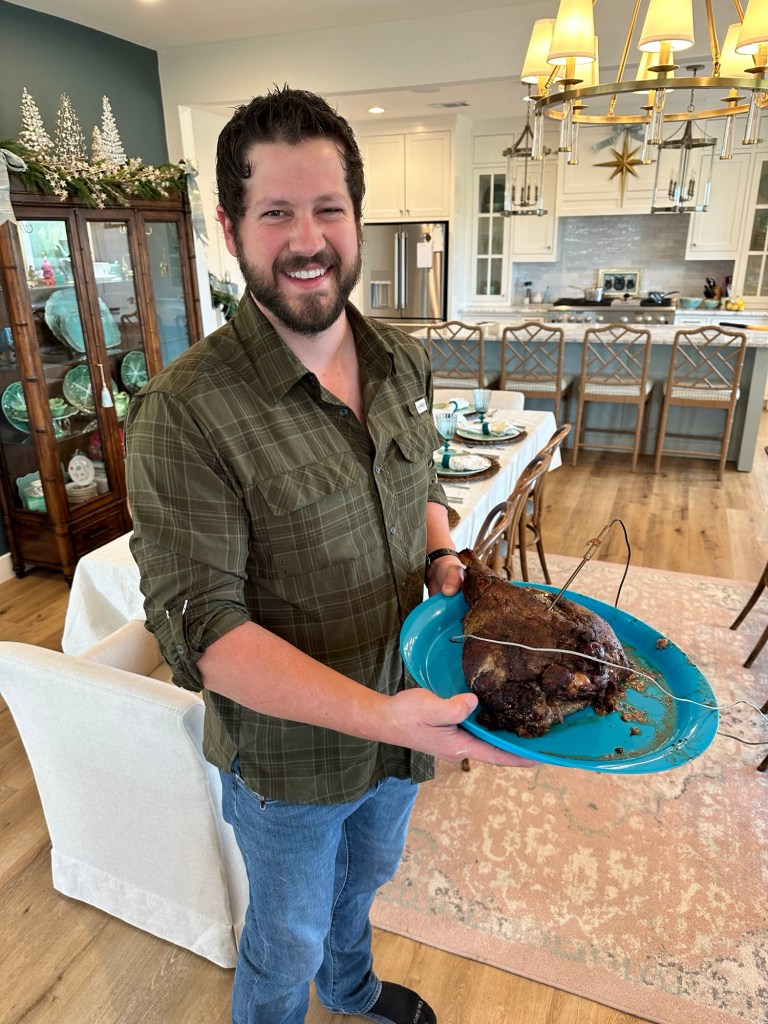
It was certainly an… eventful Thanksgiving Eve. But Thanksgiving Day went off without a hitch. I desperately needed fun, laid back family time this year and that’s exactly what it was! Beauty can always be found in the midst of suffering, and somehow it’s always sweeter.

xo, Amanda

Thanksgiving 2024: Turquoise, Peach and Brown

During our trip to London, we stopped at Fortnum & Mason, where I fell in love with the Camellia White tea ware. I could not get it out of my head! Just like the cabbage ware for my brother’s baby shower, it was just meant to be. I love the way it plays with my “fancy” china – Anthropologie’s Old Havana line in mint. Perfection.

I started with my favorite, Microsoft Word, and laid out my ideas. The teal glasses are from Walmart’s line with Drew Barrymore, which are sadly out of stock. There are always options for teal/blue goblets online, or in my favorite place to search: Facebook Marketplace.

These placemats from World Market always help keep the place settings from feeling too feminine. I love a girly table, but just like in decor, there should be balance. The tablecloths are courtesy of TJ Maxx, and they have a subtle gold shimmer.

As you can see, my plan included white florals. But, alas, I could only get my hands on peach. That’s okay! Short of ordering in flowers online or from a florist, you just have to get what works the best. I used similar cut glass vases from Amazon.

The napkins are old Hobby Lobby, but these would be beautiful as well! I chose the darker teal napkin rings to compliment the goblets.

We had 14 for Thanksgiving last year, so we had two tables. I love hosting Thanksgiving, and am so grateful for time with family. And pumpkin pie 🙂

xo, Amanda

Dining Room Makeover: Wallpaper is complete!

It’s been a busy few weeks, and I am thrilled to show you the progress!

So, we left off at putting up the trim. I then spent every day off priming, caulking and painting. I was dragging my feet and making excuses for a few days before attempting the wallpaper. After getting a $2,500 quote to hang the paper, I realized I am definitely cheap enough to try to hang it myself, and since the paper is affordable (unlike our Farrow & Ball paper in the primary bath), I figured the risk was worth it.

After watching a lot of videos on YouTube (shout out to Spencer Colgan Wallpaper & Painting, I would be lost without his instruction!), I finally worked up the courage. Per his infinite wisdom, I decided the best place to start was over the kitchen side opening. I went a little cheap with the paper, estimating that since they are 10′ panels, and my ceilings are only 9′, I could use the excess to cover the stretches of the cased openings, saving having to buy enough rolls to cover them. It worked like a charm!

First panel, I thought, “um, is it really this easy??” And then panel two…. I had to do my first match while simultaneously doing my first corner…. Tears were shed. Lots of them. And when Austin didn’t answer his phone, I sucked it up and found a roll of painter’s tape for an extra set of hands. I made changes for the next corner, for sure.

Pro Tip: I found it easier to do a corner if you only paste one part of the wall at a time. So, most of the time I pasted matching wall, then cut the paper, then pasted the adjoining wall. The third corner I chose to do backward, since it was such a small space and the panel needed to be level with no reference point.

Which brings me to my next Pro Tip: get a laser level!! It was the real MVP of this project. Since there were three areas where the pattern would have to line up without a reference point (i.e., on either sides of the window, and the cased openings), the laser level saved the day. It has both vertical and horizontal lines, and the satisfaction of having all the blue birds line up on the horizontal line is a dopamine hit like no other. So. Satisfying.

This project took 14 hours over two days. And while I could point out every area of mistake, I am proud to have completed this by myself! I took the paper to Home Depot to be color matched to fix some spots where I cut the top too short, or made scratches in the paper. Is it visible in the right light? Yes. Is it visible under the lights I’d have on for guests? Not really. I can live with that.

Don’t be afraid to step out of your comfort zone, you can learn anything!

xo, Amanda

Dining Room Makeover Part 3

We’re back from another weekend of working on our dining room. Are we slow? Absolutely. But who cares? We can take as much time as we want, it’s our house! Feel free to take the time it needs when doing the same in your own home. It’s okay to resist the made up, social media inspired timelines for your life.

Anyway, we are so, so happy with how this is turning out. This is how we started: openings with no trim. When our house was being framed, I noticed that there were no visual breaks in the ceiling between the rooms in our wide open first floor. My husband and our contractor quickly framed out some openings before the drywall sub came out.

In order to add the trim and not look silly or have to be cut (since our thermostat is just on the other side of this little wall), we had to build them out.

Then we started on the trim boards! The amount of shims needed to make the top of these openings level was comical…

This part took the longest. But, boy was it worth it when the trim went up. When we tacked up our test pieces they lined up perfectly. Ahhhhhhh!

It took a while and a few trips to Home Depot and the lumber yard where we bought our windows and doors to figure out what trim to use. I didn’t realize our door trim came in a 5 1/4” width, and I am so glad, as it is exactly what should have been there all along.

The most tedious parts of the trim were the top pieces. It took several tries and saw-blade length cuts to get right. One piece was cut just too short. I was prepared to leave it, as it was 10pm by that point. When the question was raised, Austin said, “I’m a perfectionist. Let’s try one more board.” I knew I loved that man! And of course, perfect. Except that we needed another long board to finish and the lumber yard was closed. Still, #worthit.

While this was going on, I kept feeling that the window just didn’t match the new trim. Austin, being the sweetheart that he is, pulled the 1×2” boards off the main trim to see if it would work. And there it is! With the casing trim around the edge, it’s just like it was supposed to be.

While we didn’t get as much finished as I’d hoped, I am so pleased with the results that I don’t even care. Enjoy the process!

xo, Amanda

Dining Room Makeover: Part 2

Whew, we had a busy weekend working to frame out around our dining room windows!

As I stated in my previous post, I could not find an inspo pic anywhere. So, the first day was a lot of problem solving and brainstorming to get the look I wanted. I love the detailed simplicity of Greek Revival style trim. Just enough to be fancy, not enough to invoke Victorian undertones.

We settled on this design, and while I’d change the width of the outer pieces, I’m pleased! My original plan was to have the 4” boards surrounding the whole thing, with a 1×2” edge. That never looked right, so I woke up Saturday with the idea to attach the 1×2” to the 4” to look like a raised surround with a more gentle profile. If I had a do over (because, let’s face it, I did not want to make yet another trip to Home Depot), I’d do the same with maybe a 5 or 6” board. But, with the window coverings I doubt I’ll even notice when all is said and done.

Then came the filling of nail holes and priming. There were several of the brad nails that did not sink all the way, and after trying to hammer them in using some kind of metal pin and a hammer, I turned to the internet. Voila’! Take your *empty* brad nailer and shoot again over the raised nail. The mechanism in there will hit it again to go deeper. It took a few practice shots (creating bigger holes that I wanted), but it worked so well! Problem solved!

I also read that one should prime before caulking, as dry wood takes the moisture out of the caulk, compromising it.

So, first I filled and sanded. Then I primed the surrounding walls that had been skim coated with Roman Pro-999. Then I did a rough coat of Zinnser Primer on the trim that I will sand after it’s dried.

While that was going on, my fabric samples arrived! Now, Austin does get veto privileges, so we’ll see if the chevron sticks around. But aren’t these gorgeous?

Pretty good weekend for a couple of newbies!

xo, Amanda

Dining Room Makeover

You guys, I am thrilled to share this project with you! It has been an open tab in my head for so long, and it is finally starting to come together!

We built our house in 2020. That’s right, just a couple of weeks after lockdowns, we signed for our construction loan. What felt like a really bad time to begin this project ended up being the biggest blessing. Our build required more time on site than we realized, and since Austin was working from home during that time, he was able to present when needed. I am so very thankful for that, since we normally have very busy lives.

After the build, Austin was, understandably, not open to doing projects around the house. But four years later, I’m glad to report that we have started our first, major indoor project!

Our downstairs was designed so that we can seat 20 people on a dime. If you’ve read this post, you’ll see that we had 27 seated in this space for a Friendsgiving. Being an open space, much advice was given about our dining room. I am not opposed to color drenching, wallpaper, etc., but it’s surprising how many people are! So, we started with accent walls in Inchyra Blue by Farrow & Ball. And while I love this color (also used in our upstairs guest bath), I realized our home is a Spring. You know, like the color wheels you get when you go for a color analysis. I love bright and light and cheerful. Blues, greens, and pinks.

I have always loved the chinoiserie murals of Gracie and Degournay, but they are woefully out of budget. Enter the Vining Beauty Mural from Anthropologie. I saw this shared on The Broke Brooke’s instagram and fell in love with both the print and the price. And surprisingly, after showing Austin probably 100 options for wallpaper, he agreed on this one. I’m sorry, who are you? Time to get this off the ground before he changes his mind!

We had to have our flooring replaced last week, as it started to buckle with no explanation as to why. Johnson City did not honor our warranty, so I cannot recommend their products. I can, however, recommend Gold Star Carpet One for honoring the warranty and installing the new flooring. We are so grateful to them! Our new floors are Coretec Antique Oak and we cannot love them more. Changing out the wide plank for a smaller plank makes the house feel more timeless, and I love the flush planks instead of the bevels.

Since we had to move everything out, it made sense to go ahead and start skim coating and framing things out. I decided to frame out around our windows in an attempt to stop the damage caused by our Heeler, Finn, parkouring off the walls when he gets the zoomies. I had the idea in my head, but struggled to find a photo. This was the closest I could find. Imagine a much less detailed version of this in a shaker style.

My very favorite home design tool is Planner5d. This 3D mockup tool helped me so much during our build to visualize the rooms, furniture choices, paint colors, etc. It is truly a life saver! Here is a mockup of the dining room windows trimmed out.

Now to the pretty stuff! As always, I start off making a mock up of the design. I usually use Microsoft Word, but this time I used Canva. Like I said earlier, blue and green is my favorite combination. The green background of the mural plays so nicely with the blue on our kitchen island, and doors in the living room. I have pillows and upholstered barstools in the gingham fabric. I am still debating painting the faux bamboo china cabinet, what do you think? And while chevron is so 2010, I feel like this version I’m considering for the dining chairs feels so fresh!

Similar Dining Table | Rug | Demilune Cabinet | Curtains | Chevron Fabric | Pink Fabric | Trim | Lamp | Chandelier | Bar Stools | Dining Chairs | Gingham Fabric | Mirror

We started skim coating the walls this week, and got the lumber to frame out the windows yesterday. I can’t wait to see how this turns out!

xo, Amanda

Thirty-Five and Feelin’ Fly

Kinda.. Oof, is anyone else starting to feel their age? Do we do this -feeling like life is over- to ourselves, or is it the external voices feeding us Botox and snake oils? Either way, the week leading up to 35 hit like a ton of bricks. So, what did I do? I baked a cake. Well, two actually, arranged some flowers and lit some candles.

The morning of, Austin took me to my favorite local spot for breakfast. I love the Very Berry Crepes! While we were there, we saw two sets of friends and got to catch up for a minute. As we were ending our crepes, our waitress said someone had paid for our meal, and then someone else tried, too! But since it was paid for, they sent us a treat to-go. Isn’t that so sweet!? Needless to say, we both felt very loved!

That evening, we took my family to dinner and then came back to our house for dessert. We talked and laughed, and decided that neither cake tasted all that good… And suddenly, surrounded by love and candlelight, 35 didn’t seem so bad after all.

xo, Amanda

No-Sew Upholstered Headboard

I love custom furniture! My Insta saves are full of custom upholstery and furniture design. One of my many, many dreams is a furniture line. One day…

I started my upholstery journey a few years ago with a headboard found on Facebook Marketplace. I needed a full-sized headboard for our guest room and love a unique shape. This one was perfect! Well, besides the dingey white leather…. And what are those circles??

I got it home and started to remove the old leather covering. A million and a half staples and nails later, I got down to the bones. I had watched a few videos on YouTube that said to take note of the construction in order to replicate it. If it ain’t broke…. You know.

To Hobby Lobby I went! I wanted an aqua velvet, but came home with a sort of tweed fabric, with green piping for the seams. I had zero idea how I would attach it outside of my staple gun, I just knew a needle and thread was not on the agenda.

After adding new webbing for support, I covered it with batting.

Then, started stapling the fabric to the frame. Pretty straightforward. But be sure to check periodically for wrinkling, and go side to side to keep tension. Don’t start at one side and go around.

Now, it was time for the piping. I stapled it right at the edge of the frame, where it was visible from the front.

Once that was finished, I needed to figure out how to cover the staples with the rest of the fabric. Now, I would do this a completely different way. But this was so easy, a trained monkey with a hot glue gone can do it. So that’s what I did!

I brought a cut and folded strip of fabric up to meet the piping and hot glued it down. Pro tip: use a scrap to protect the piping and front fabric from getting glue on them.

At some point, the fabric ran out due to the curved edges. I just started with another piece, folded an edge over the raw edge of the other side, and kept going.

Once you’ve got it glued down and dried, staple the rest of the fabric around! You can add a backing fabric or use the same fabric as the front to cover the back.

Y’all, it actually worked. I’ve had this in my guest room for four years and she still looks good!

Don’t let the fear of sewing get in the way of making something unique and beautiful for your home! Have you done any fun, no-sew upholstery projects around your home? I’d love to hear about it!

xo, Amanda

Egg Bites: I Thought I Was Spontaneous

“I’m definitely the more spontaneous of the two of us,” I said to my coworkers about my husband and I. “You literally eat the same egg bites at the same time every single day” was the response. Coworkers: cheaper than therapy… Ha!

And they were right. Every two weeks I make a batch of egg bites to take for my work breakfast that occurs at promptly 09:00… Is that a bad thing? Clearly I have no qualms about it. It’s the perfect breakfast: freezer friendly, prepared in 30 minutes, microwaves in 2 minutes and can be eaten quickly at my desk. No decisions, just grab and go. Sometimes I make baked oatmeal muffins to go with them, but they’re pretty perfect on their own.

So, if you want an easy breakfast idea, here ya go!

I’ve made these in a variety of flavors, but they always include: 12 eggs, 4oz cheese, and 2/3 cup cottage cheese. The easiest kind have half a package of the Jimmy Dean Turkey Crumbles. And voila, my predictable and fail safe Egg Bites.

Egg Bites (6 servings)

  • 4oz Cheese (pre shredded or not)
  • 2/3 cup Cottage Cheese
  • 12 eggs
  • 1-2 tsp Salt
  • Garlic Powder
  • Onion Powder
  • Paprika
  • White or Black Pepper
  • Meat and/or veggies of choice*

If using block cheese, either hand grate or use attachment for food processor. Change blade to regular blade and add to processor the eggs, cottage cheese, and other mix-ins as desired. Mix on low until combined. Pour into 12 muffin pan, bake at 350* for 25 mins. (You may need to bake longer, since my oven bakes hot)

Remove from oven and let cool. Place in freezer bag and freeze if desired. Serving size is 2.

*My favorite combinations so far:

Turkey Crumbles and Butternut Squash with Rosemary

Turkey Crumbles and Broccoli

Canadian Bacon with 1/4ish tsp Mustard Powder

Turkey Crumbles and Simply Potato Hashbrowns

Basically anything you want can be made into egg bites!

If you prefer egg whites, I’ve reduced the eggs to 8 or 10 and added liquid egg whites to the level in my food processor it would usually be. They don’t fluff up quite as well, but they’re still tasty.

Let me know what you think!

xo, Amanda

My Latest Obsession: Honey Mustard Tuna Salad

It all started with a tuna packet: StarKist’s Tuna Creations Whole Grain Dijon Mustard Tuna Salad. I love those little packets, and one bite into this one, I was hooked. And after a couple of those I started thinking, what about honey mustard tuna salad?

So, I did what one does when faced with a question in the 21st Century: I started to Google. Bam: Ambitious Kitchen’s Honey Mustard Apple Tuna Salad !

Y’all, when I tell you I’ve taken this to work three weeks in a row. I literally can’t wait to make more, and I am giddy when I think about lunch. Now, I did tweak the recipe, so of course I’ll share with you 🙂

1 can SkipJack Tuna

1/4 cup Yogurt (plain or Greek)

1 Tablespoon Dijon Mustard

1 Tablespoon Honey (just make sure it’s equal amount to the mustard)

1/2 Tablespoon Mayo

Splash or two Lemon Juice

Salt, to taste

White Pepper, to taste

Garlic Powder, a couple of shakes

Small apple

Mix the wet ingredients together. Chop the apple into tiny pieces, peel on. Place tuna, dressing and apples in a bowl, mix it up and, voila!

I did omit the cranberries because I’m not a fan of chewy bits and much prefer crunch. I usually double the recipe to take for my two days of work with some Ritz Chips. This is also a pretty wet tuna salad. If you prefer it less “soupy”, reduce the dressing.

Any kind of tuna will do, but I like SkipJack from Trader Joe’s as it has 22g of protein and the least amount of mercury. This particular one was recommended my primary care provider. I did buy a can of the Skipjack Tuna from Kroger today and it has 27 grams of protein per can.

Try it out and let me know what you think!

xo, Amanda