2025 Green and Pink Thanksgiving

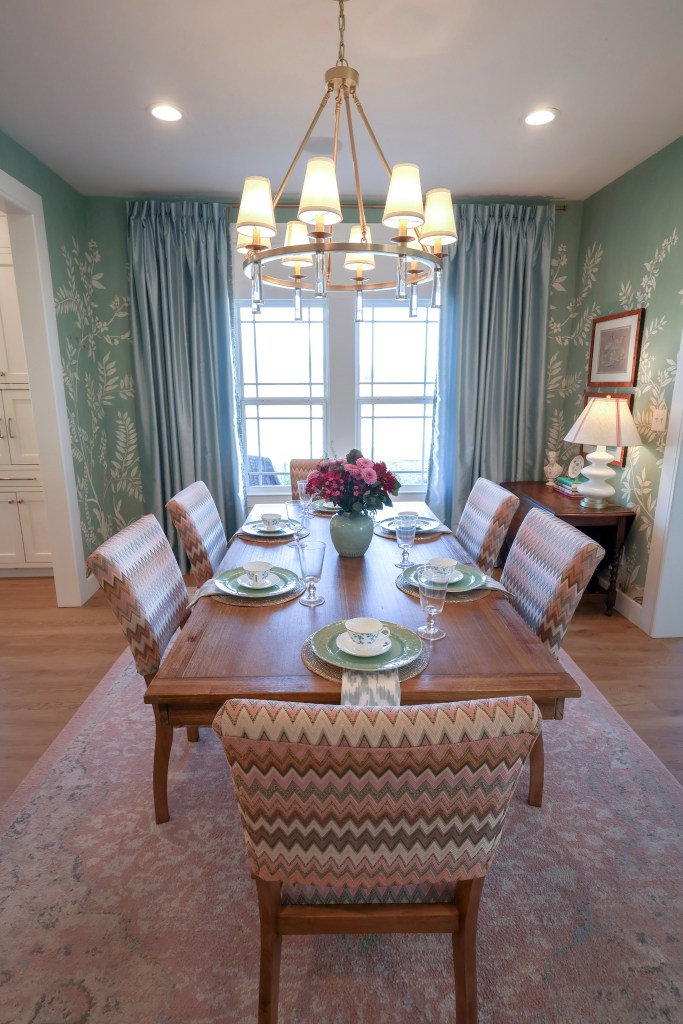
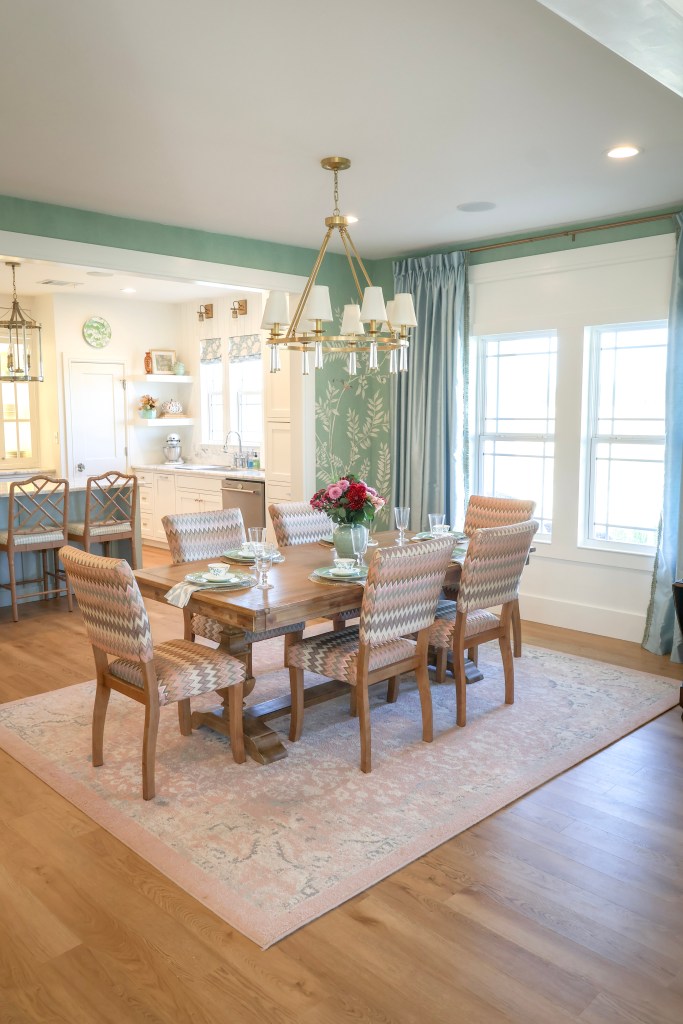
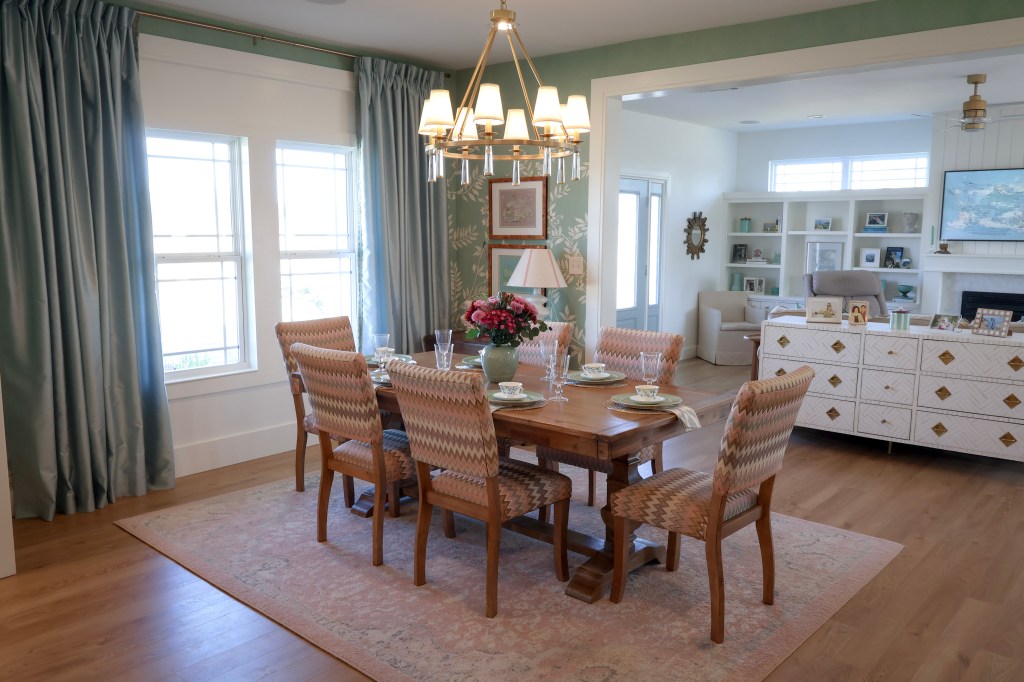
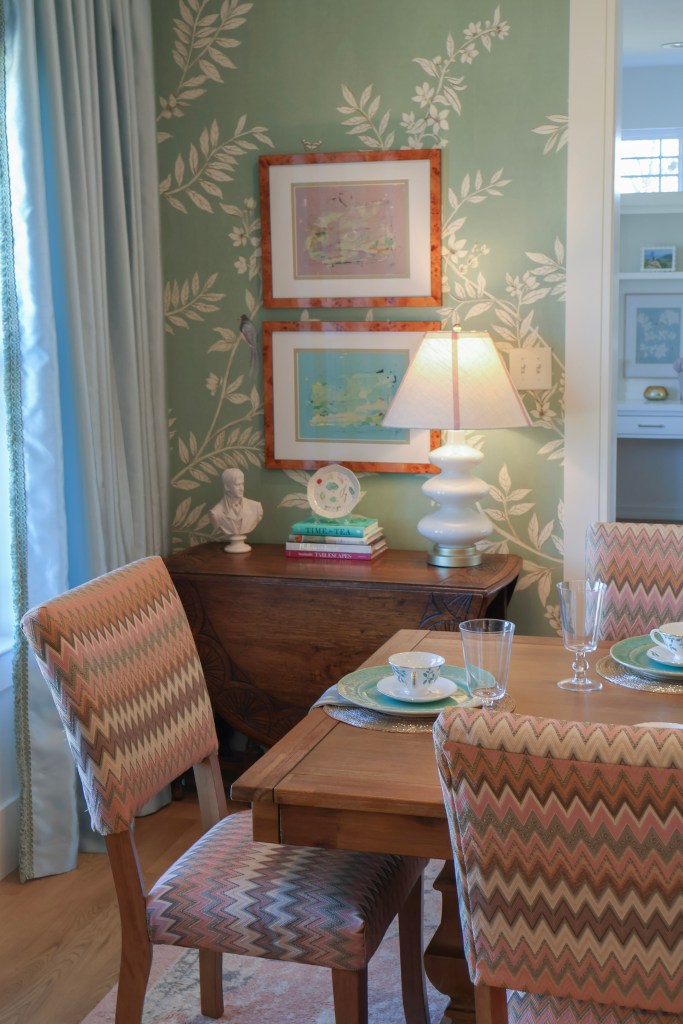
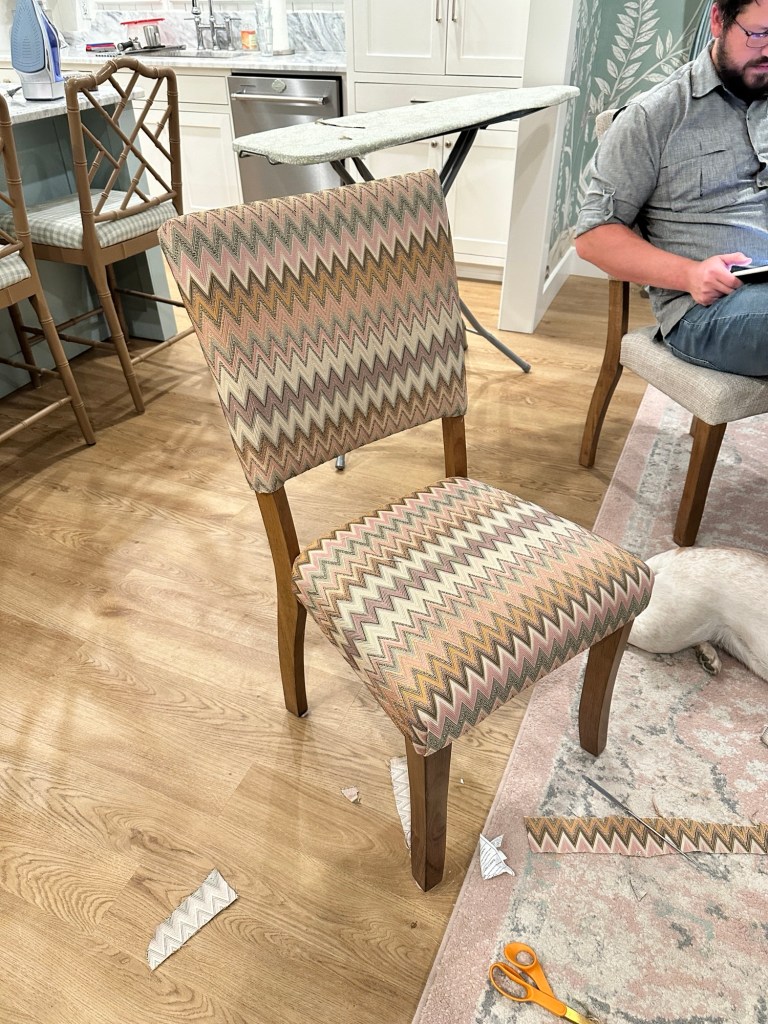
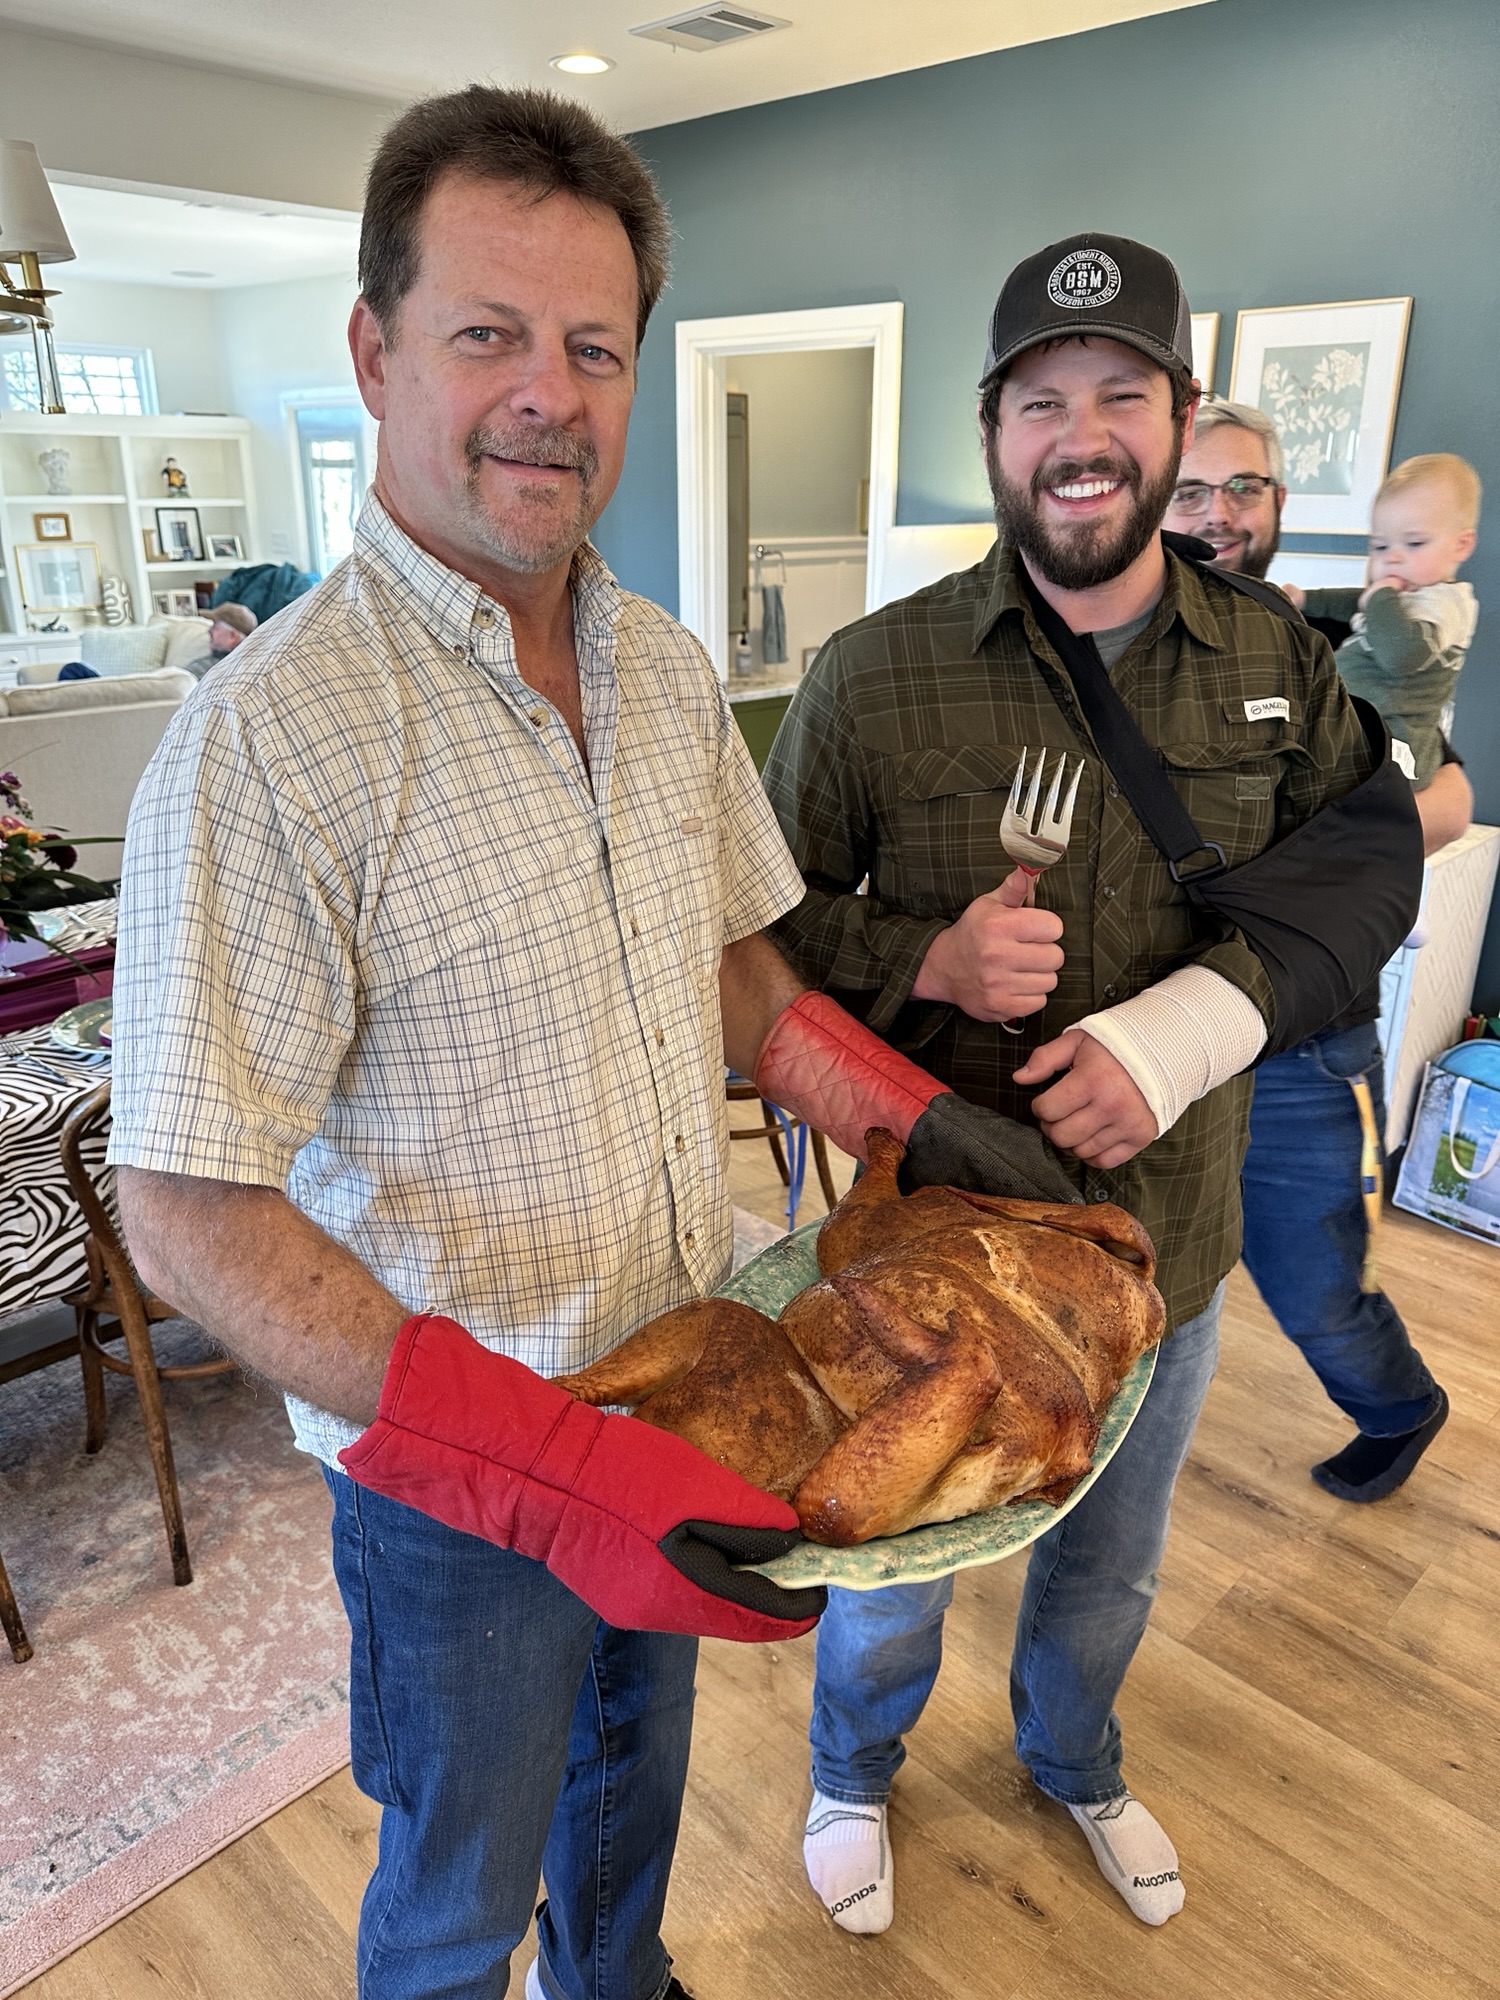
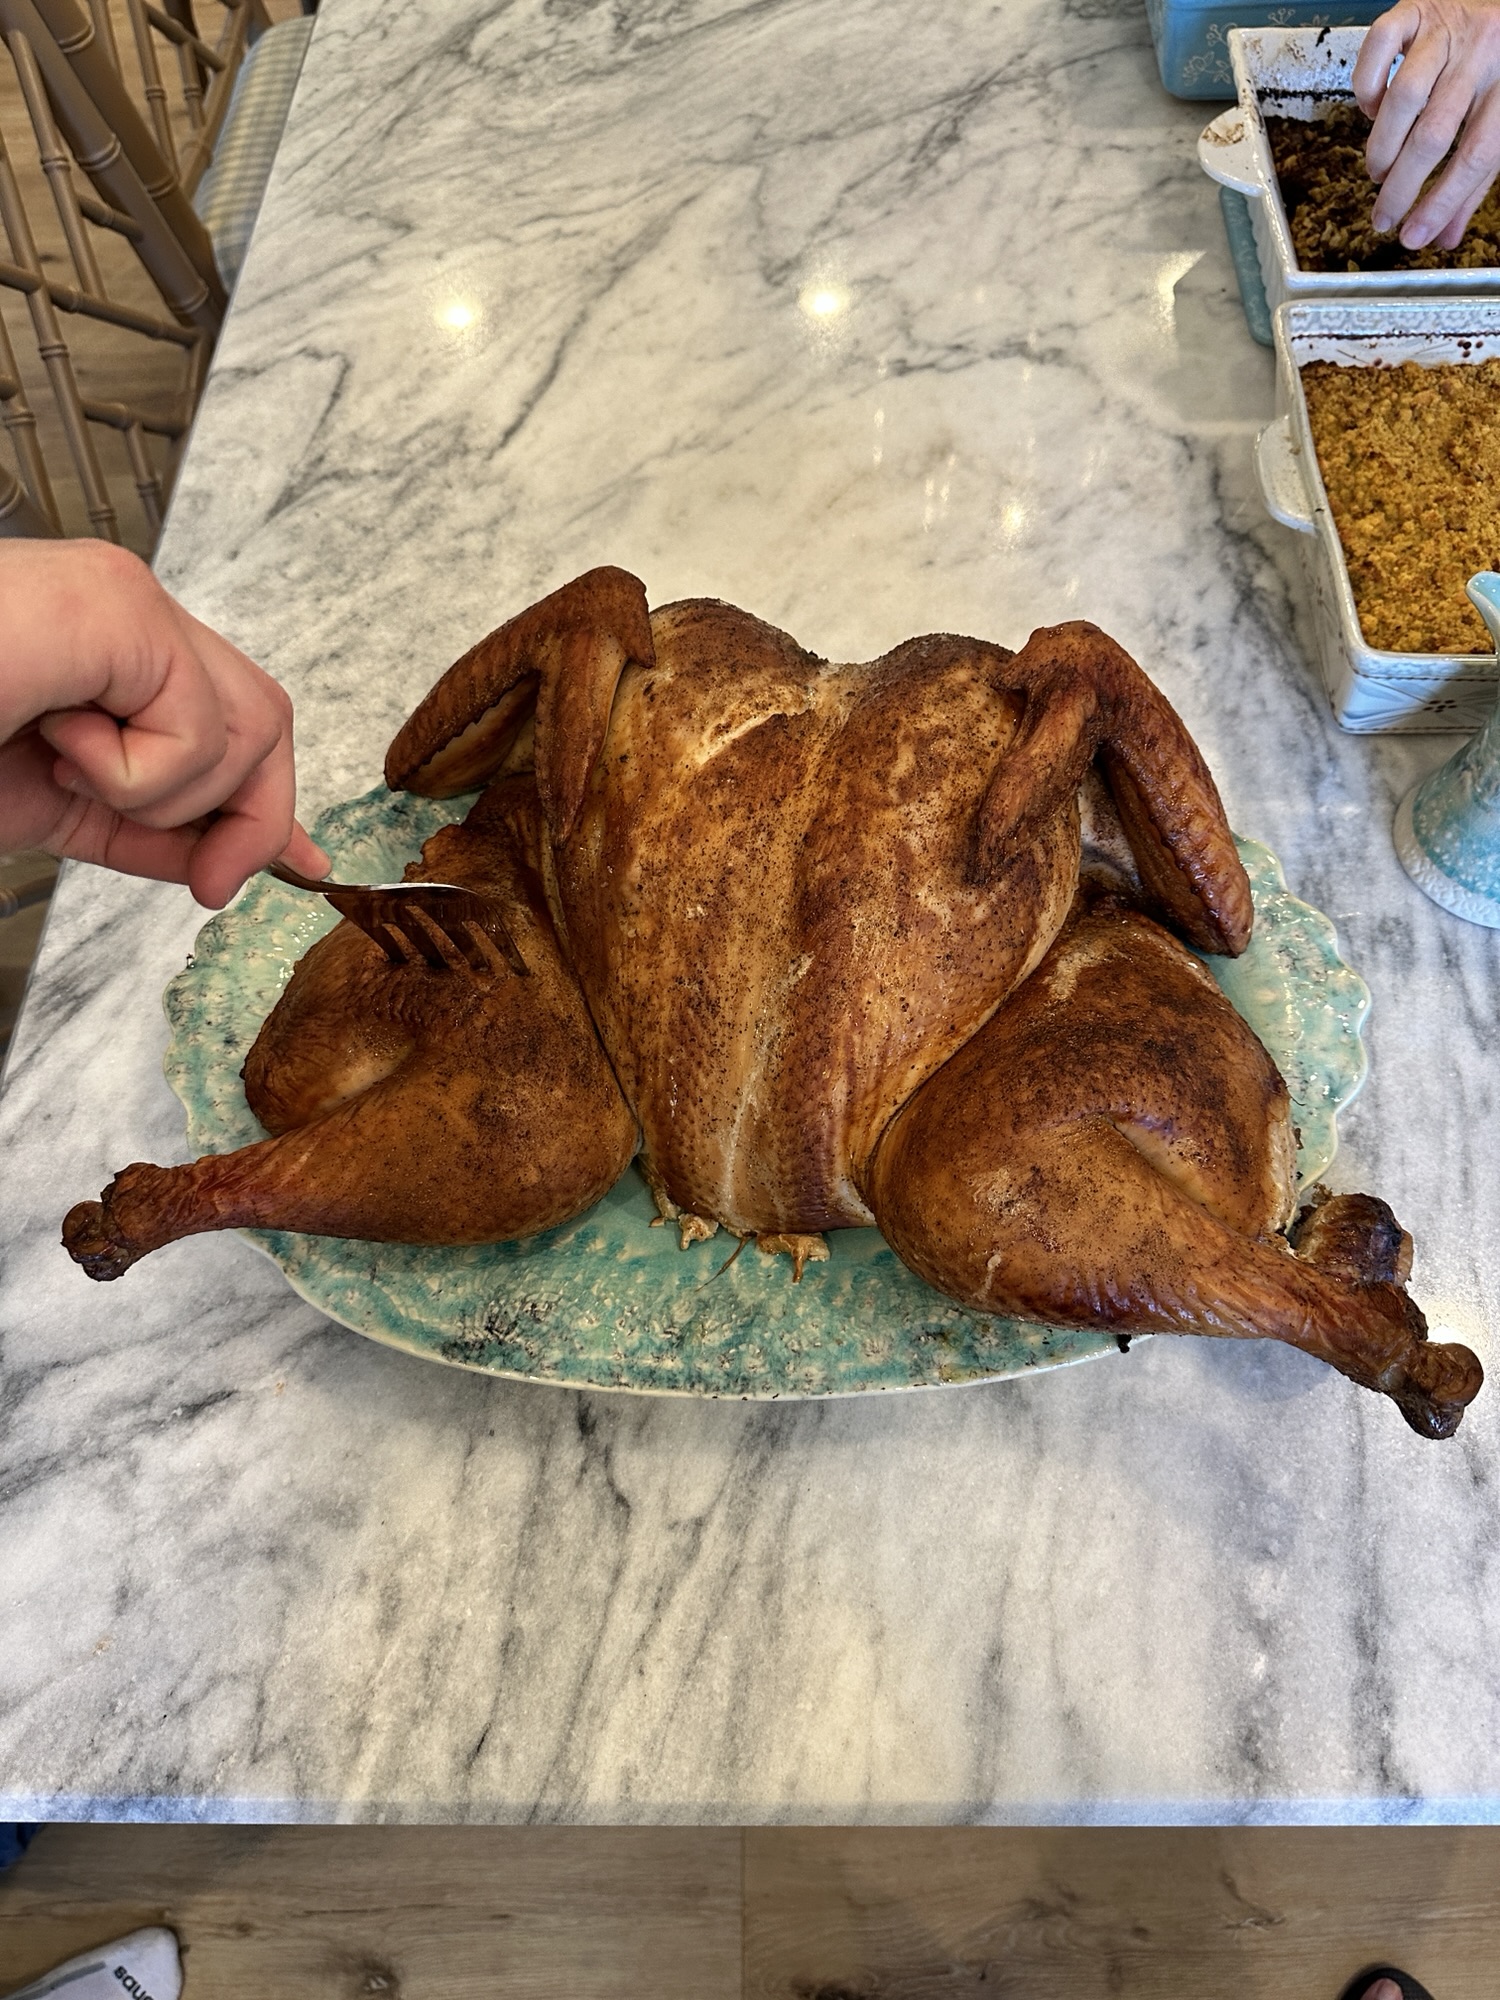
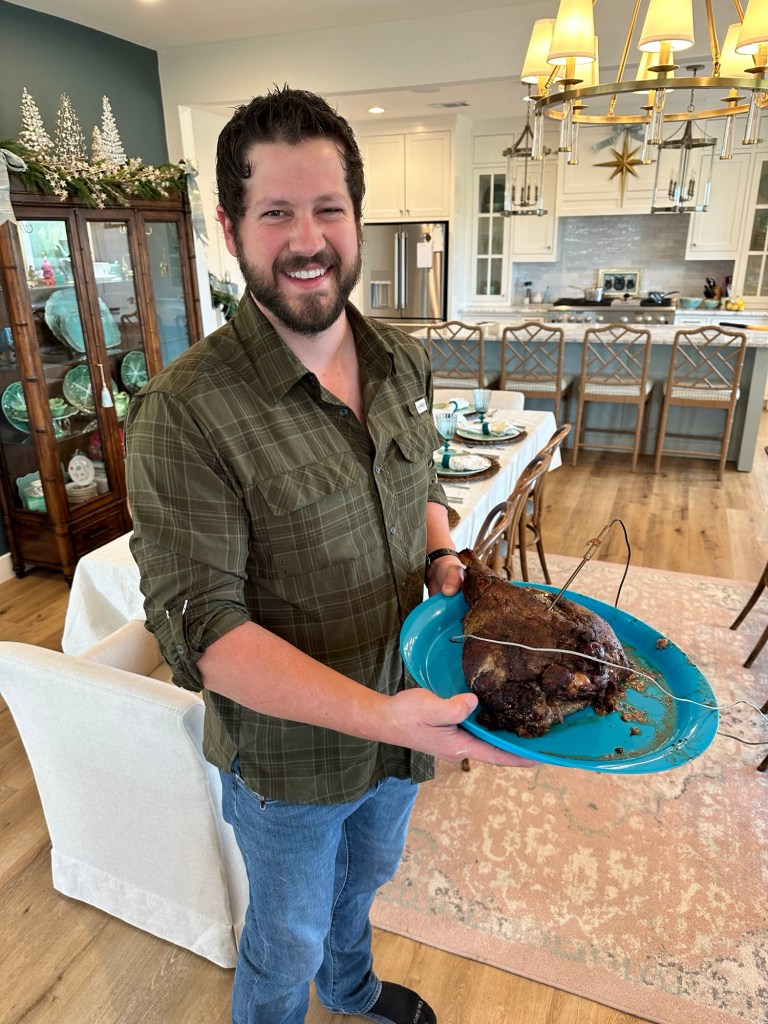
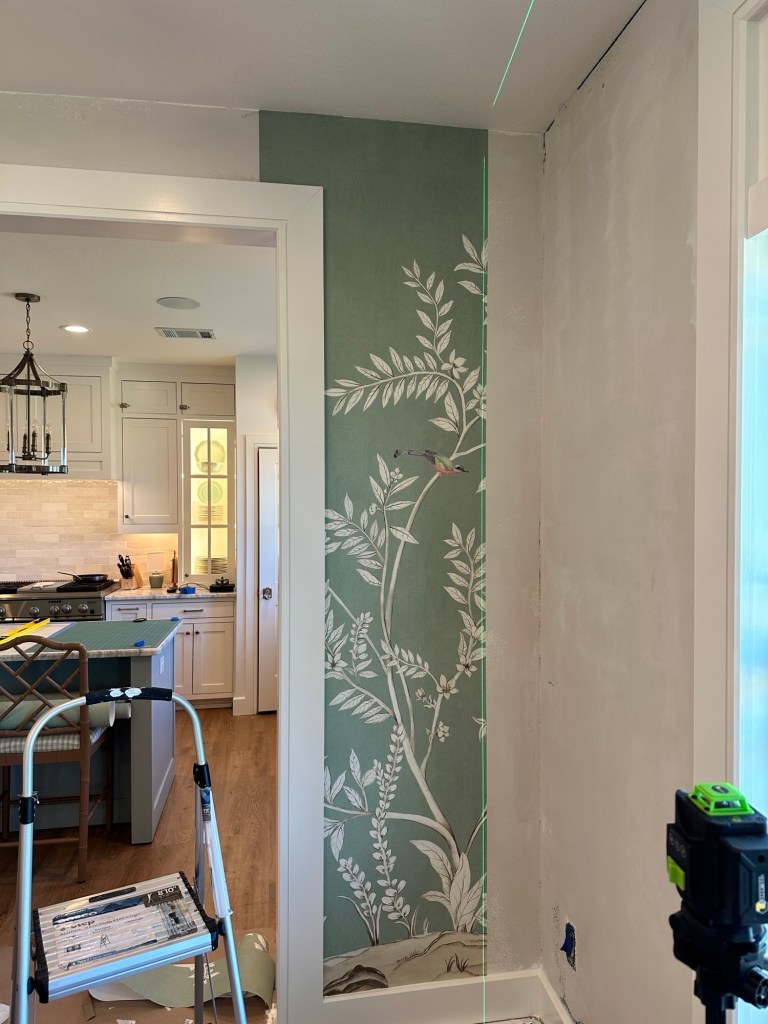
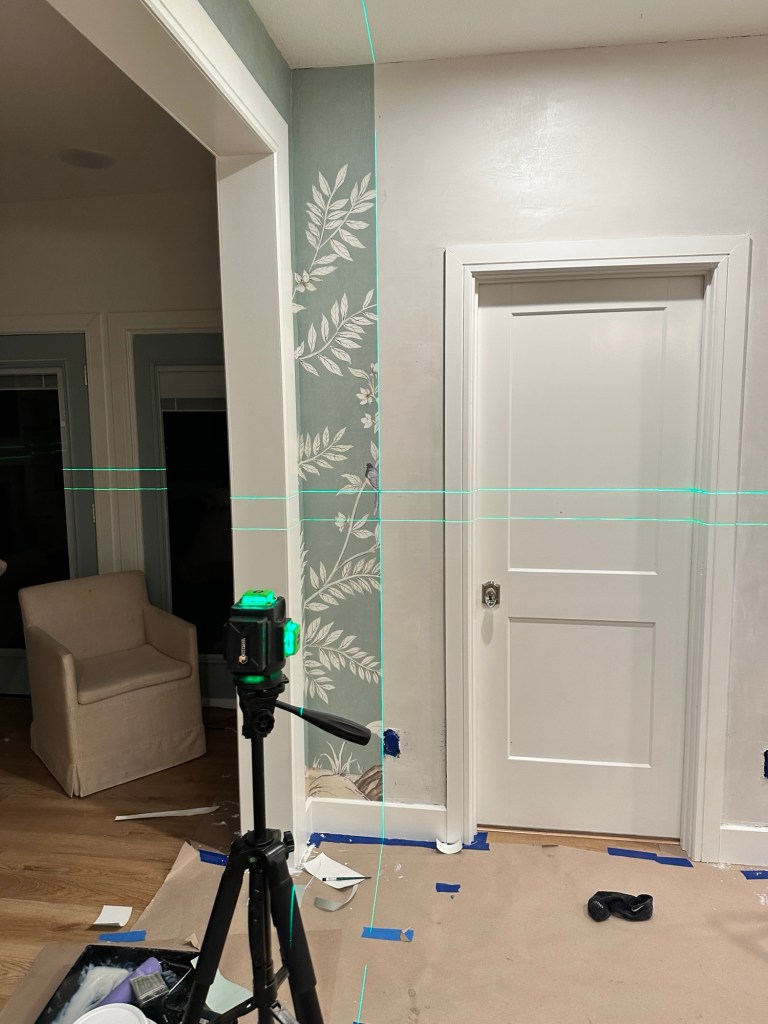
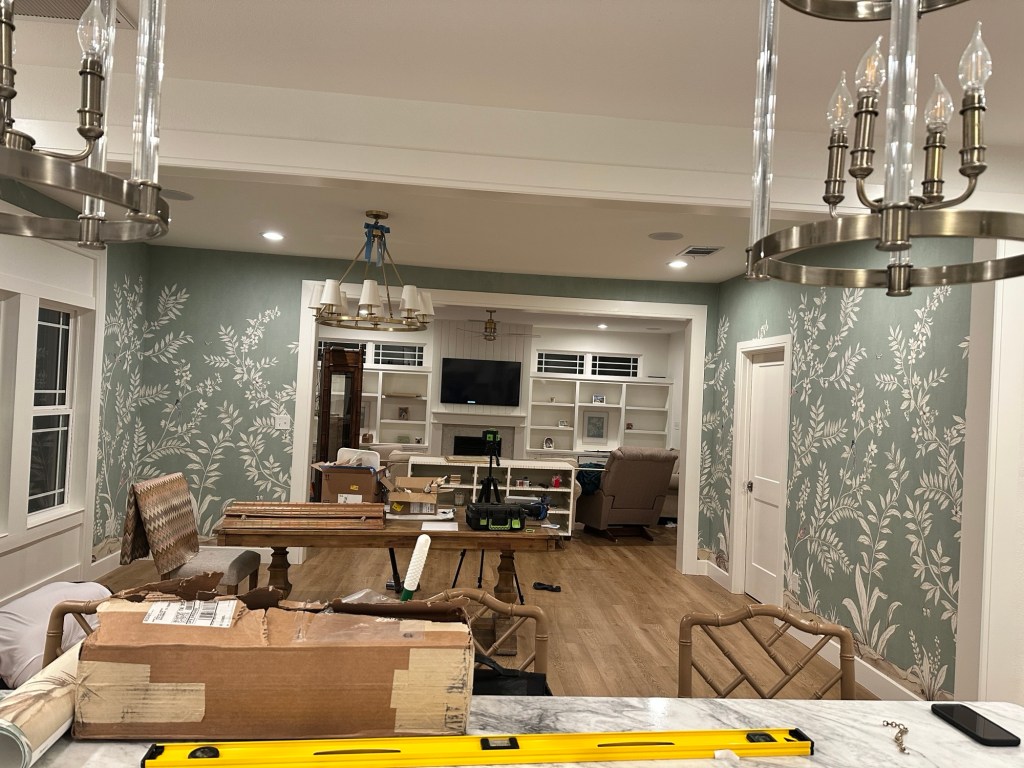
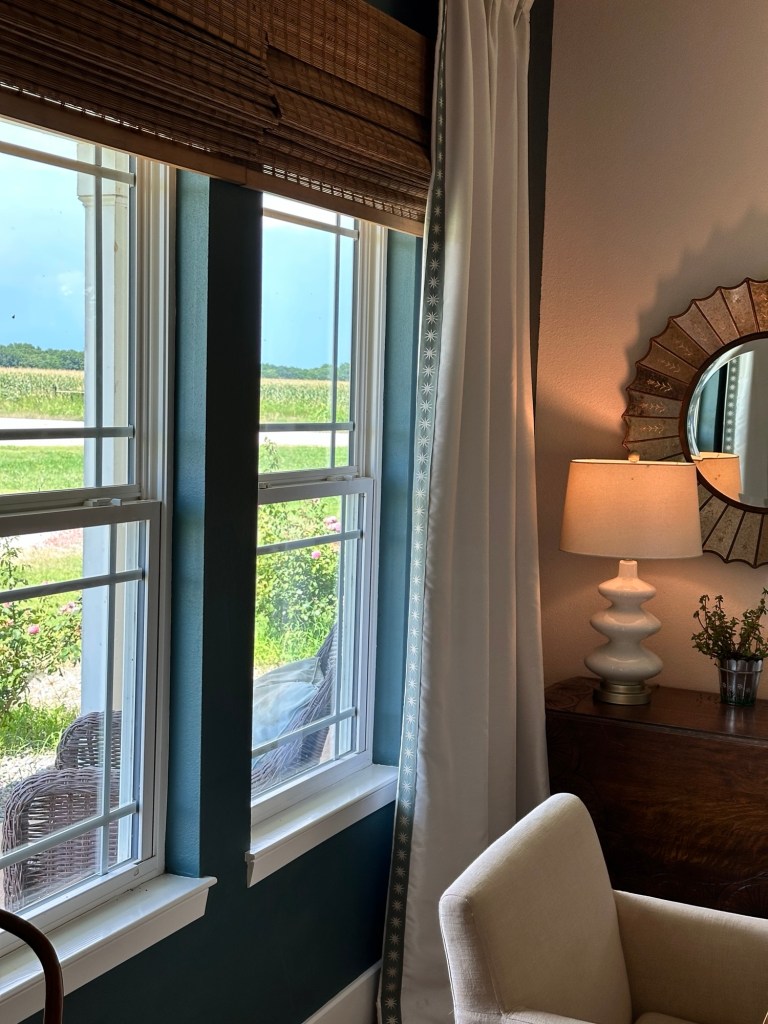
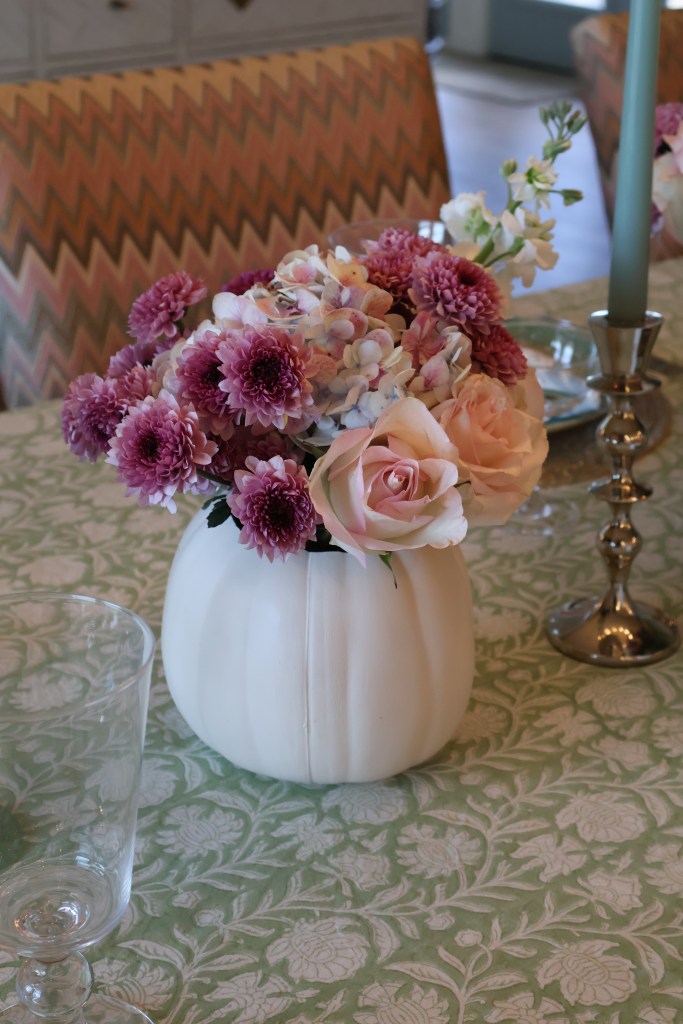
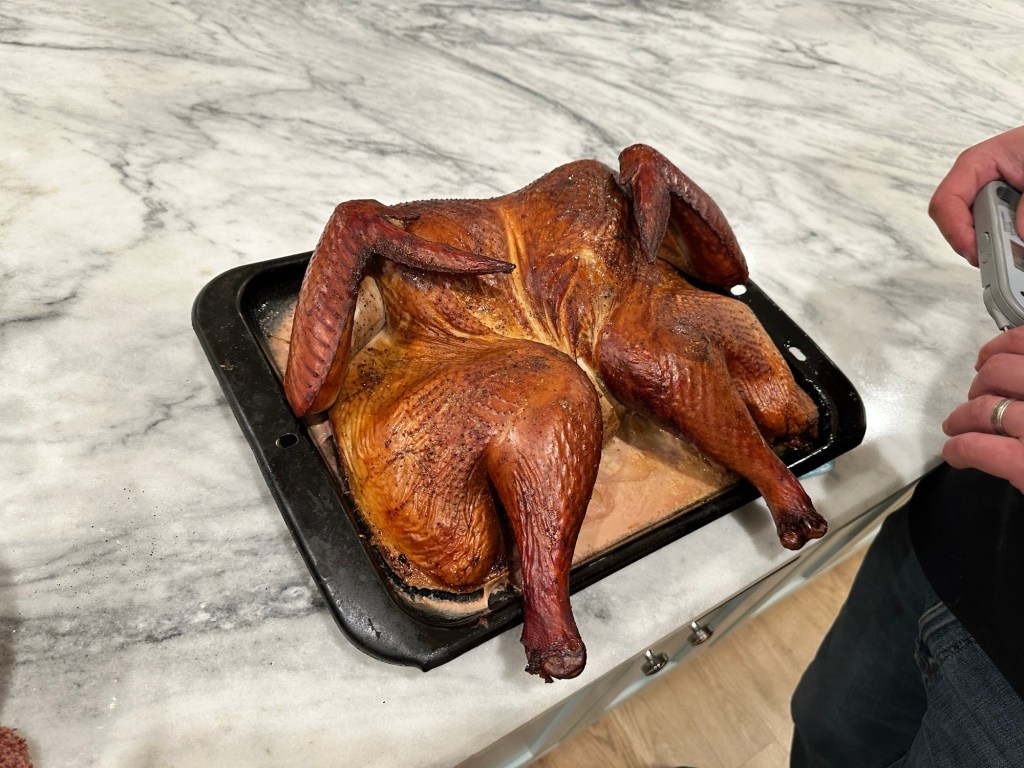
The magical Dining Room Makeover has culminated into this beautiful day! You know I love to host Thanksgiving, so what better way to show her off than with a spatchcocked turkey and all the trimmings.

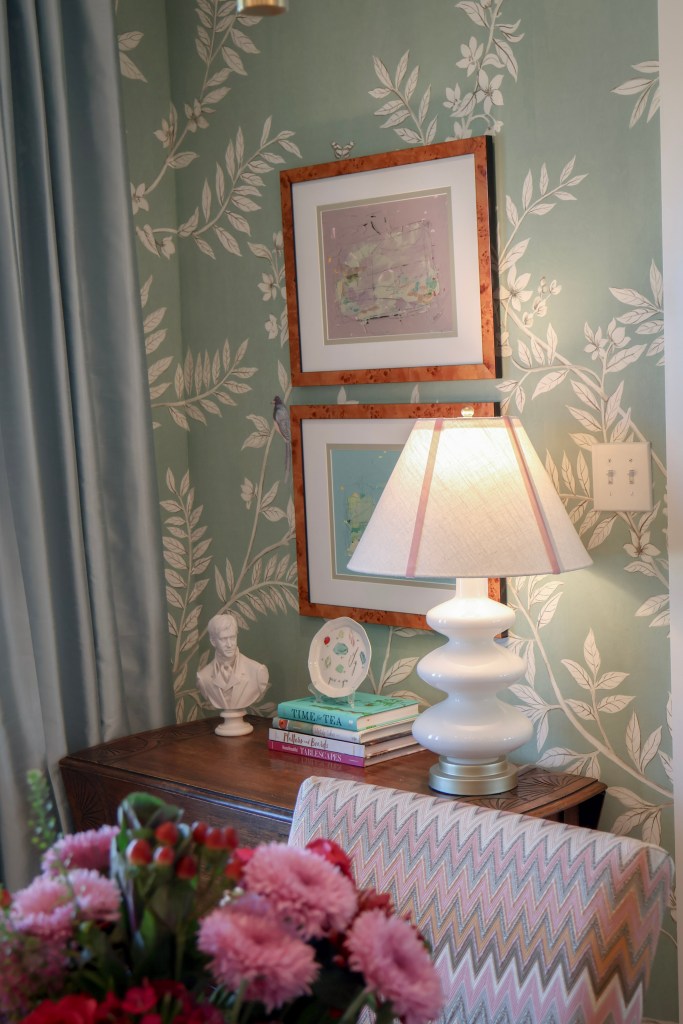
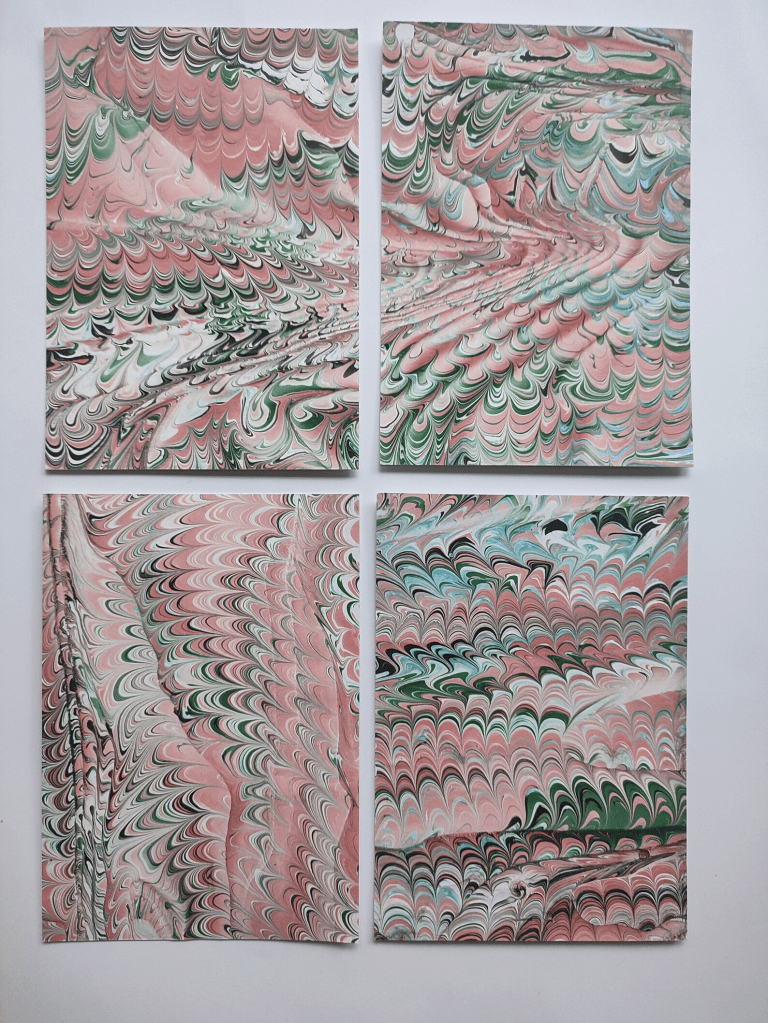
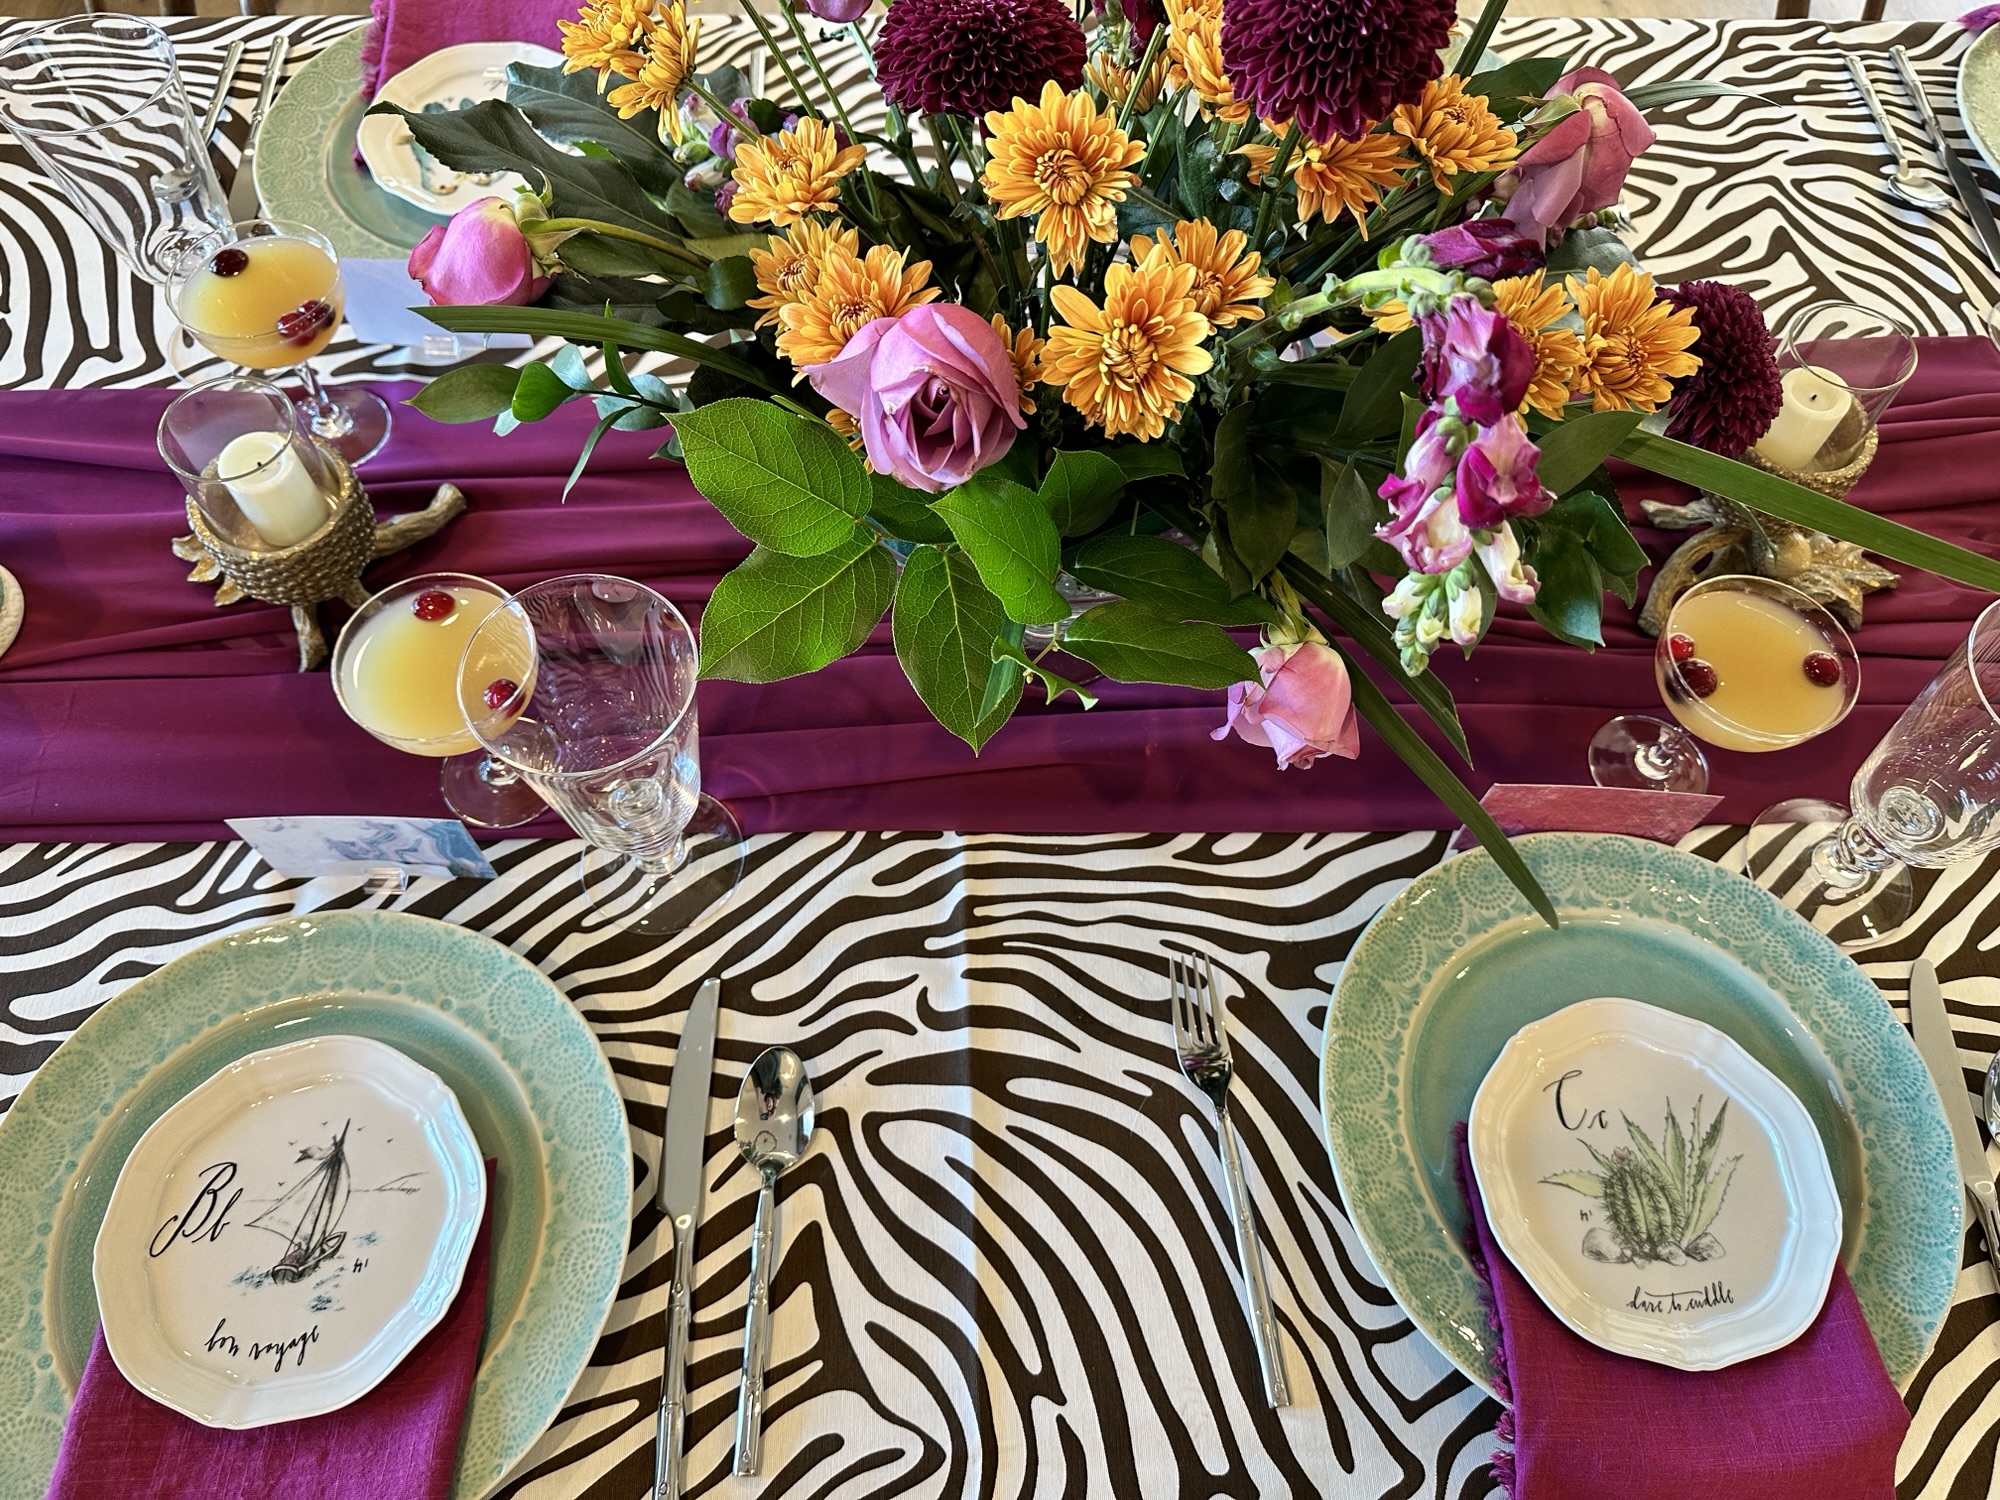
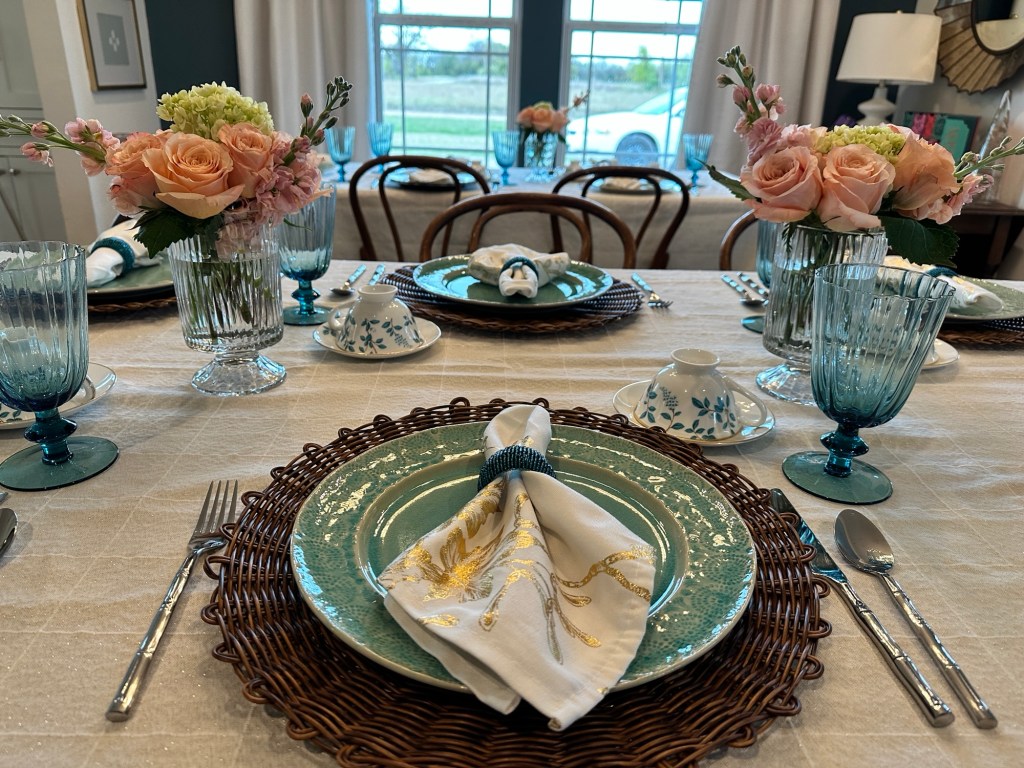
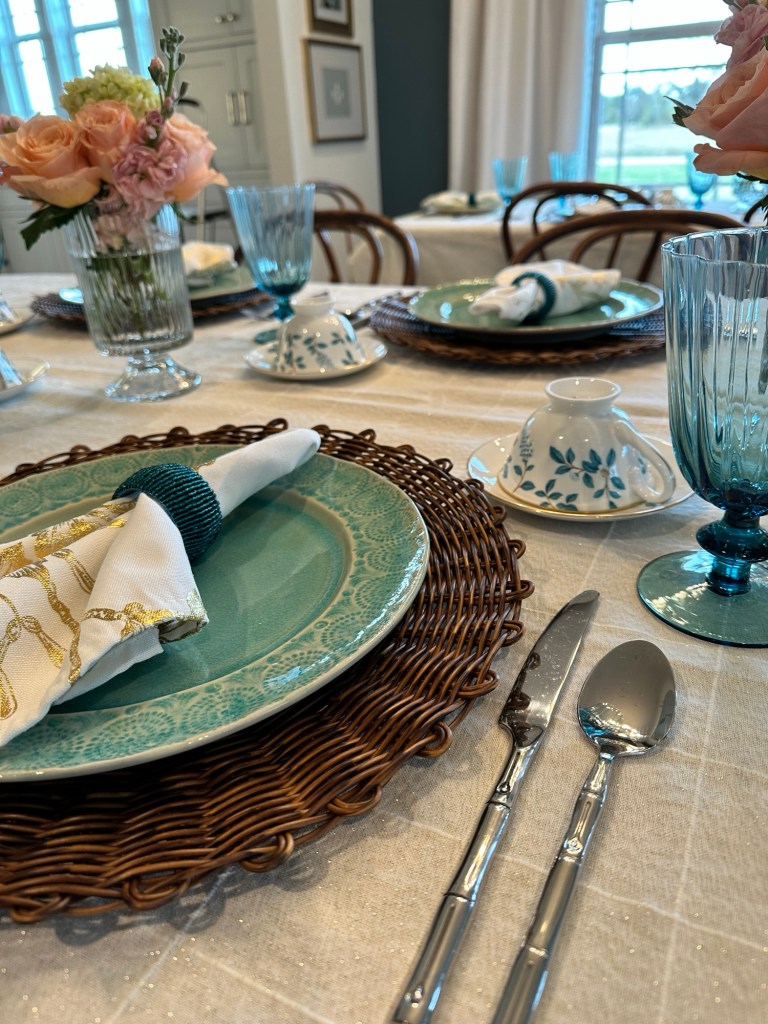
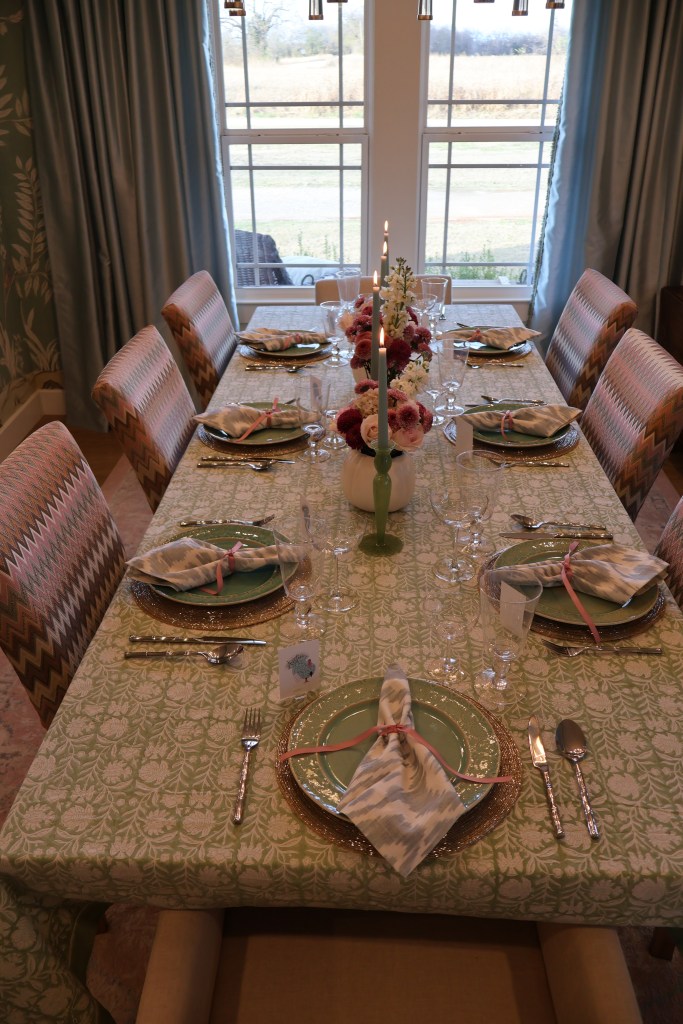
I scoured the internet for the perfect (and affordable, let’s be reasonable here), tablecloth to set the stage but not overshadow. When I stumble into blue and green, something comes over me. I’ve decided that this year calls for Dopamine Dressing – wearing things that make you happy! Blue and green and pink. Always. Forever.

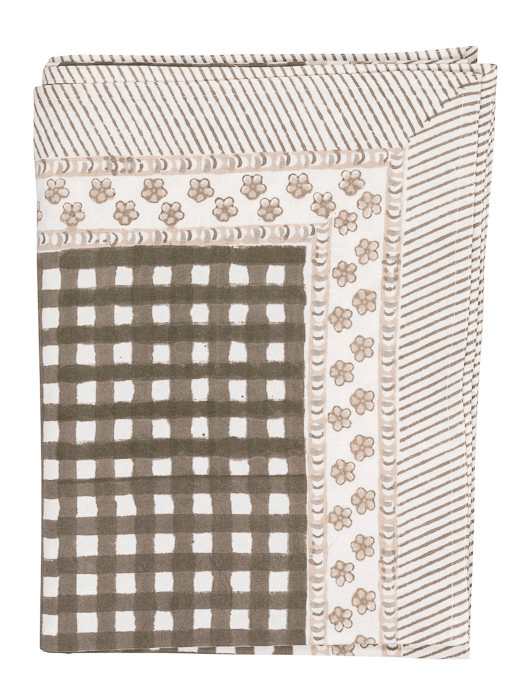
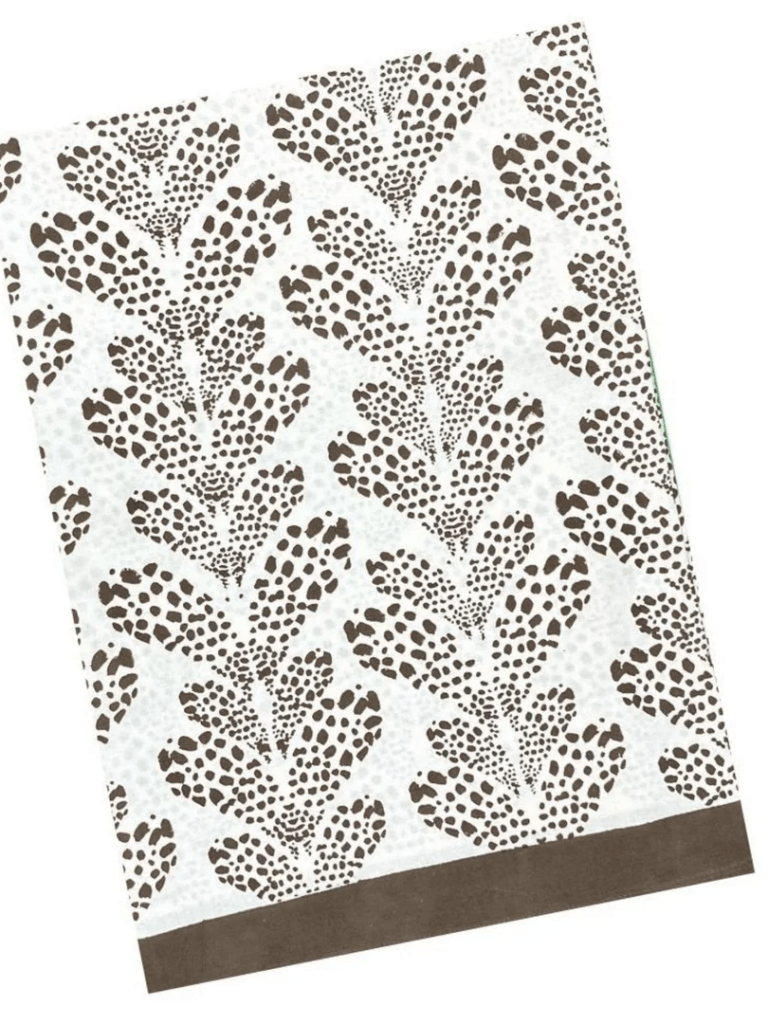
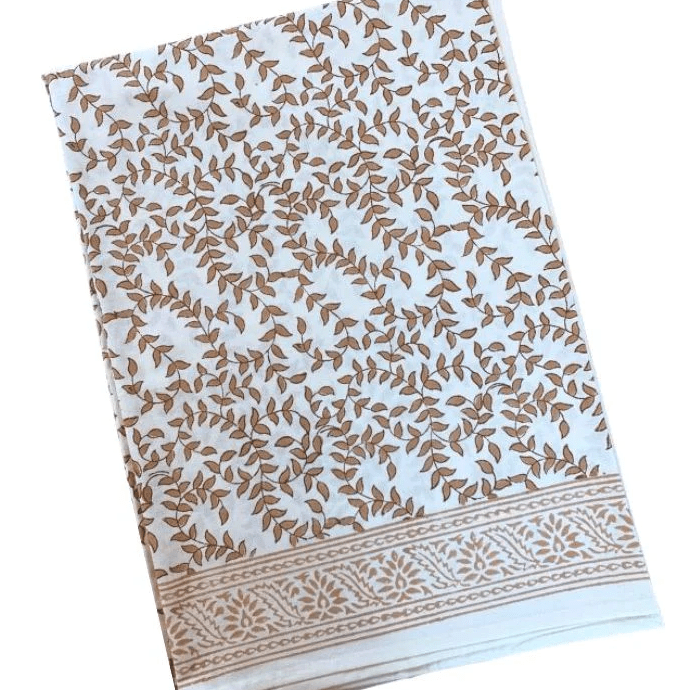
I love a patterned tablecloth! I try, oh how I try, to love a solid. I add table runners, placemats, flowers, and still? It feels so sad. Patterned it must be. I decided on this block print beauty from Amazon. I was torn between this and the purple (more fuchsia-ish), but this felt right.

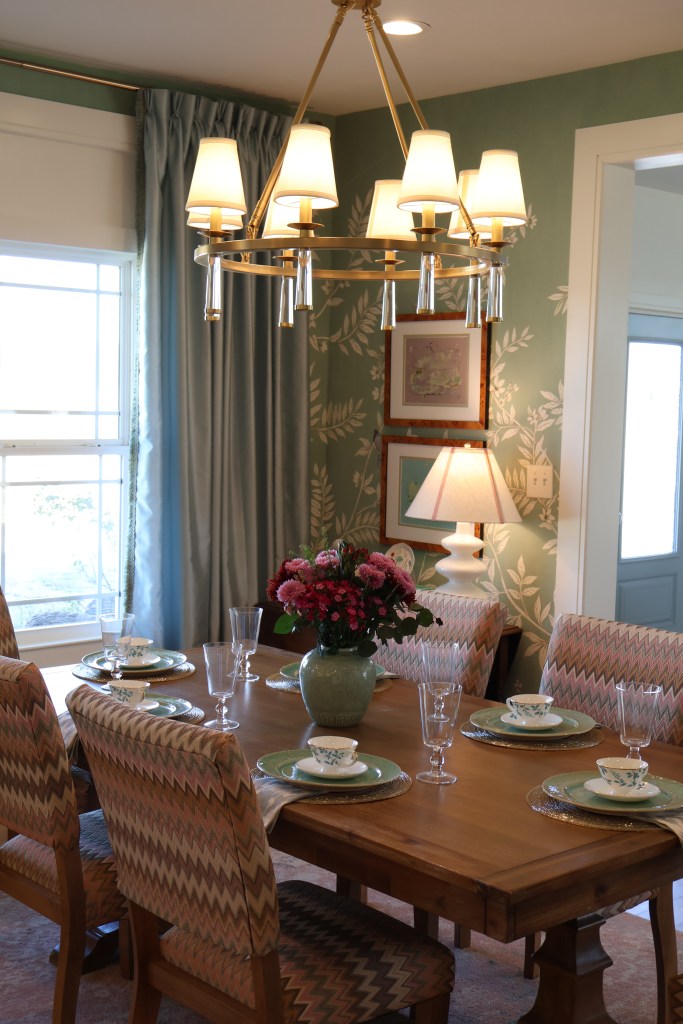
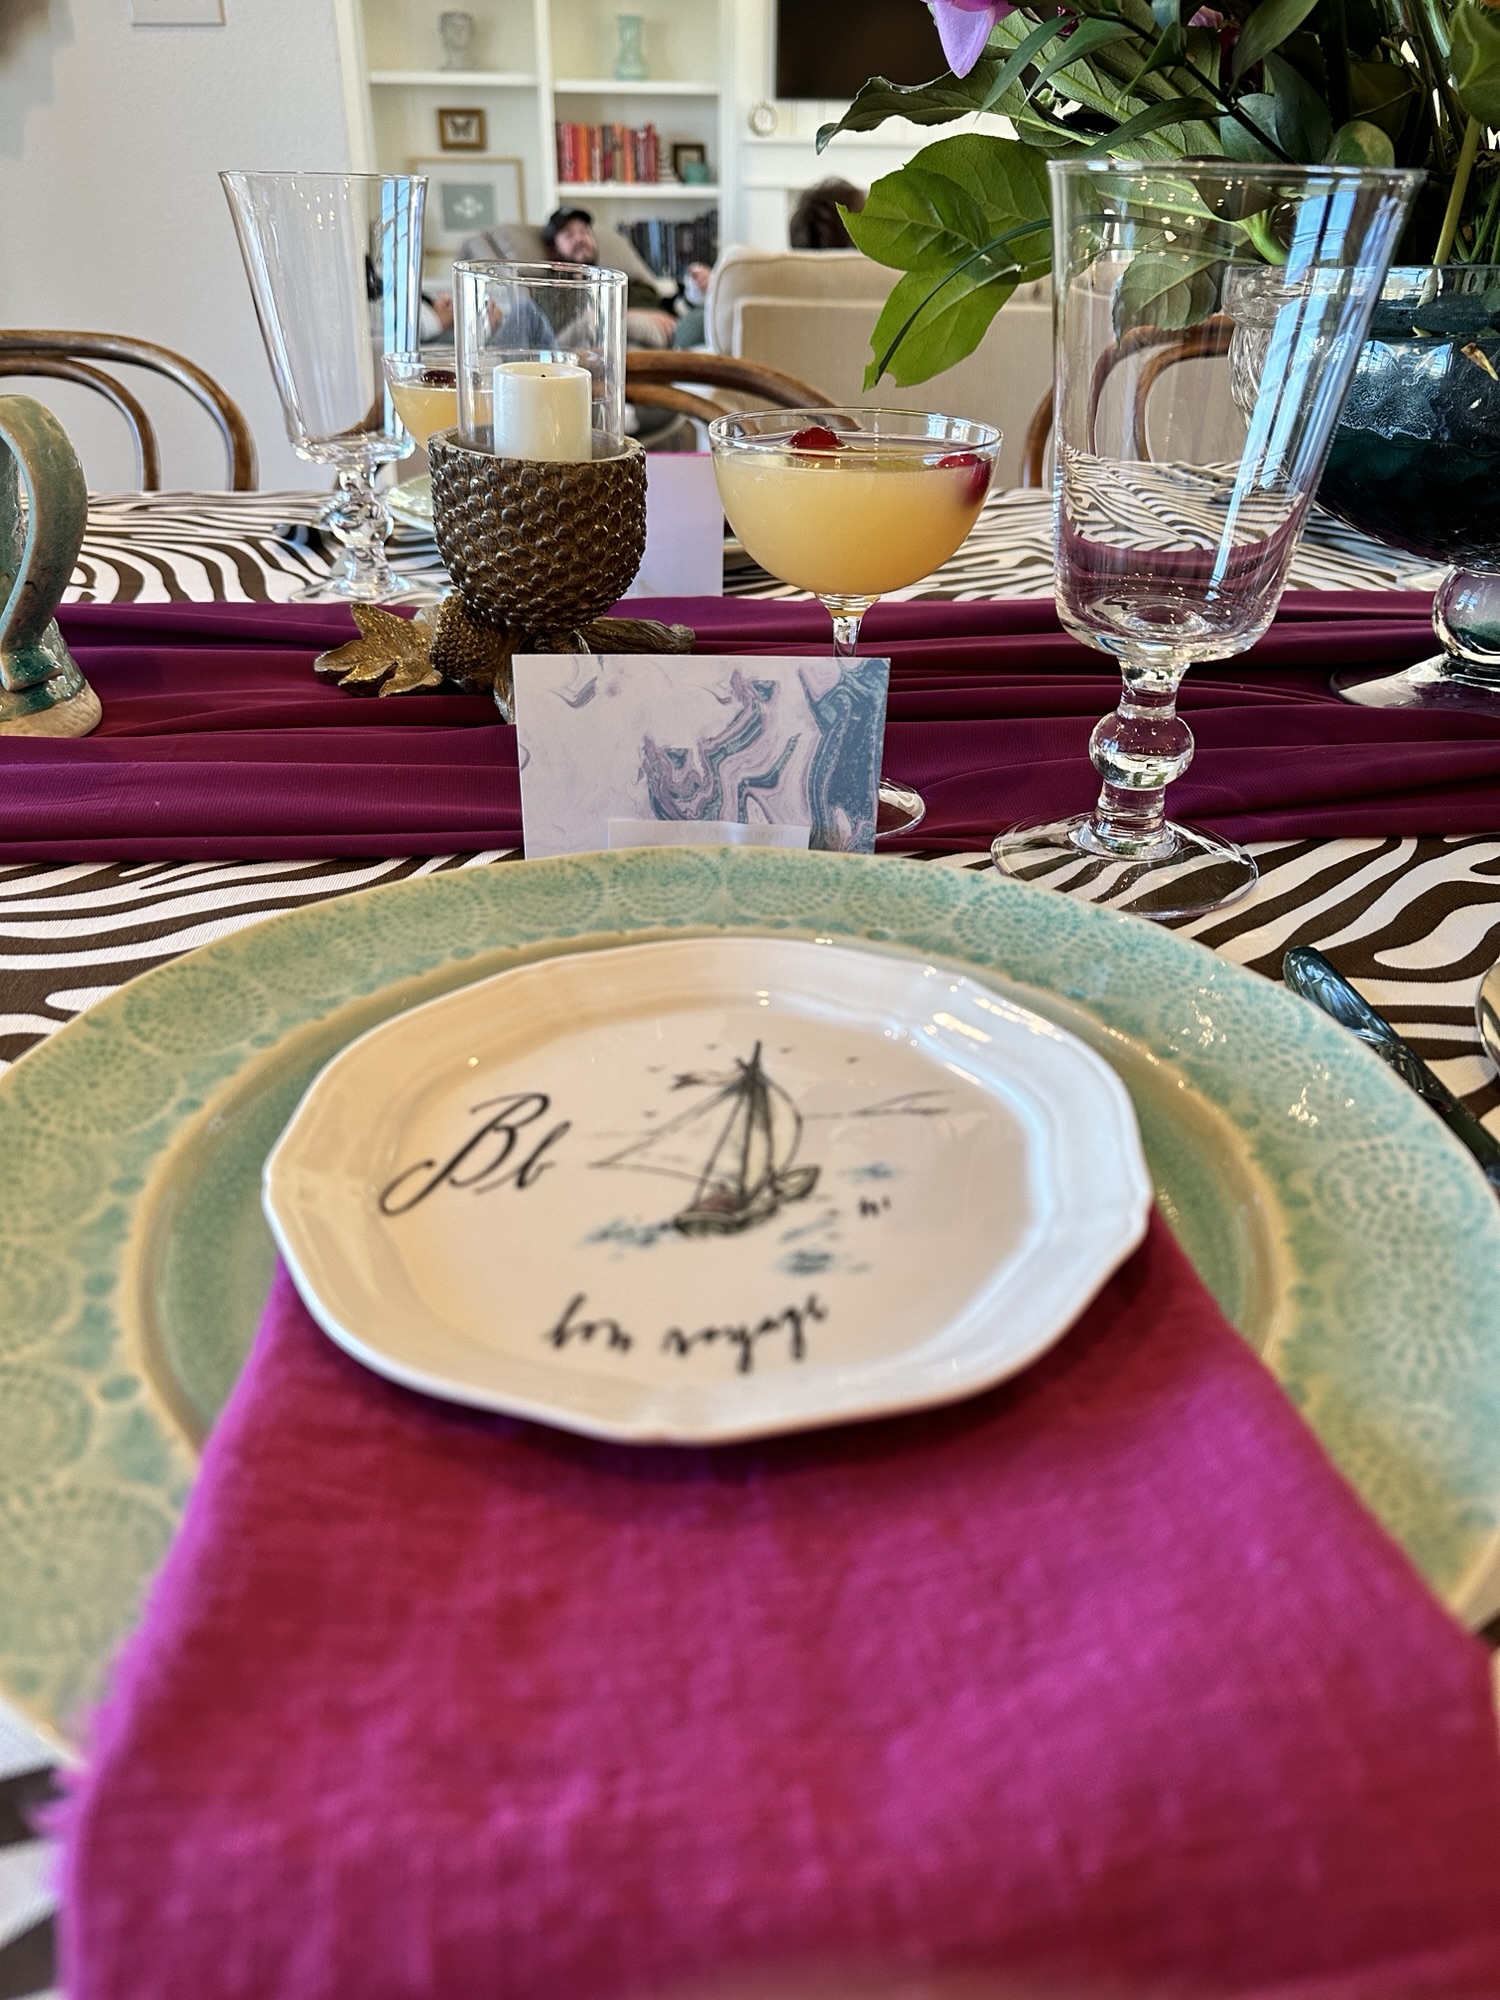
I wanted sparkle, I wanted glam! This is a debut, after all. Champagne beaded placemats. Is that a question? Not here!

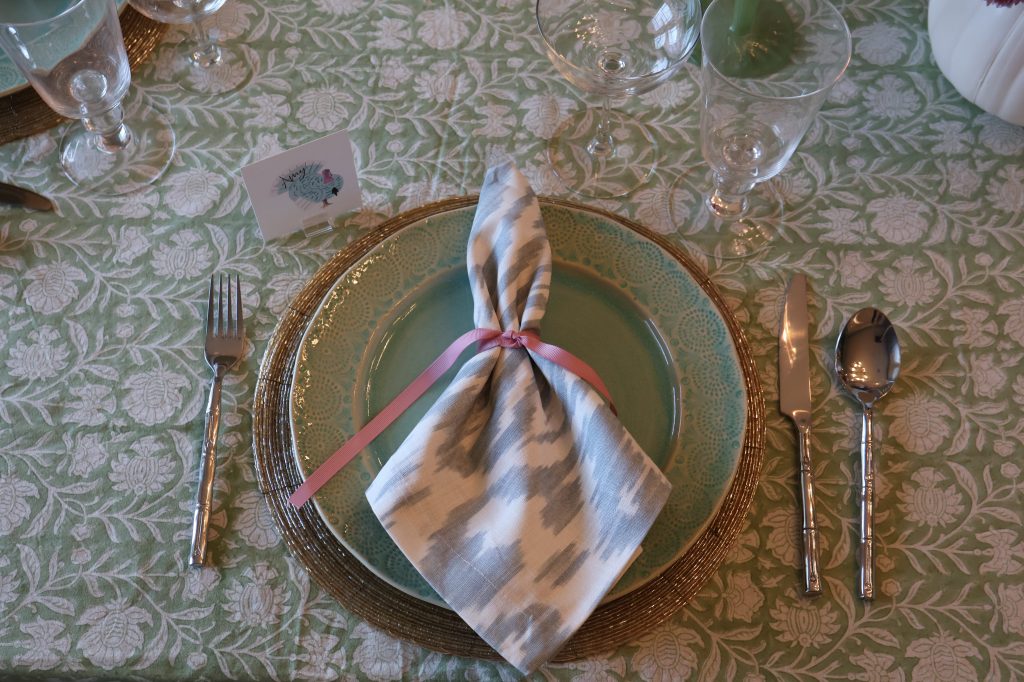
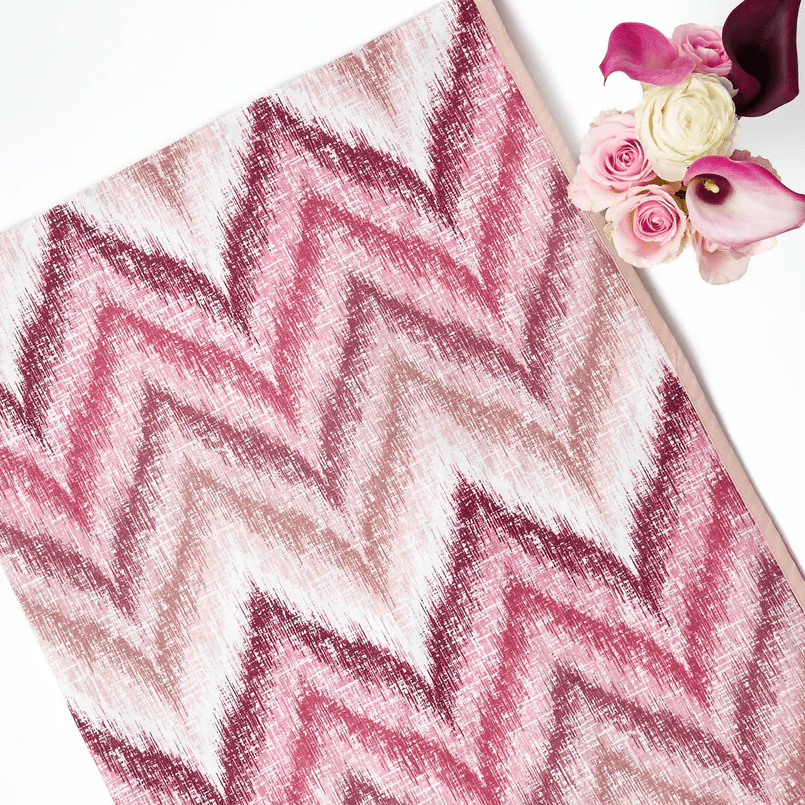
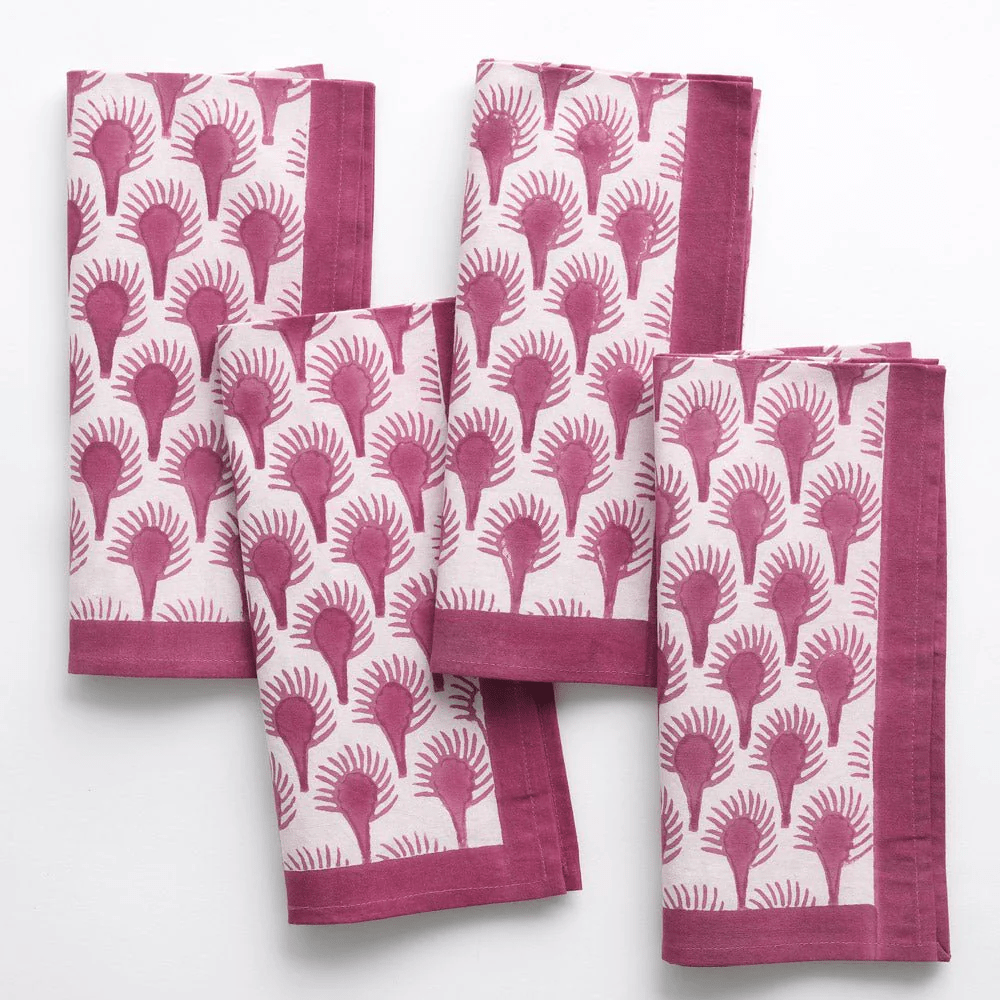
I’ve been drooling over this Ikat print from Pottery Barn since it came out and was able to snag the napkins on clearance! I love the burgundy and pink as well.

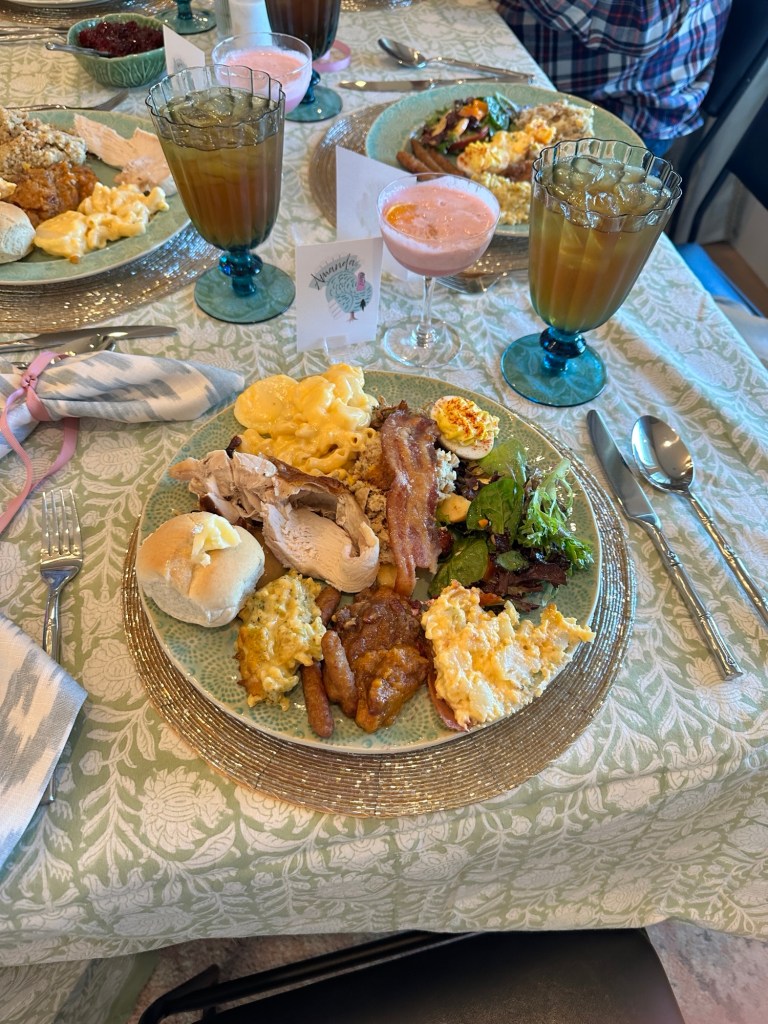
Last minute, I decided to make place cards since our group grew overnight! Using Canva, I found this turkey graphic and adjusted the colors to coordinate with my table. They are such a cute, unique touch.

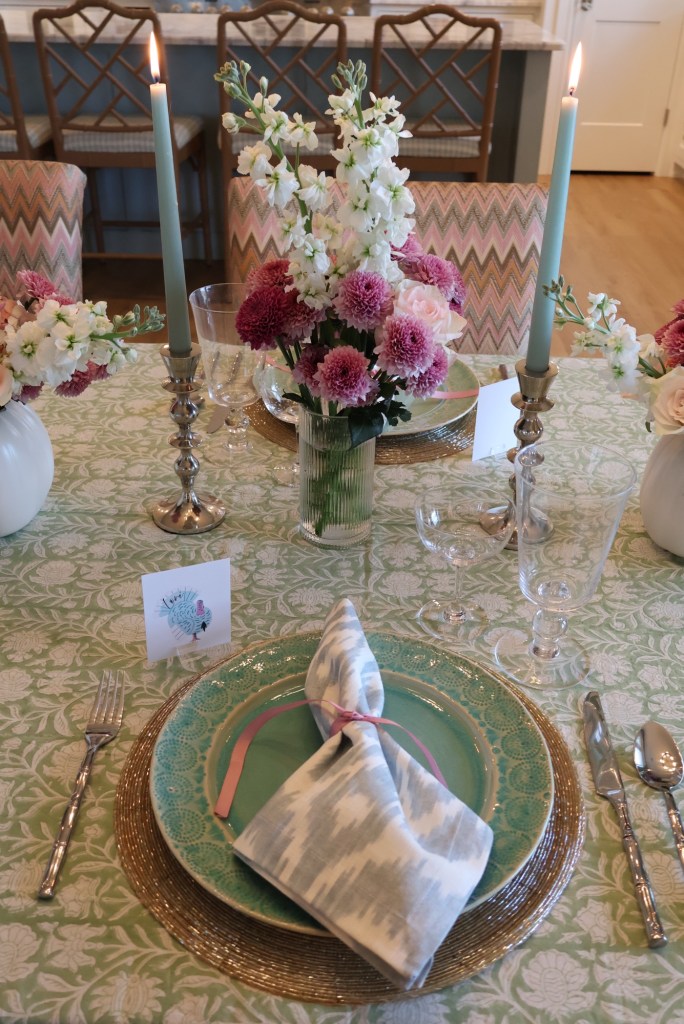
I wanted to use my new ivory basketweave dishes, but it was feeling flat. The moment my Old Havana plate hit the table, all hopes for restraint were lost. I immediately grabbed some pink gross grain ribbon to tie off the napkins and leapt with delight! Restraint? I don’t know her.

Was it relief? Was it a flood of dopamine? Was it all a dream? I don’t really care what it was, I’m just thrilled to step back and see the fruit of so much work. And I can’t wait to share it with the people I love.

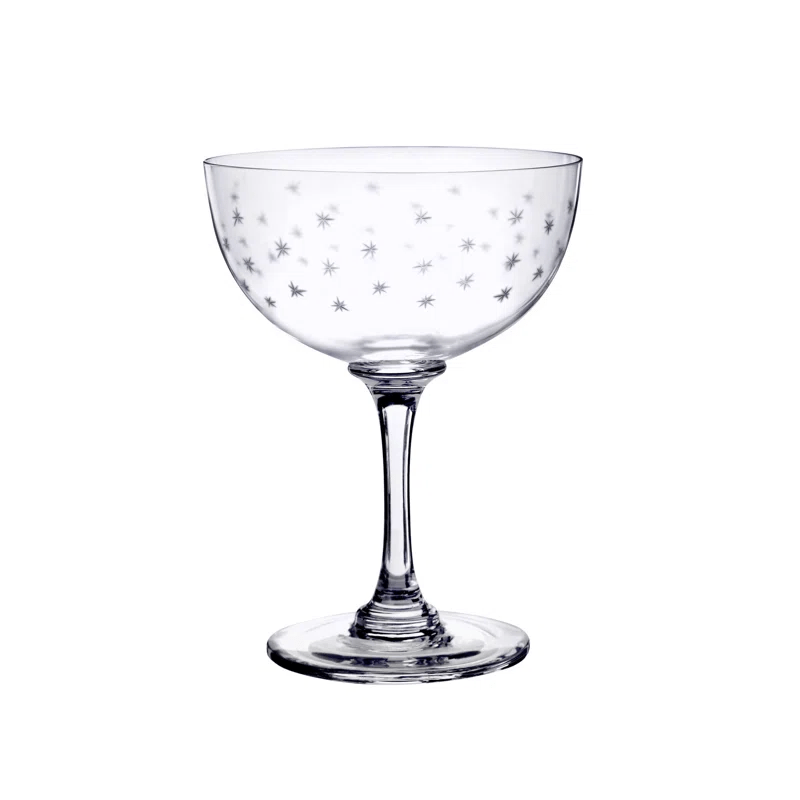
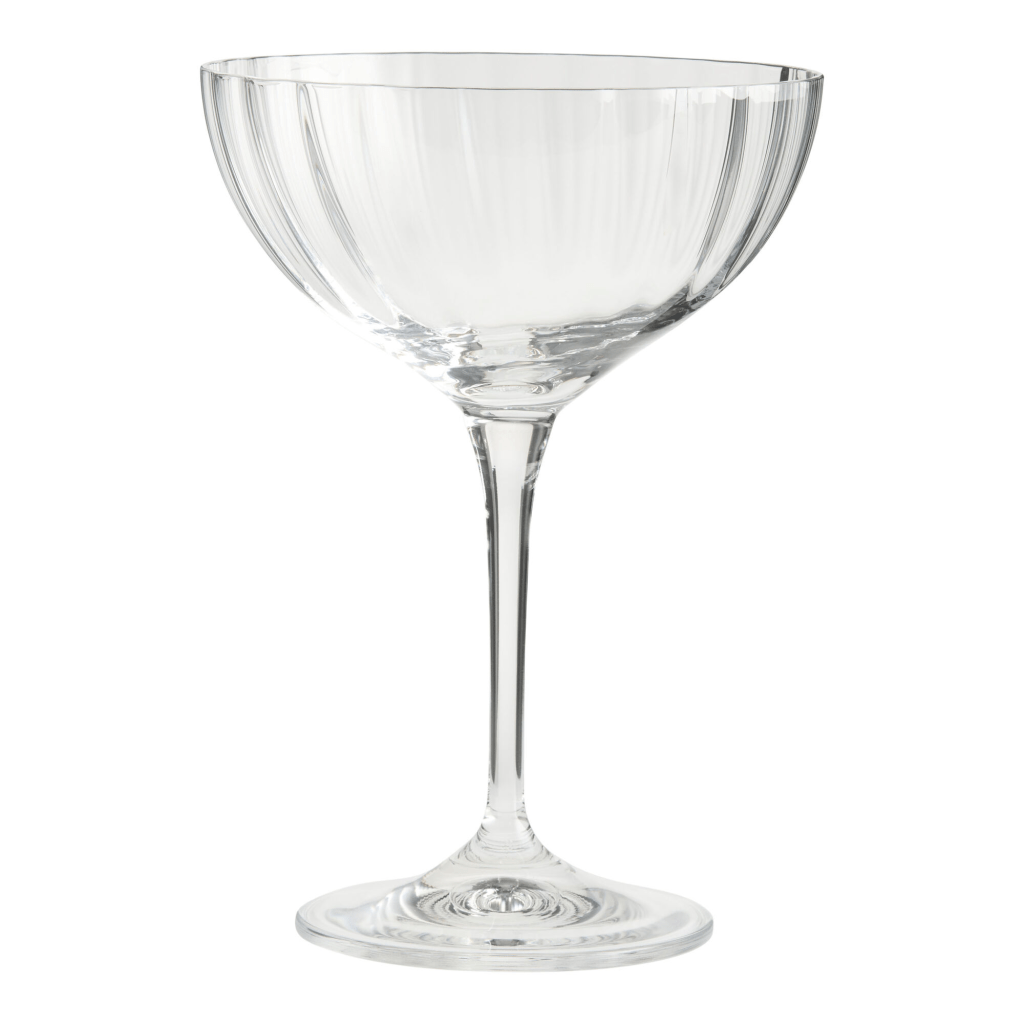
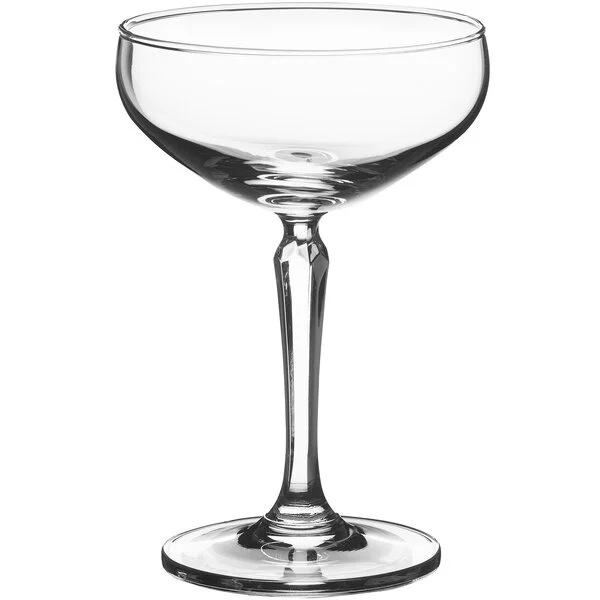
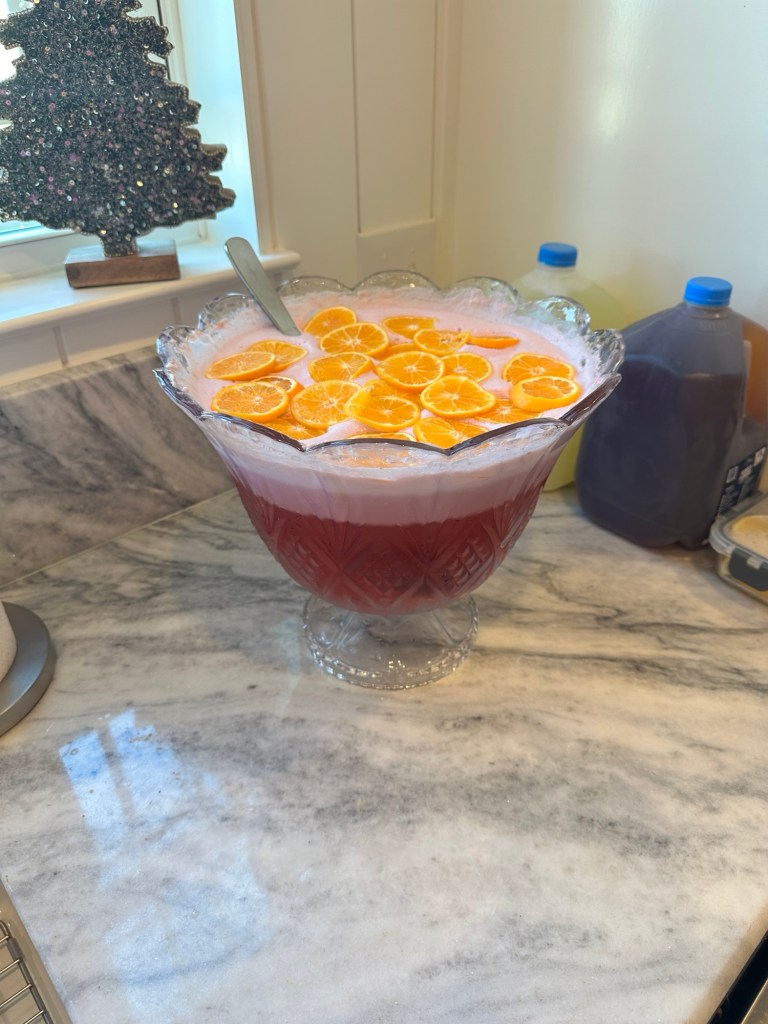
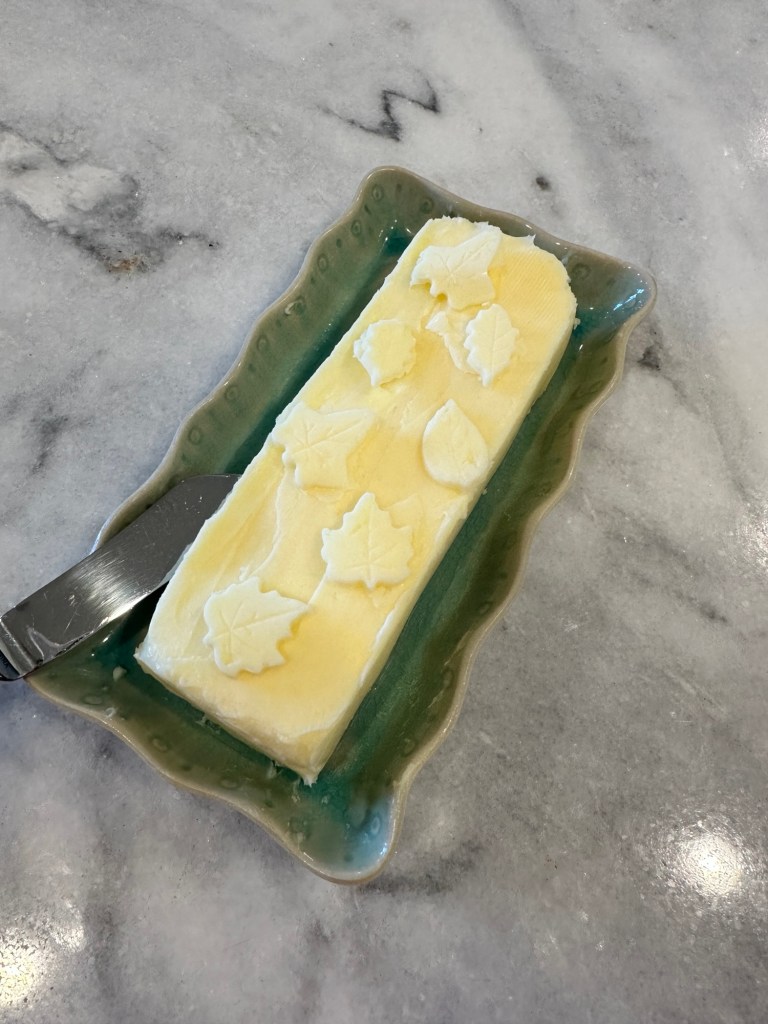
In addition to smoked turkey and my usual casseroles (sweet potato and sinful potato), I added a Maple Dijon salad with butternut squash and candied pecans, homemade cultured butter, and did a punch in coupe glasses to dress up the table. It was a hit! We made a sample glass the night before to be sure it was a good choice, and Austin raved all night. Safe to say, we’ll be making more!

I hope you and yours had a blessed and happy Thanksgiving, wherever you are.

xo, Amanda

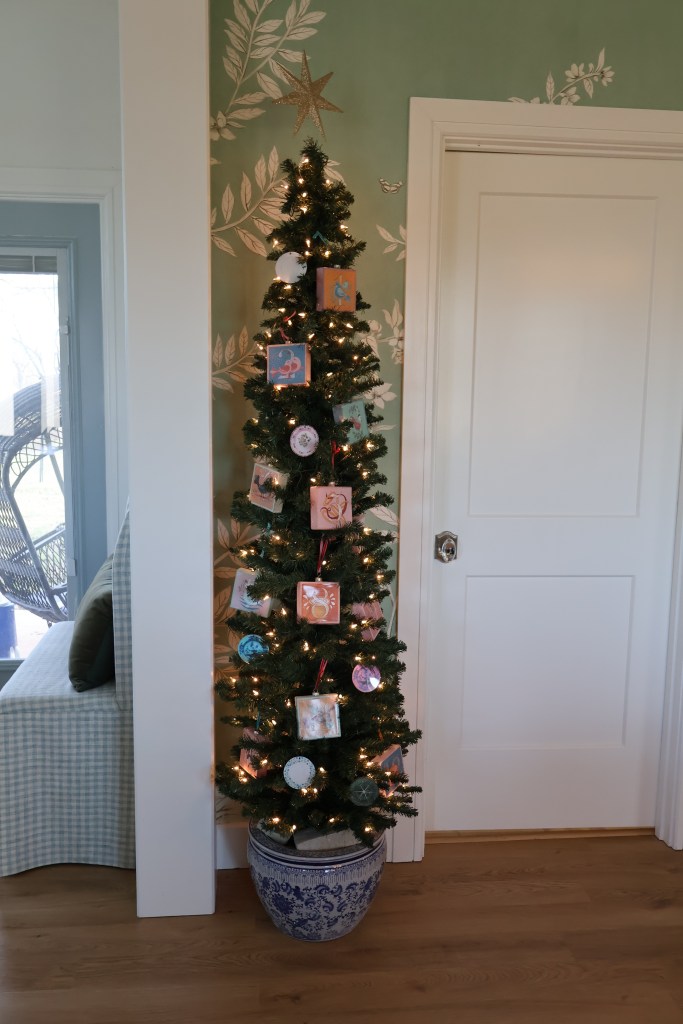
P.S. Tutorial for these custom china plate ornaments coming soon!

Dining Room Makeover: The Reveal!

We have finally crossed the finish line! Months of dreaming and working and creating are finally paying off. That being said, is a room every truly finished? According to Austin, yes. According to the rest of the world? We’ll see.

You know Mr. Darcy had to have a cameo in this reveal. I love the extra something the velvet ribbon added to this lampshade. It was missing something pink in this corner, and this was an easy project to finish it all off.

I love Alexis Walter Art, and was finally able to snag some prints. I took them to Hobby Lobby to be framed in these gorgeous burl wood frames.

Such a fun project. Hope you enjoyed following along!

xo, Amanda

Dining Room Makeover: Soft Furnishings

Finally! The wait for fabric and drapes is over.

First up, the drapes! I bought them from Neutral, an online shop that makes custom sized curtains. I was searching all over for affordable (but not cheap or requiring hemming), aqua-ish, silk drapes. Preferably pinch pleated and 50ish inches wide.

I found the perfect hue in the Rina Premium Silk Drapes in Cyan. I was torn between Cyan and Light Blue, so I ordered samples of both. What arrived was two sample books: one of all the Rina Silk options and one of all their lining options. That made the decisions so much easier! Thanks, Neutral! (Not sponsored, a girl can dream.)

I ordered them on 10/14 and they arrived 10/24. I was concerned due to recent customs issues, but they had no issue making the leap from China to me. They even came with adjustable hangers to hang them on the curtain rings.

Of course, I had to dress them up with this trim from Etsy. Even Austin agrees that the trim was a necessary addition to tie everything together. I sewed them on with just a straight stitch. So far, so good! Then I left them to train after steaming out the creases.

Next up, I ended up ordering the chevron fabric after all, much to Austin’s chagrin… he’s coming around, I promise :).

My original plan was slipcovers, but after several attempts and making 10 yards of piping, I gave up and grabbed my staple gun. All was well until I got to the back and had to reckon with my decisions. Thankfully, I was going to reupholster a different set of chairs once upon a time, and had bought this metal tack strip that saved the day. Thanks, past self. I love when that happens.

I attempted scallops. Did not go well.
Made an absolute ton of piping. Did not use.

When Austin got home, we worked on the back, and wouldn’t you believe that it actually worked?! I wish I could say I was less surprised but wow, could it all really be so easy? Ask me again in a year for how they’ve held up.

Whew, y’all. I can see the finish line. It’s still past five chairs, but it’s there. With three week until Thanksgiving. Tender mercies.

I’ll keep you posted!

xo, Amanda

A Jewel Tone Thanksgiving 2023

I love to host Thanksgiving! I love the planning, the prep, and most of all: the table scape! When planning for this year’s table, I could not get the brown zebra tablecloth from Mrs. Alice out of my head. The second it went on sale I snatched it up! Who even am I?

That tablecloth has sold out, but here are some similar options.


My “wedding china,” if you will, is the mint Old Havana line from Anthropologie. I say that because Anthro started doing wedding registries a month after I got married… So I would buy myself a few plates during sales or with extra money I had saved, and now have enough dinner and salad plates for 14! I love how the mint goes with so many color schemes. Mint and Lime, Mint and Red, Mint and… Fuchsia!


Bam! There it was, the most gorgeous combo for a fall table: Brown, Mint and Fuchsia. I immediately began the search for napkins. I love World Market napkins, so that’s where I went first. They had the fuchsia I was looking for. I linked a few different options, including disposable if that’s your flavor, below.

While looking around, I saw these adorable Table Dare cards from Anthropologie. I loved this idea! Since I had more guests than cards, I opted to make my own. I scoured the internet for appropriate, and non-humiliating dares (which was a little hard to find) and came up with the rest.

“Recite a Haiku about your favorite Thanksgiving side dish”

“Place a roll in your mouth and let Finn [my dog] take a bite.”

“Draw a turkey using either your teeth or your toes.”

We had so much fun with these!

I attached them to place cards made from marbled paper and dispersed them randomly (making sure that the ones for guests or older family members were the easiest and least humiliating, of course). Then I made sure no one peeked before it was time to play. I love the way the marbled paper adds a little more texture to the table.

I added little coupe glasses, also from Mrs. Alice, with little stars etched on them. They are so adorable pared with my favorite goblets from Belk. And how perfect are these dessert plates from Anthropologie!? They have long since been discontinued, but I’ve found some on FB Marketplace and eBay over the years. You can collect the whole alphabet!

My coworker was kind enough to make the floral arraignment for me. Thanks, Katie! It was so good until I had to rush home for an emergency, causing the flowers to dump over in my car… While cleaning my car, I sat the container on the floor and my dog Daisy ATE MY HYDRANGEAS. Well, didn’t eat them, per se, but they were shredded. Why?? So I had to adjust them the next day sans the hydrangeas.

It was certainly an… eventful Thanksgiving Eve. But Thanksgiving Day went off without a hitch. I desperately needed fun, laid back family time this year and that’s exactly what it was! Beauty can always be found in the midst of suffering, and somehow it’s always sweeter.

xo, Amanda

Thanksgiving 2024: Turquoise, Peach and Brown

During our trip to London, we stopped at Fortnum & Mason, where I fell in love with the Camellia White tea ware. I could not get it out of my head! Just like the cabbage ware for my brother’s baby shower, it was just meant to be. I love the way it plays with my “fancy” china – Anthropologie’s Old Havana line in mint. Perfection.

I started with my favorite, Microsoft Word, and laid out my ideas. The teal glasses are from Walmart’s line with Drew Barrymore, which are sadly out of stock. There are always options for teal/blue goblets online, or in my favorite place to search: Facebook Marketplace.

These placemats from World Market always help keep the place settings from feeling too feminine. I love a girly table, but just like in decor, there should be balance. The tablecloths are courtesy of TJ Maxx, and they have a subtle gold shimmer.

As you can see, my plan included white florals. But, alas, I could only get my hands on peach. That’s okay! Short of ordering in flowers online or from a florist, you just have to get what works the best. I used similar cut glass vases from Amazon.

The napkins are old Hobby Lobby, but these would be beautiful as well! I chose the darker teal napkin rings to compliment the goblets.

We had 14 for Thanksgiving last year, so we had two tables. I love hosting Thanksgiving, and am so grateful for time with family. And pumpkin pie 🙂

xo, Amanda

Dining Room Makeover: Wallpaper is complete!

It’s been a busy few weeks, and I am thrilled to show you the progress!

So, we left off at putting up the trim. I then spent every day off priming, caulking and painting. I was dragging my feet and making excuses for a few days before attempting the wallpaper. After getting a $2,500 quote to hang the paper, I realized I am definitely cheap enough to try to hang it myself, and since the paper is affordable (unlike our Farrow & Ball paper in the primary bath), I figured the risk was worth it.

After watching a lot of videos on YouTube (shout out to Spencer Colgan Wallpaper & Painting, I would be lost without his instruction!), I finally worked up the courage. Per his infinite wisdom, I decided the best place to start was over the kitchen side opening. I went a little cheap with the paper, estimating that since they are 10′ panels, and my ceilings are only 9′, I could use the excess to cover the stretches of the cased openings, saving having to buy enough rolls to cover them. It worked like a charm!

First panel, I thought, “um, is it really this easy??” And then panel two…. I had to do my first match while simultaneously doing my first corner…. Tears were shed. Lots of them. And when Austin didn’t answer his phone, I sucked it up and found a roll of painter’s tape for an extra set of hands. I made changes for the next corner, for sure.

Pro Tip: I found it easier to do a corner if you only paste one part of the wall at a time. So, most of the time I pasted matching wall, then cut the paper, then pasted the adjoining wall. The third corner I chose to do backward, since it was such a small space and the panel needed to be level with no reference point.

Which brings me to my next Pro Tip: get a laser level!! It was the real MVP of this project. Since there were three areas where the pattern would have to line up without a reference point (i.e., on either sides of the window, and the cased openings), the laser level saved the day. It has both vertical and horizontal lines, and the satisfaction of having all the blue birds line up on the horizontal line is a dopamine hit like no other. So. Satisfying.

This project took 14 hours over two days. And while I could point out every area of mistake, I am proud to have completed this by myself! I took the paper to Home Depot to be color matched to fix some spots where I cut the top too short, or made scratches in the paper. Is it visible in the right light? Yes. Is it visible under the lights I’d have on for guests? Not really. I can live with that.

Don’t be afraid to step out of your comfort zone, you can learn anything!

xo, Amanda

Dining Room Makeover Part 3

We’re back from another weekend of working on our dining room. Are we slow? Absolutely. But who cares? We can take as much time as we want, it’s our house! Feel free to take the time it needs when doing the same in your own home. It’s okay to resist the made up, social media inspired timelines for your life.

Anyway, we are so, so happy with how this is turning out. This is how we started: openings with no trim. When our house was being framed, I noticed that there were no visual breaks in the ceiling between the rooms in our wide open first floor. My husband and our contractor quickly framed out some openings before the drywall sub came out.

In order to add the trim and not look silly or have to be cut (since our thermostat is just on the other side of this little wall), we had to build them out.

Then we started on the trim boards! The amount of shims needed to make the top of these openings level was comical…

This part took the longest. But, boy was it worth it when the trim went up. When we tacked up our test pieces they lined up perfectly. Ahhhhhhh!

It took a while and a few trips to Home Depot and the lumber yard where we bought our windows and doors to figure out what trim to use. I didn’t realize our door trim came in a 5 1/4” width, and I am so glad, as it is exactly what should have been there all along.

The most tedious parts of the trim were the top pieces. It took several tries and saw-blade length cuts to get right. One piece was cut just too short. I was prepared to leave it, as it was 10pm by that point. When the question was raised, Austin said, “I’m a perfectionist. Let’s try one more board.” I knew I loved that man! And of course, perfect. Except that we needed another long board to finish and the lumber yard was closed. Still, #worthit.

While this was going on, I kept feeling that the window just didn’t match the new trim. Austin, being the sweetheart that he is, pulled the 1×2” boards off the main trim to see if it would work. And there it is! With the casing trim around the edge, it’s just like it was supposed to be.

While we didn’t get as much finished as I’d hoped, I am so pleased with the results that I don’t even care. Enjoy the process!

xo, Amanda

Dining Room Makeover

You guys, I am thrilled to share this project with you! It has been an open tab in my head for so long, and it is finally starting to come together!

We built our house in 2020. That’s right, just a couple of weeks after lockdowns, we signed for our construction loan. What felt like a really bad time to begin this project ended up being the biggest blessing. Our build required more time on site than we realized, and since Austin was working from home during that time, he was able to present when needed. I am so very thankful for that, since we normally have very busy lives.

After the build, Austin was, understandably, not open to doing projects around the house. But four years later, I’m glad to report that we have started our first, major indoor project!

Our downstairs was designed so that we can seat 20 people on a dime. If you’ve read this post, you’ll see that we had 27 seated in this space for a Friendsgiving. Being an open space, much advice was given about our dining room. I am not opposed to color drenching, wallpaper, etc., but it’s surprising how many people are! So, we started with accent walls in Inchyra Blue by Farrow & Ball. And while I love this color (also used in our upstairs guest bath), I realized our home is a Spring. You know, like the color wheels you get when you go for a color analysis. I love bright and light and cheerful. Blues, greens, and pinks.

I have always loved the chinoiserie murals of Gracie and Degournay, but they are woefully out of budget. Enter the Vining Beauty Mural from Anthropologie. I saw this shared on The Broke Brooke’s instagram and fell in love with both the print and the price. And surprisingly, after showing Austin probably 100 options for wallpaper, he agreed on this one. I’m sorry, who are you? Time to get this off the ground before he changes his mind!

We had to have our flooring replaced last week, as it started to buckle with no explanation as to why. Johnson City did not honor our warranty, so I cannot recommend their products. I can, however, recommend Gold Star Carpet One for honoring the warranty and installing the new flooring. We are so grateful to them! Our new floors are Coretec Antique Oak and we cannot love them more. Changing out the wide plank for a smaller plank makes the house feel more timeless, and I love the flush planks instead of the bevels.

Since we had to move everything out, it made sense to go ahead and start skim coating and framing things out. I decided to frame out around our windows in an attempt to stop the damage caused by our Heeler, Finn, parkouring off the walls when he gets the zoomies. I had the idea in my head, but struggled to find a photo. This was the closest I could find. Imagine a much less detailed version of this in a shaker style.

My very favorite home design tool is Planner5d. This 3D mockup tool helped me so much during our build to visualize the rooms, furniture choices, paint colors, etc. It is truly a life saver! Here is a mockup of the dining room windows trimmed out.

Now to the pretty stuff! As always, I start off making a mock up of the design. I usually use Microsoft Word, but this time I used Canva. Like I said earlier, blue and green is my favorite combination. The green background of the mural plays so nicely with the blue on our kitchen island, and doors in the living room. I have pillows and upholstered barstools in the gingham fabric. I am still debating painting the faux bamboo china cabinet, what do you think? And while chevron is so 2010, I feel like this version I’m considering for the dining chairs feels so fresh!

Similar Dining Table | Rug | Demilune Cabinet | Curtains | Chevron Fabric | Pink Fabric | Trim | Lamp | Chandelier | Bar Stools | Dining Chairs | Gingham Fabric | Mirror

We started skim coating the walls this week, and got the lumber to frame out the windows yesterday. I can’t wait to see how this turns out!

xo, Amanda