Egg Bites: I Thought I Was Spontaneous

“I’m definitely the more spontaneous of the two of us,” I said to my coworkers about my husband and I. “You literally eat the same egg bites at the same time every single day” was the response. Coworkers: cheaper than therapy… Ha!

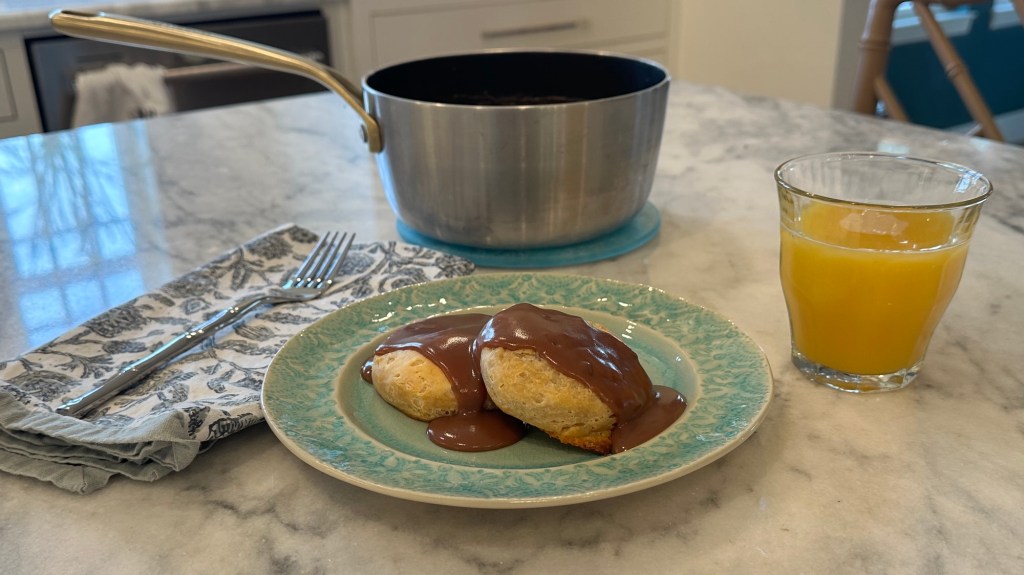
And they were right. Every two weeks I make a batch of egg bites to take for my work breakfast that occurs at promptly 09:00… Is that a bad thing? Clearly I have no qualms about it. It’s the perfect breakfast: freezer friendly, prepared in 30 minutes, microwaves in 2 minutes and can be eaten quickly at my desk. No decisions, just grab and go. Sometimes I make baked oatmeal muffins to go with them, but they’re pretty perfect on their own.

So, if you want an easy breakfast idea, here ya go!

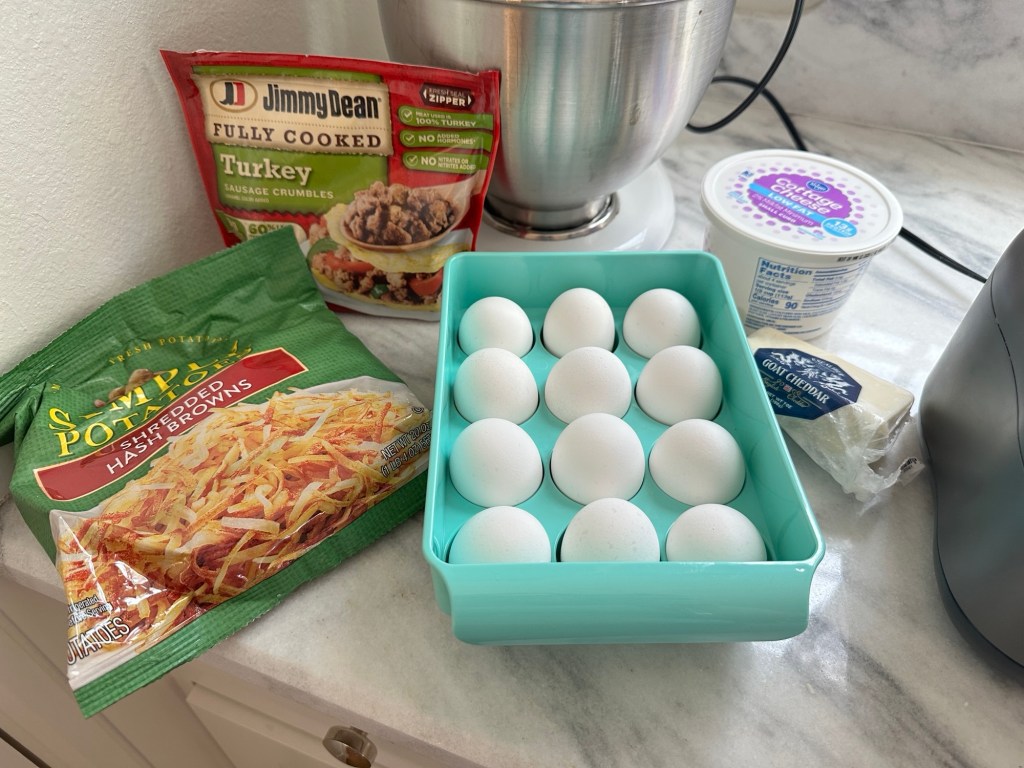
I’ve made these in a variety of flavors, but they always include: 12 eggs, 4oz cheese, and 2/3 cup cottage cheese. The easiest kind have half a package of the Jimmy Dean Turkey Crumbles. And voila, my predictable and fail safe Egg Bites.

Egg Bites (6 servings)

  • 4oz Cheese (pre shredded or not)
  • 2/3 cup Cottage Cheese
  • 12 eggs
  • 1-2 tsp Salt
  • Garlic Powder
  • Onion Powder
  • Paprika
  • White or Black Pepper
  • Meat and/or veggies of choice*

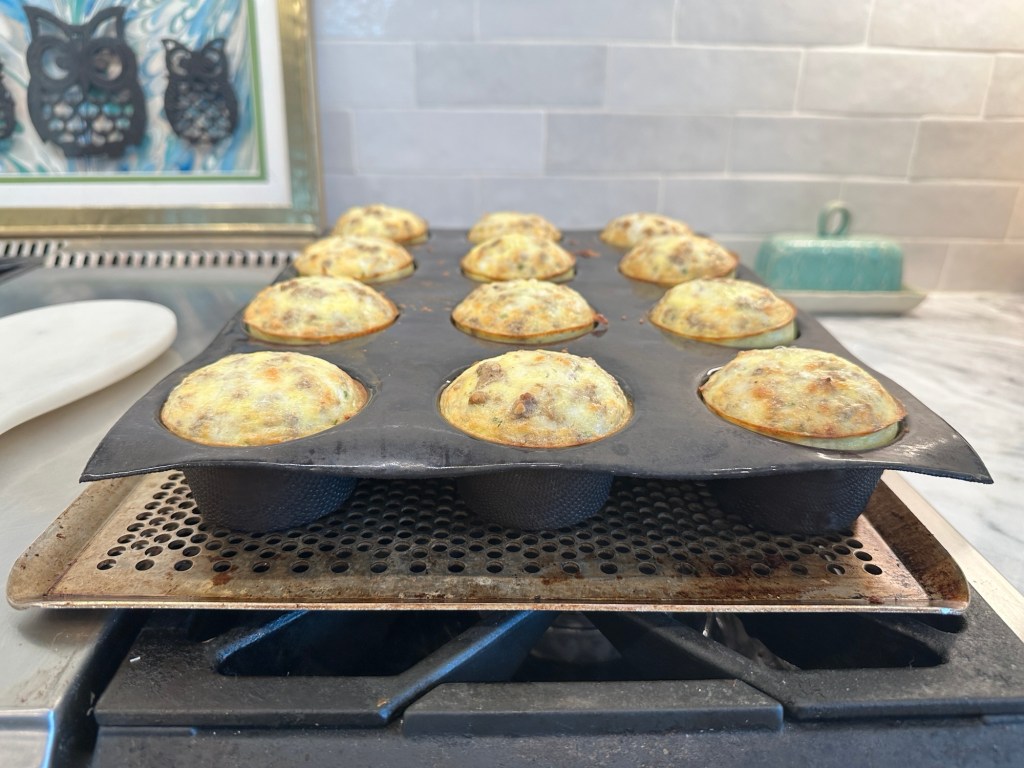
If using block cheese, either hand grate or use attachment for food processor. Change blade to regular blade and add to processor the eggs, cottage cheese, and other mix-ins as desired. Mix on low until combined. Pour into 12 muffin pan, bake at 350* for 25 mins. (You may need to bake longer, since my oven bakes hot)

Remove from oven and let cool. Place in freezer bag and freeze if desired. Serving size is 2.

*My favorite combinations so far:

Turkey Crumbles and Butternut Squash with Rosemary

Turkey Crumbles and Broccoli

Canadian Bacon with 1/4ish tsp Mustard Powder

Turkey Crumbles and Simply Potato Hashbrowns

Basically anything you want can be made into egg bites!

If you prefer egg whites, I’ve reduced the eggs to 8 or 10 and added liquid egg whites to the level in my food processor it would usually be. They don’t fluff up quite as well, but they’re still tasty.

Let me know what you think!

xo, Amanda

In the Beginning: Chocolate Gravy

Does it have meat in it? Do you mean “brown gravy”? The two most asked questions when my friends and acquaintances are met with the idea of Chocolate Gravy. I always chuckle lovingly as I explain the treasure that is my very large, very loud family’s favorite breakfast.

My dad is one of six siblings who are all very close. I grew up spending every summer at Ouachita Lake, Arkansas where my family, including 15 first cousins, gathered at the Highway 27 Fishing Village. So famous were we that they welcomed us on their sign out front. Truly, we are a humble crowd…

During our summer gatherings, Family Christmases and weekends together in between, one memory remains the same: my Aunt Jeannie standing at the stovetop stirring Chocolate Gravy.

I have tried a few blogs before (remember Xanga?), but never published because it felt so daunting. What to do with a blank page? So many thoughts, but where to start? Beginnings and endings are rough, right? The good stuff always seems to happen in the middle. So, as I thought of what I wanted this space to be, I decided to start at the beginning. Those early summer mornings filled with the people I love and that glorious saucepan full of Chocolate Gravy.

Now, before we go further, I must confess that I found out I memorized a different version of Aunt Jeannie’s recipe when she made a family cook book last year. Where this recipe in my head came from, I have no idea. I had often thought it was the extra love and the fact that I didn’t have to wash the pan that made hers taste better than mine. But I am here to report that it’s the extra butter. And so I will give you both recipes, both of which carry their own cult followings.

A few tips:

  • Serve with hot, buttered biscuits. As I said earlier, more butter simply makes it better.
  • If it runs over onto your eggs, bacon, sausage or other items, don’t be alarmed! It tastes good on everything. Trust me.
  • Patience is key. In my college days, I tried to speed the thickening process by adding more flour while heating the gravy. Don’t do this unless you want still runny gravy with chunks of flour in it. Your friends won’t eat it.
  • Leftovers will keep in the fridge for a few days, but if you’re making for more than 2 people that likely will not be an issue.
  • Can this be made gluten and dairy free? I’m sure gluten-free will be no issue. I can give no guarantees about dairy-free butter. I have made sausage gravy with soy milk and gluten free flour and it worked well, but I did not use butter or a substitute. Let me know how it goes!

Amanda’s Version

  • 2 cups Milk
  • 1 cup Sugar
  • 2 heaping Tbs Flour
  • 2 level Tbs Cocoa Powder
  • 2 Tbs Butter
  • 1 tsp Vanilla
  1. Warm milk in a medium saucepan over low-medium heat
  2. Combine dry ingredients into a bowl
  3. When milk is warm, pour enough of the warm milk into the dry ingredients to make a syrup. Mix until the dry ingredients are dissolved.
  4. Pour the syrup back into the pan with the milk.
  5. Continue cooking over medium heat, stirring constantly until gravy is thick. Be patient 🙂
  6. When gravy is thick, remove from heat. Stir in butter and vanilla and continue stirring until butter is melted.
  7. Serve warm, preferably over warm, buttered biscuits.

**12/09/25 EDIT: I realized I transposed the milk and sugar quantities. The recipe has been updated to reflect the correct amounts. My apologies if you had very thick, very sweet gravy!**

Aunt Jeannie’s Version

  • 2 cups Sugar
  • 2 Tbs Cocoa
  • 1/3 cup All Purpose Flour
  • 2 cups Milk
  • 1 tsp Vanilla
  • 1/2 stick Butter
  1. Combine dry ingredients in a bowl and mix well.
  2. In a saucepan, heat milk over medium heat just till warm.
  3. Pour a small amount of warm milk into dry ingredients to make a syrupy mix. Pour this back into the sauce pan, with a whisk stir till thickens.
  4. Remove from burner, add butter and vanilla, stir till butter is completely melted.
  5. Serve over hot buttered biscuits.
  6. Leftovers can be stored in refrigerator, and reheated.

xo, Amanda