I’ll Have a Pink and Blue Christmas

Red and Green? Never been my thing. But Blue and Pink? That I can get behind.

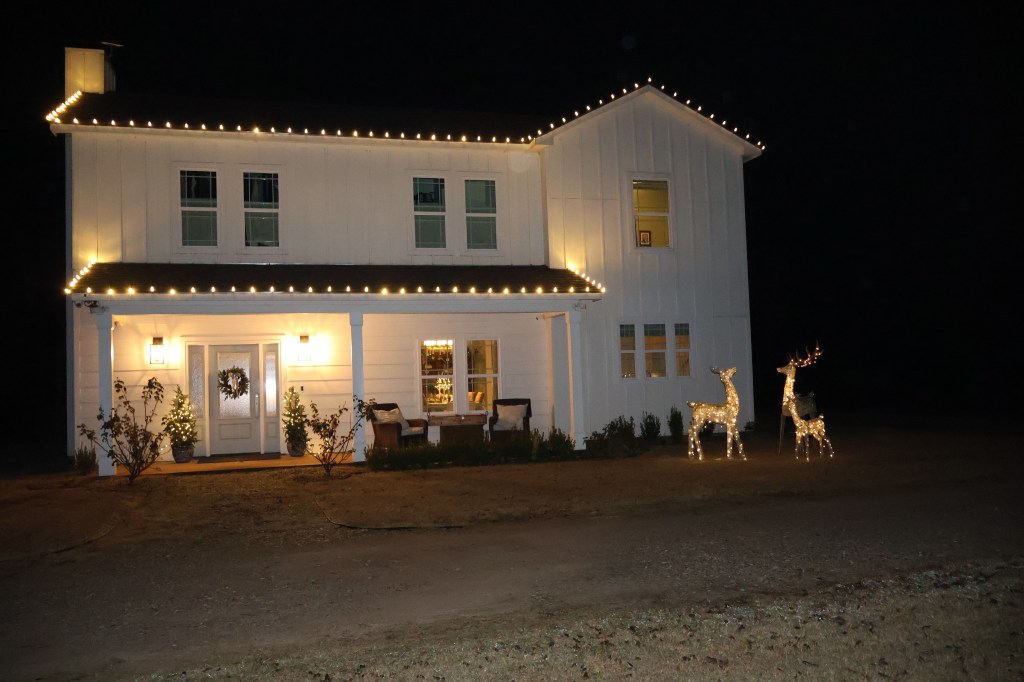
How about a little post-Christmas home tour? Are my decorations still up? I’ll let you decide. While you mull that over, I’ll show you around!

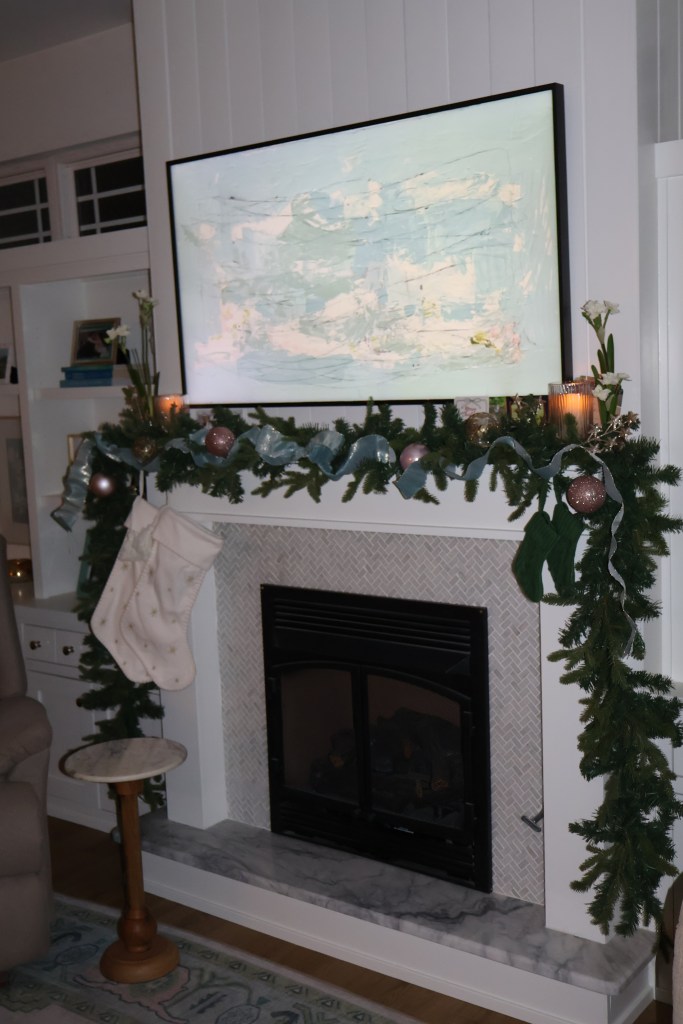
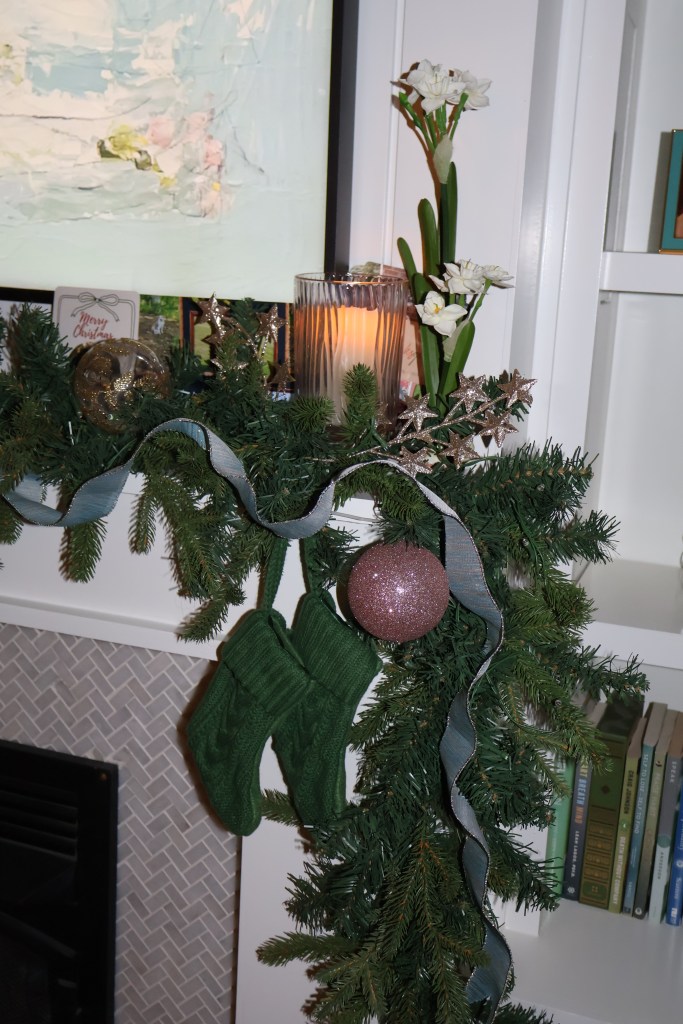
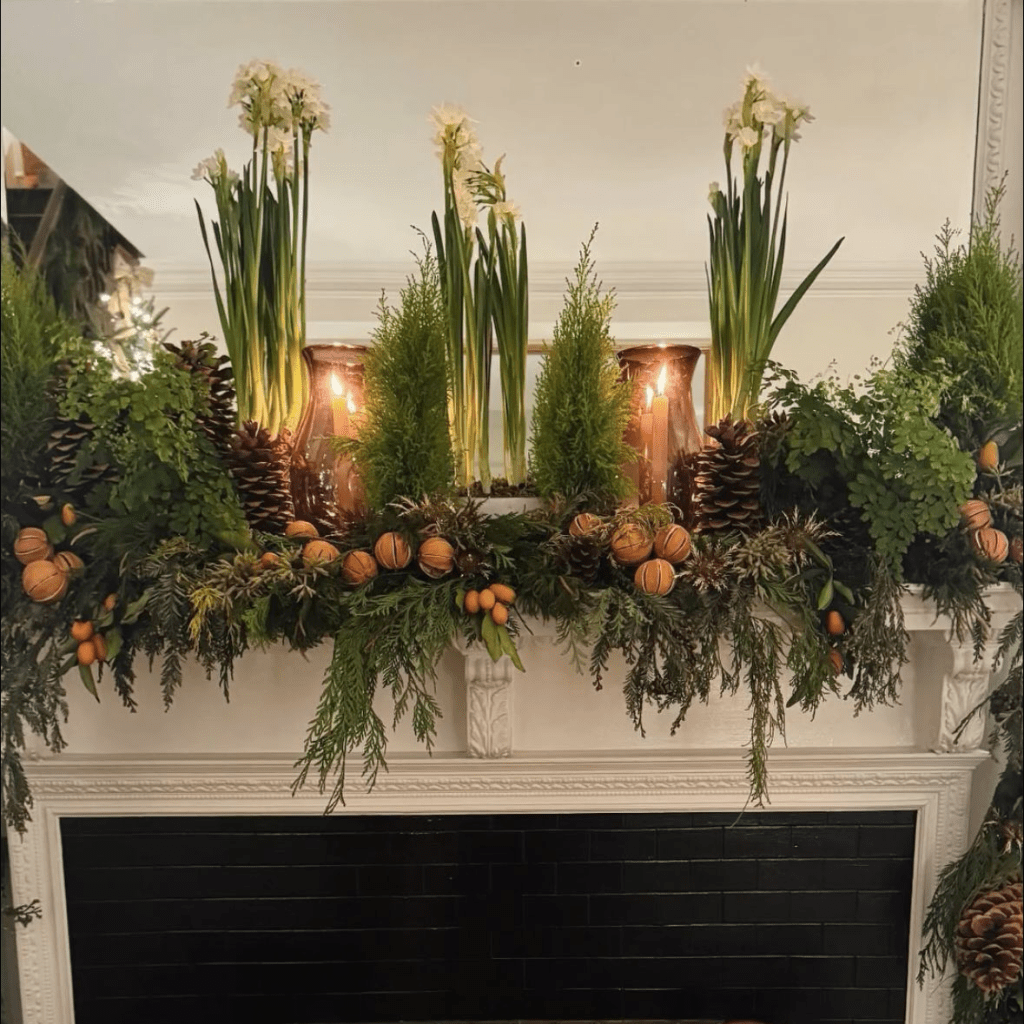
I was inspired by a mantle I saw on Pinterest . The florals mixed with greenery feels so fresh, and I happened to have some faux florals gifted from a friend that fit the style. Next year I might try to add the oranges and pinecones.

I love this nativity scene from Hobby Lobby, purchased well before I settled in to a pink and blue theme.

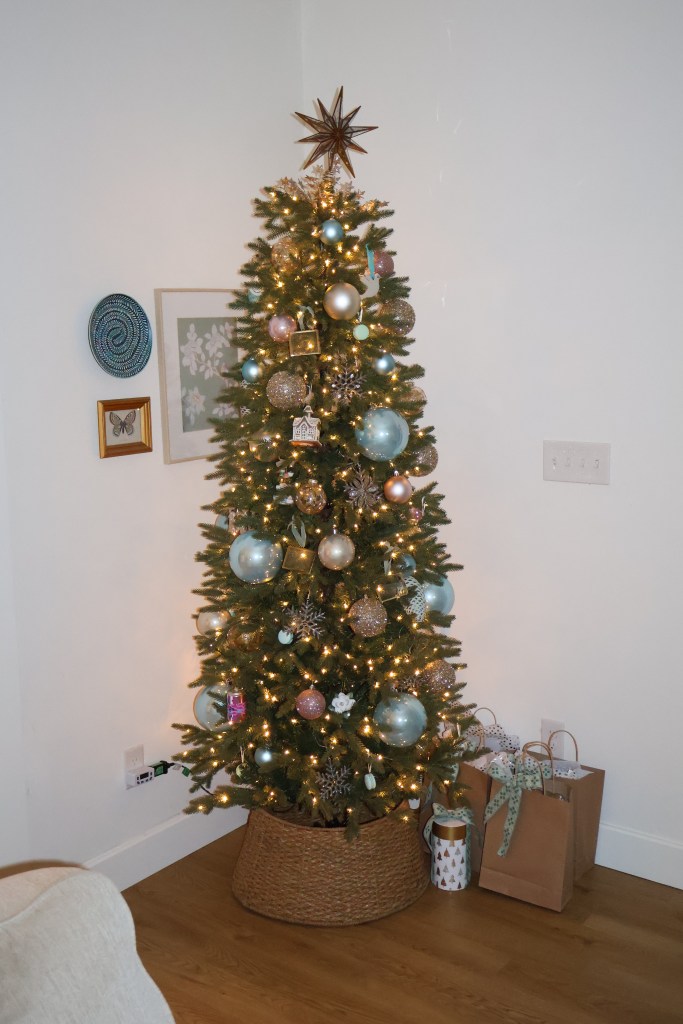
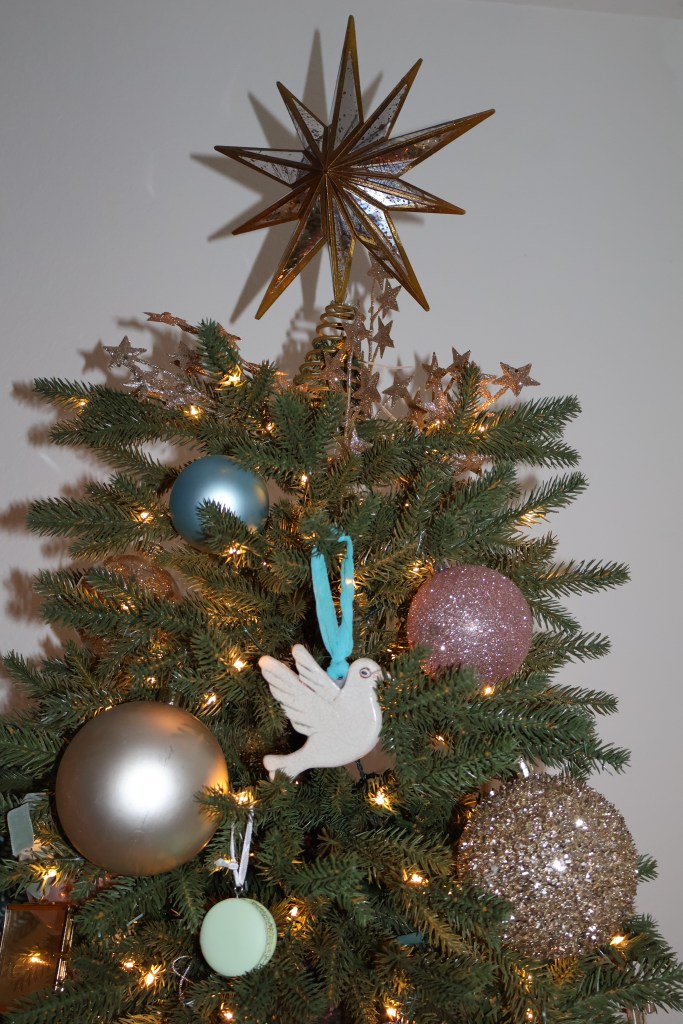
Our main tree, ready for more gifts. Were they wrapped on Christmas Eve? Maybe.

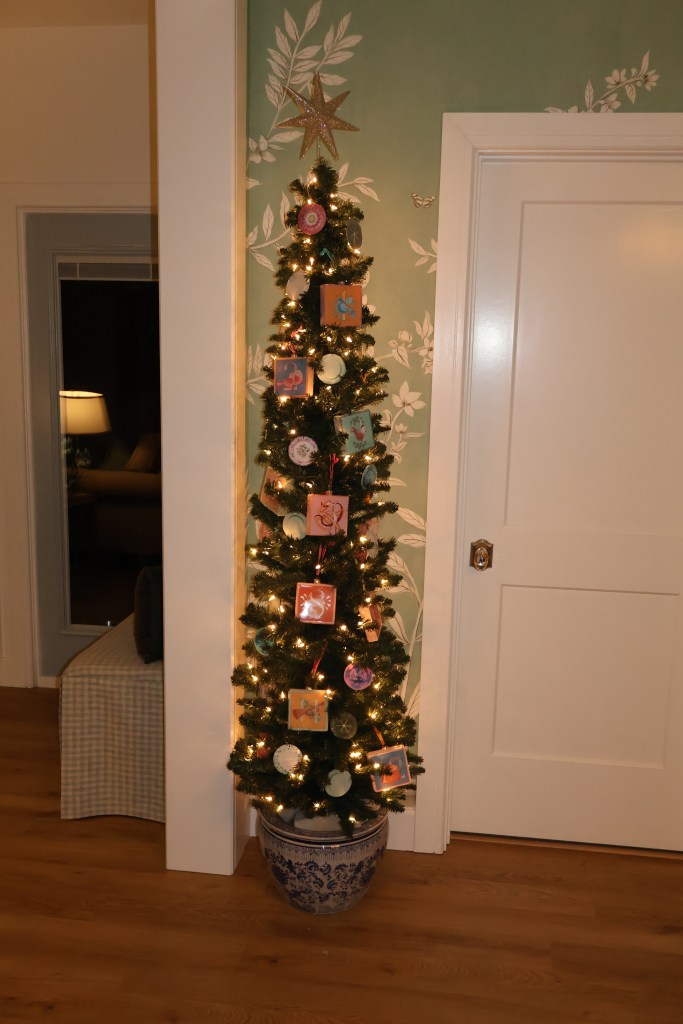
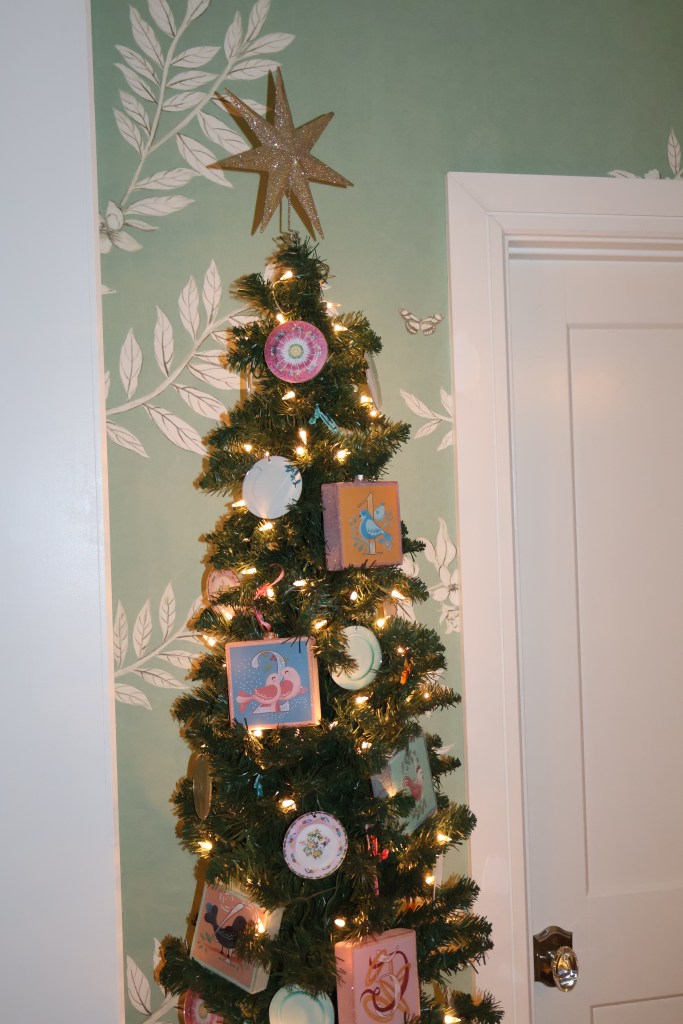
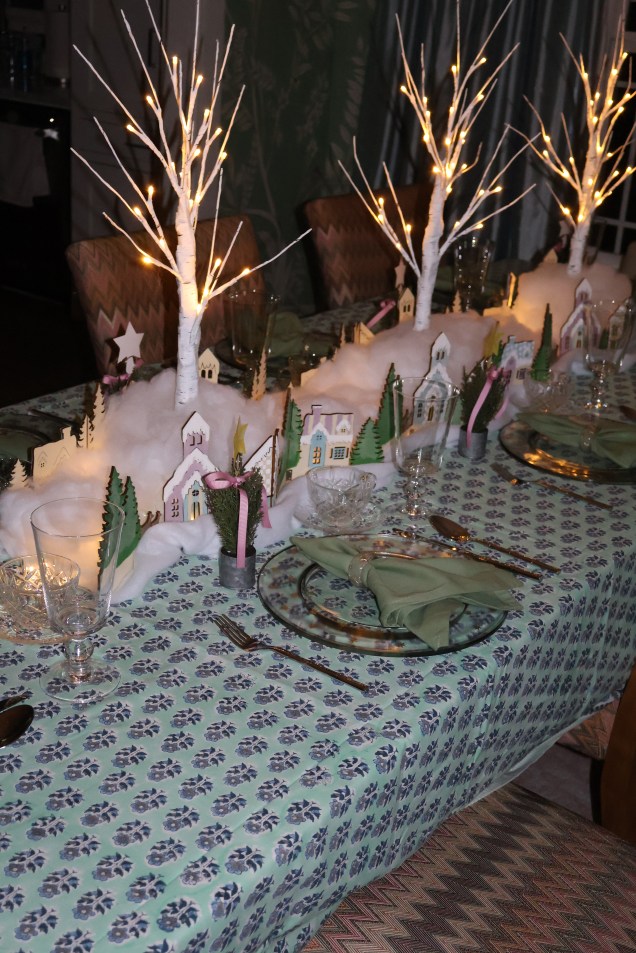
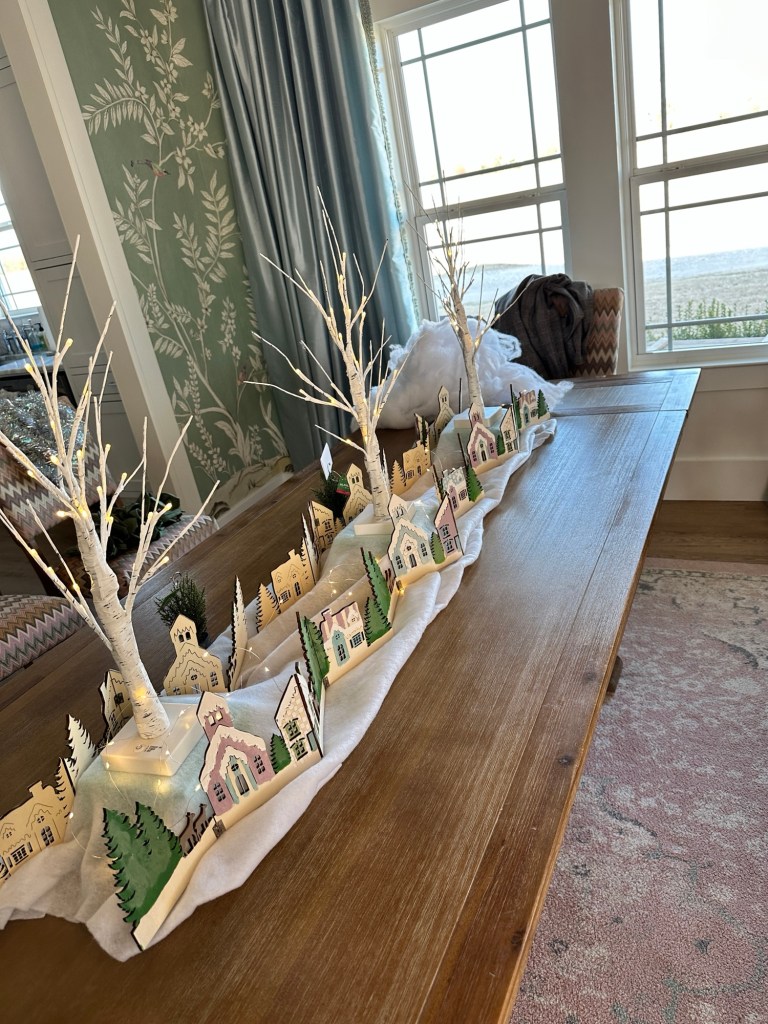
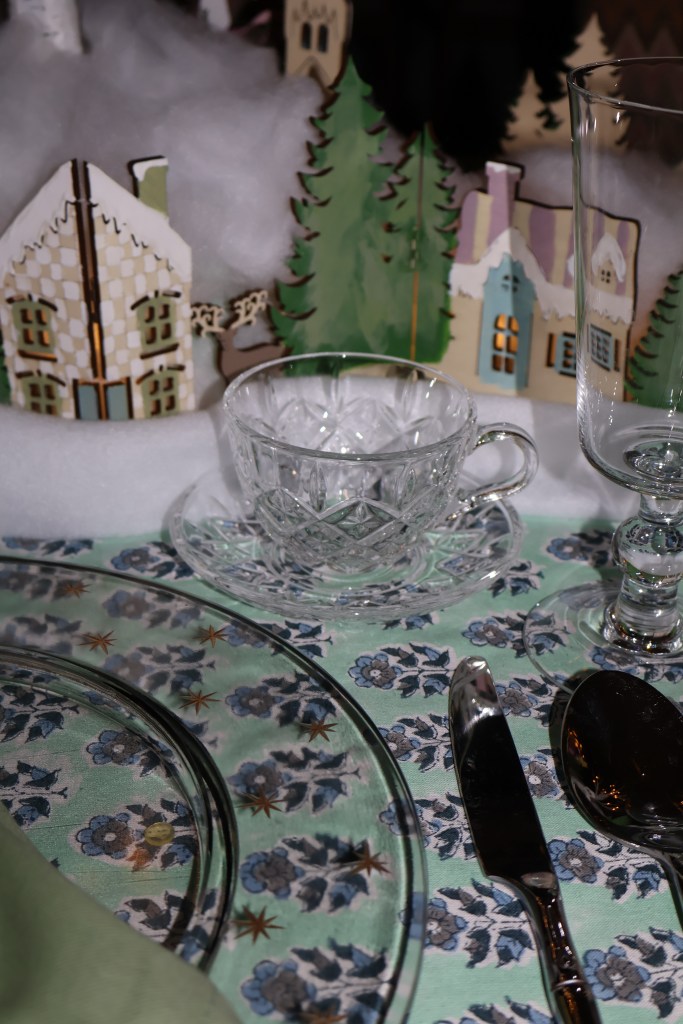
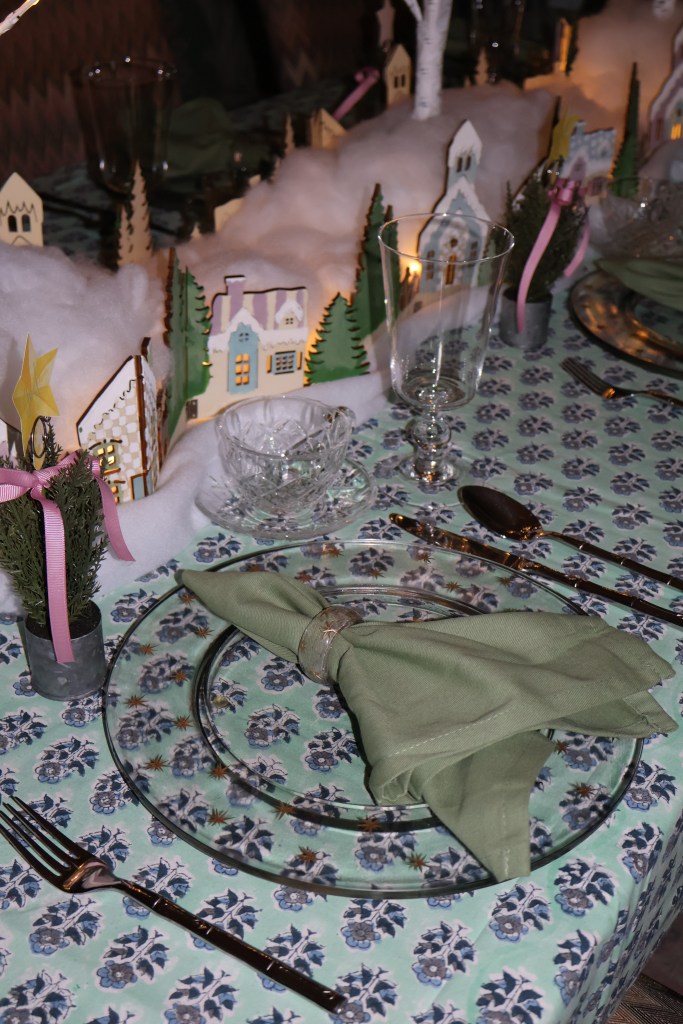
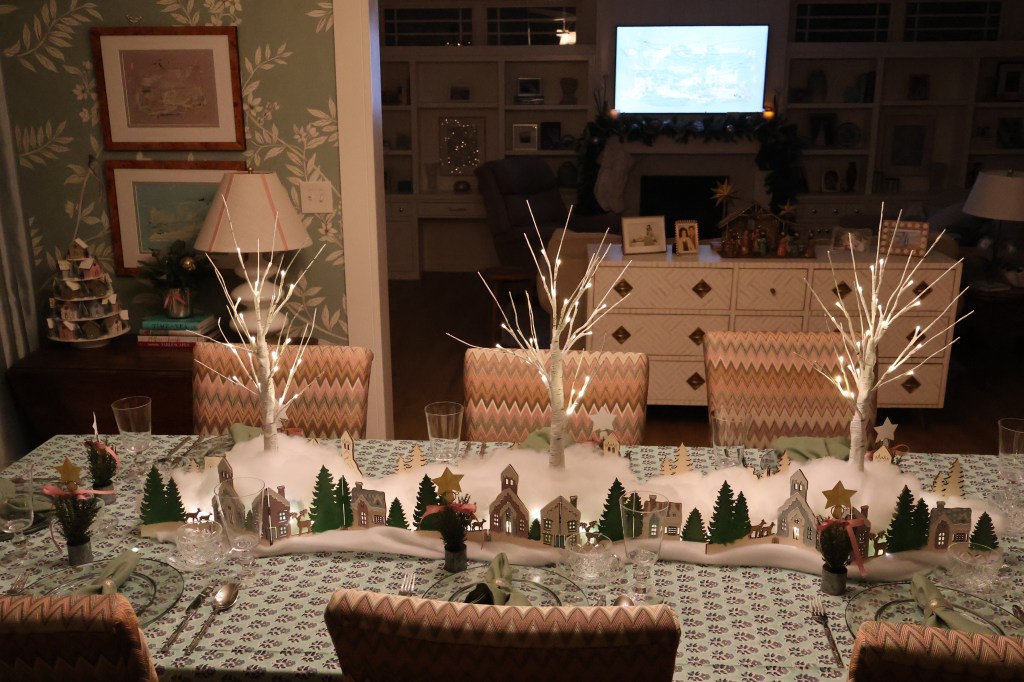
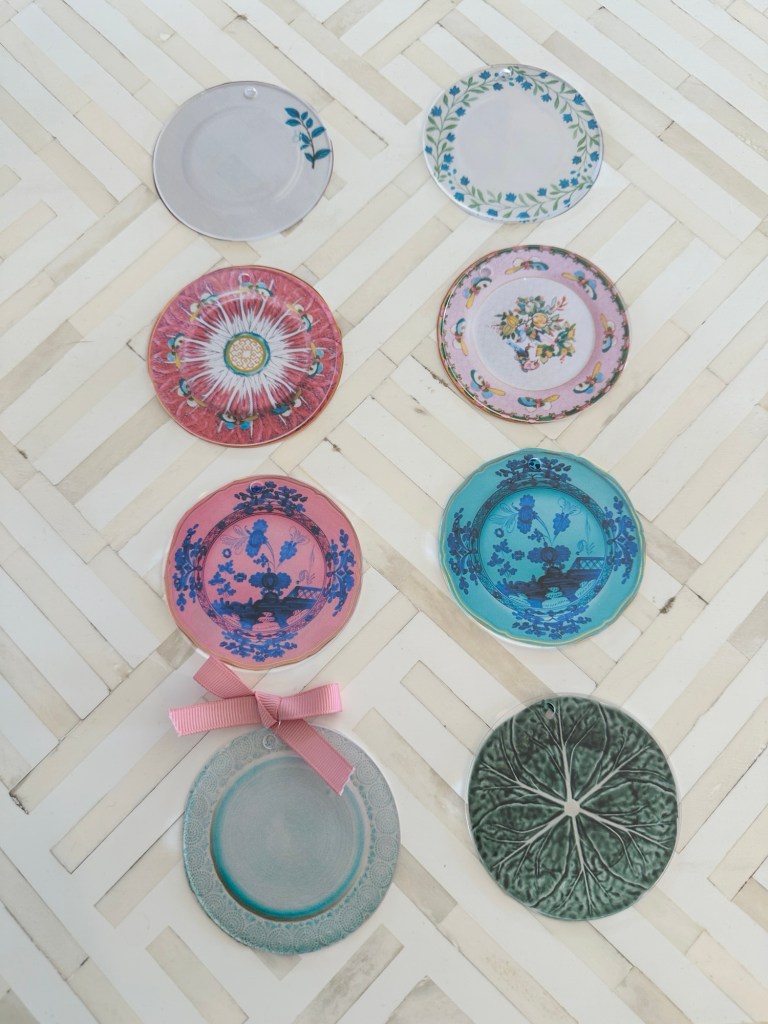
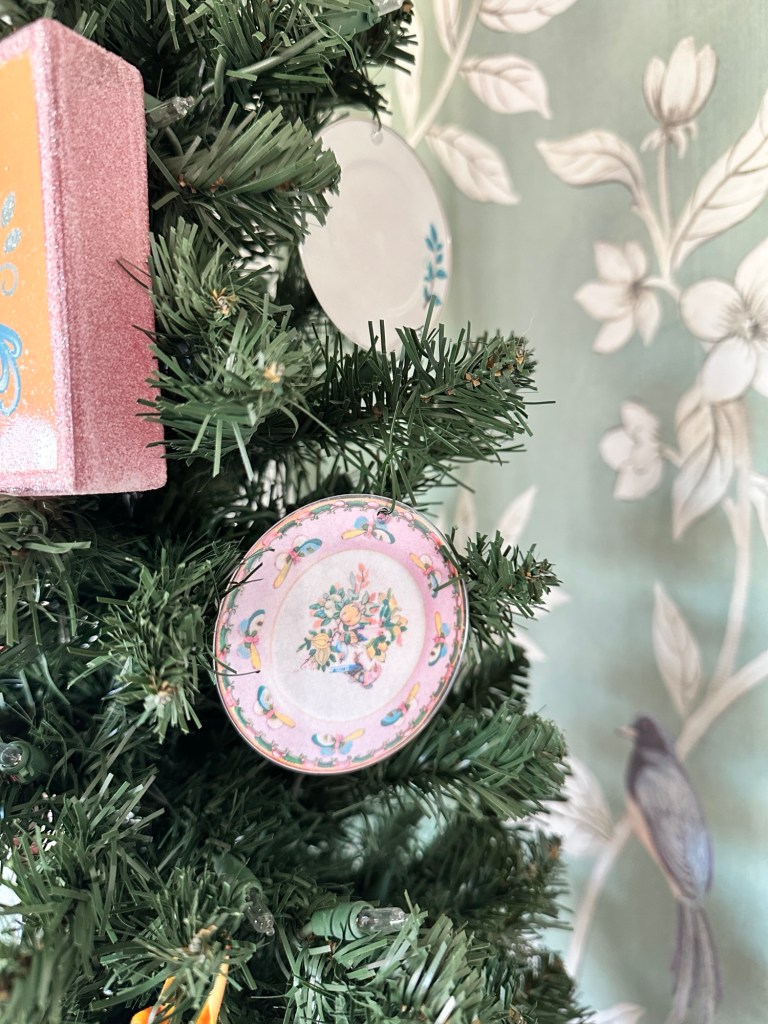
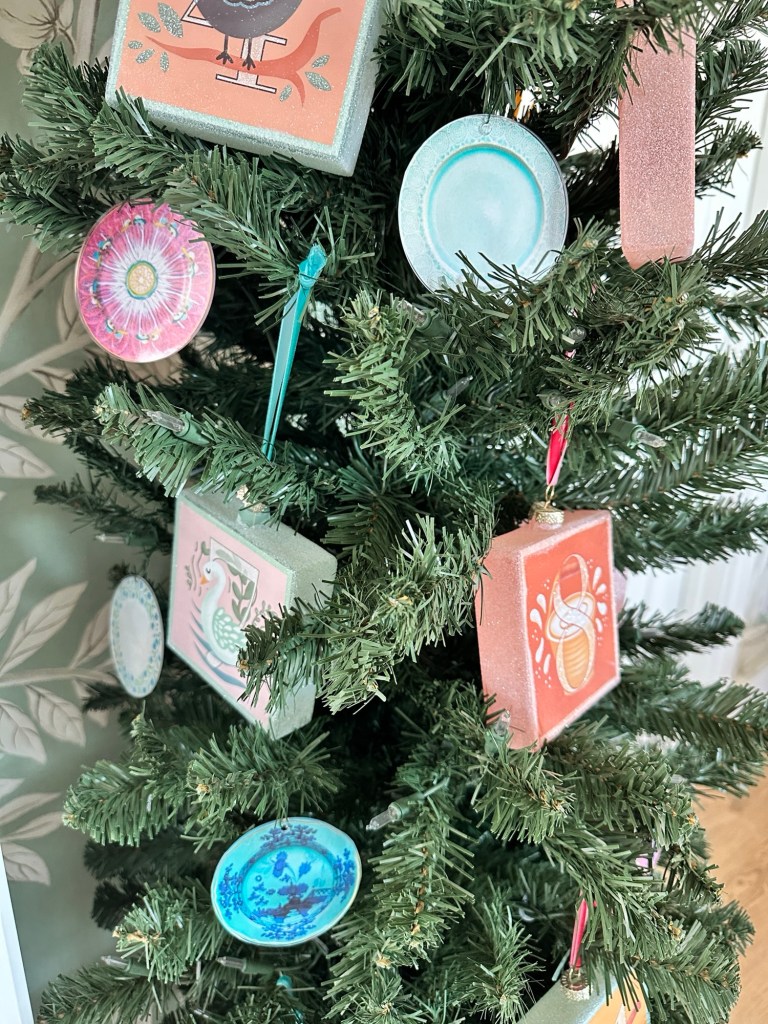
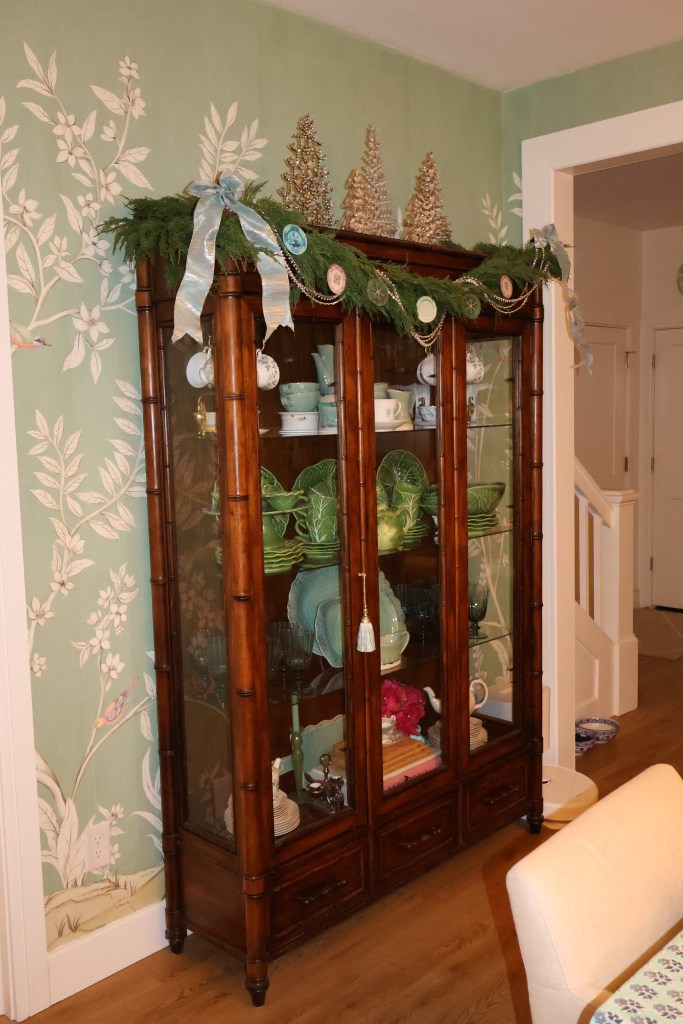
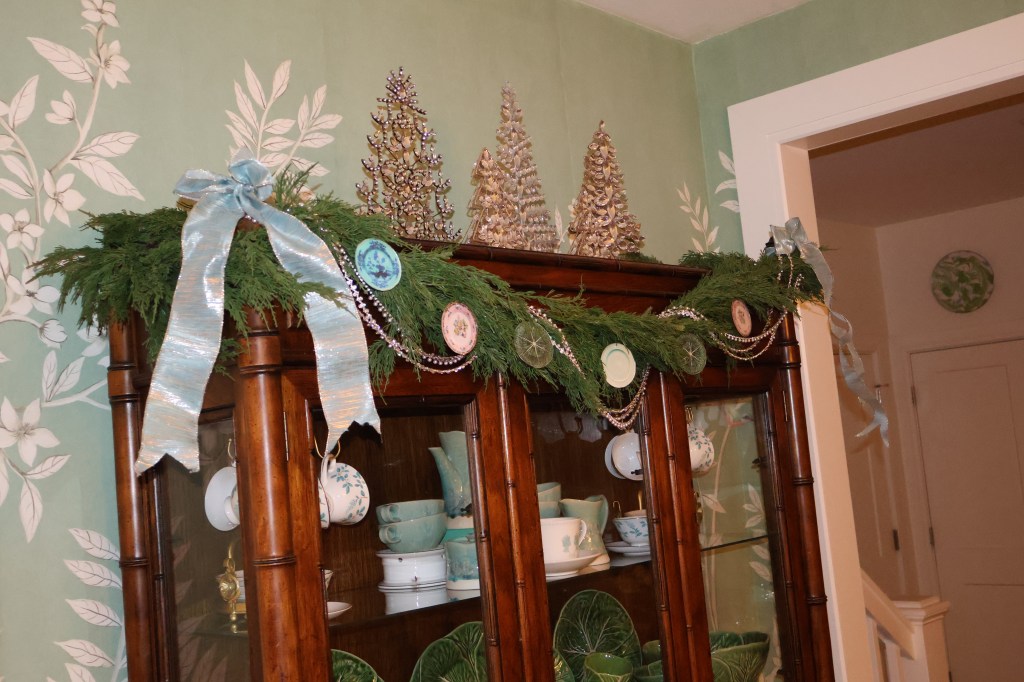
In. Love. With our Dining Room Tree. I love the way the Twelve Days of Christmas set looks against the wallpaper! I purchased this set from the Madisonville Christmas Company, it’s a great place to stop year round. The tree was set in a blue and white planter for a unique look. And of course, my Custom China Plate Ornaments.

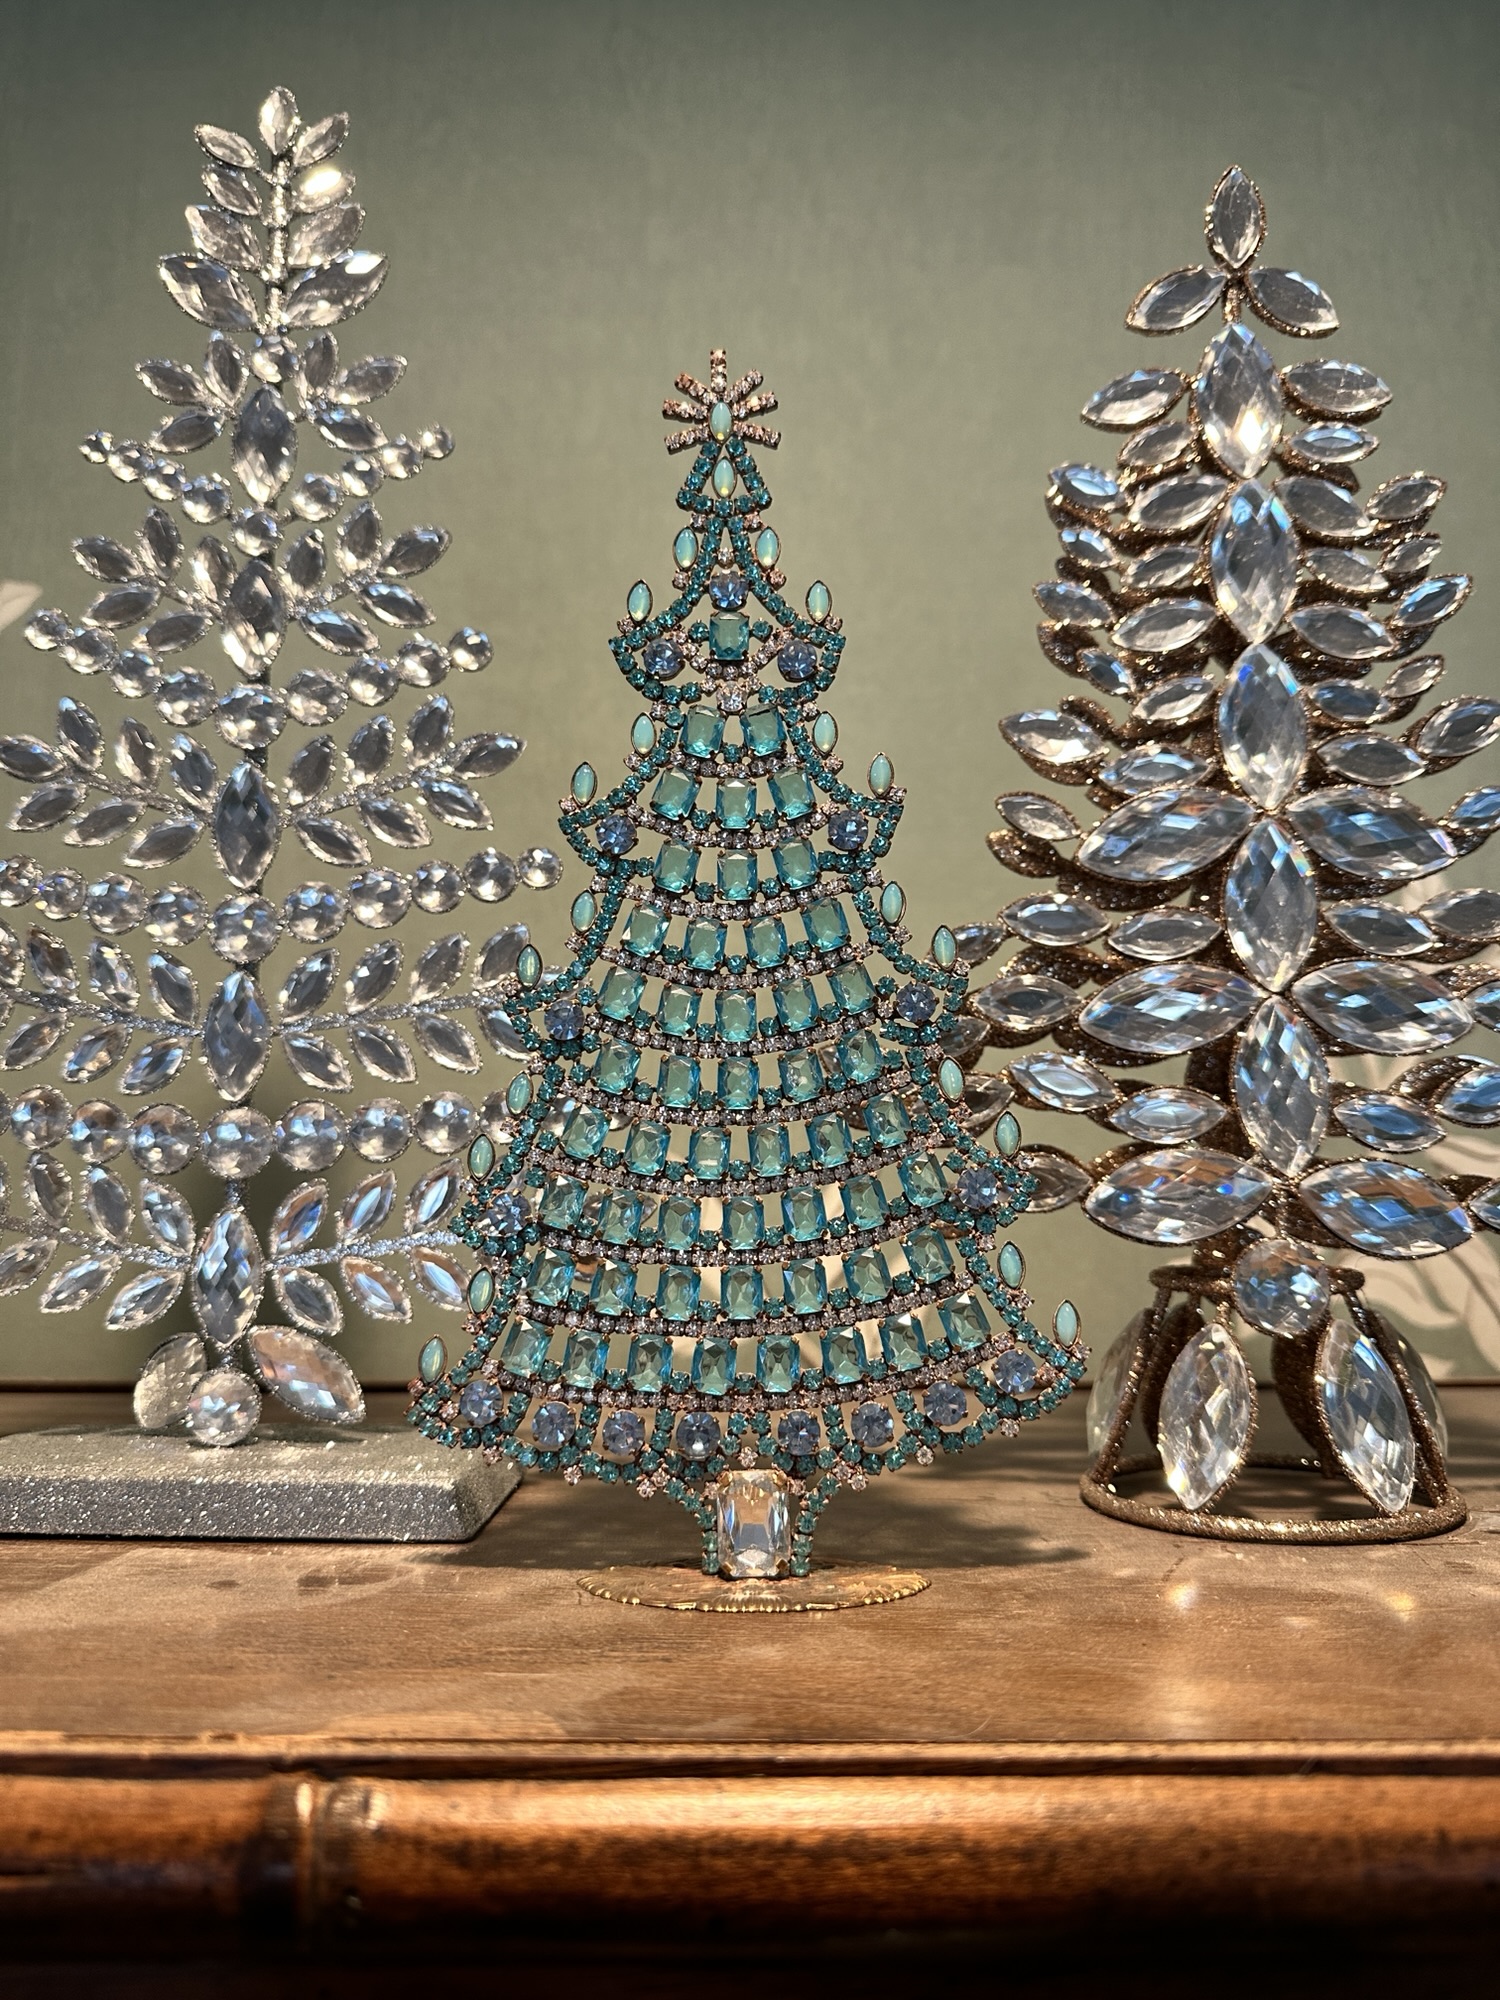
Christmas should sparkle. Last year, I stumbled across a rhinestone tree at Michaels, sparking a search for others. That search led me to vintage Czech rhinestone trees. Love at first glint. I decided right then and there that I would not be a collector of Santa figurines or snowmen. No, only (fake) diamonds for me please. Austin got me the turquoise one this Christmas, and I hope to add a new tree each year!

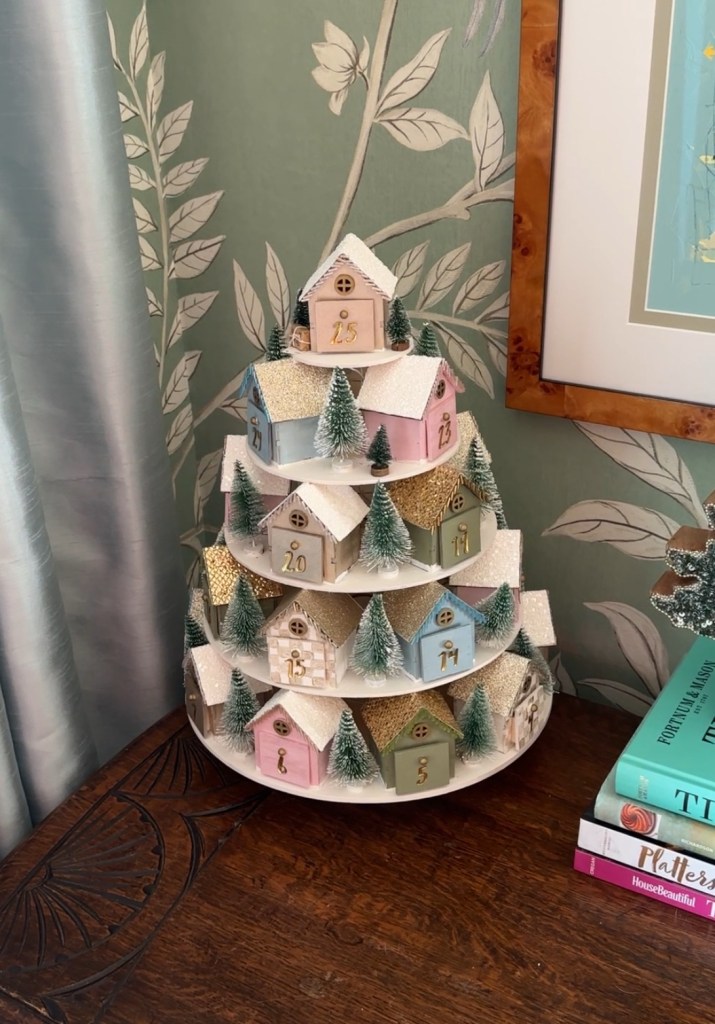
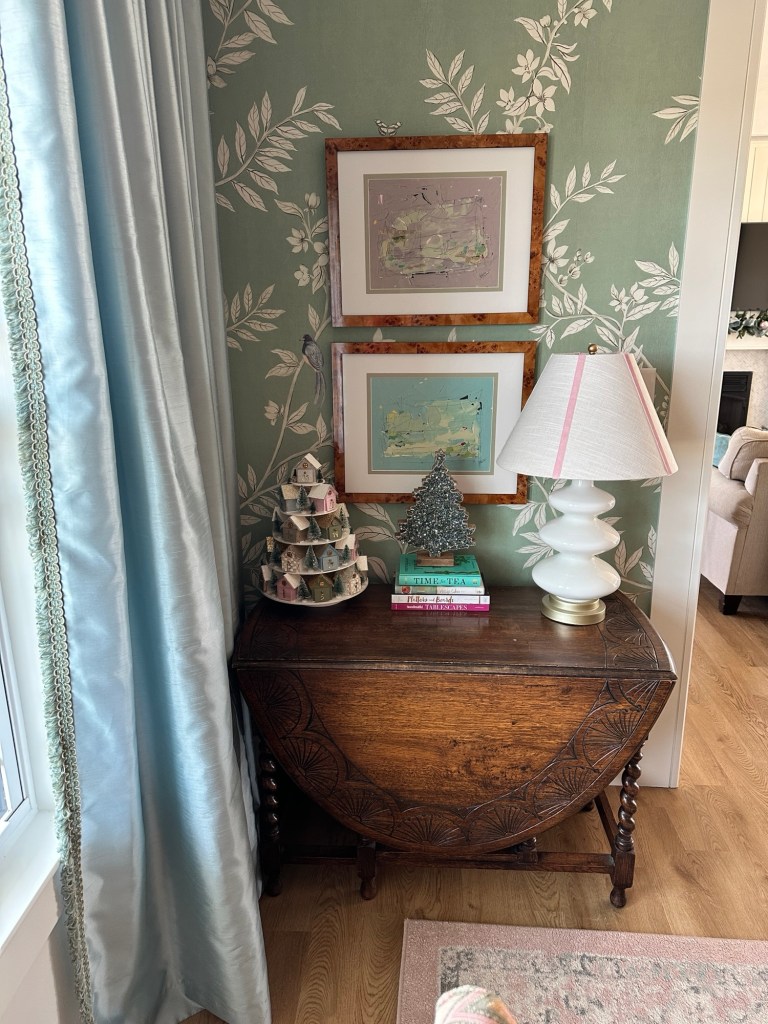
Our Dining Room also made the perfect spot for my advent calendar!

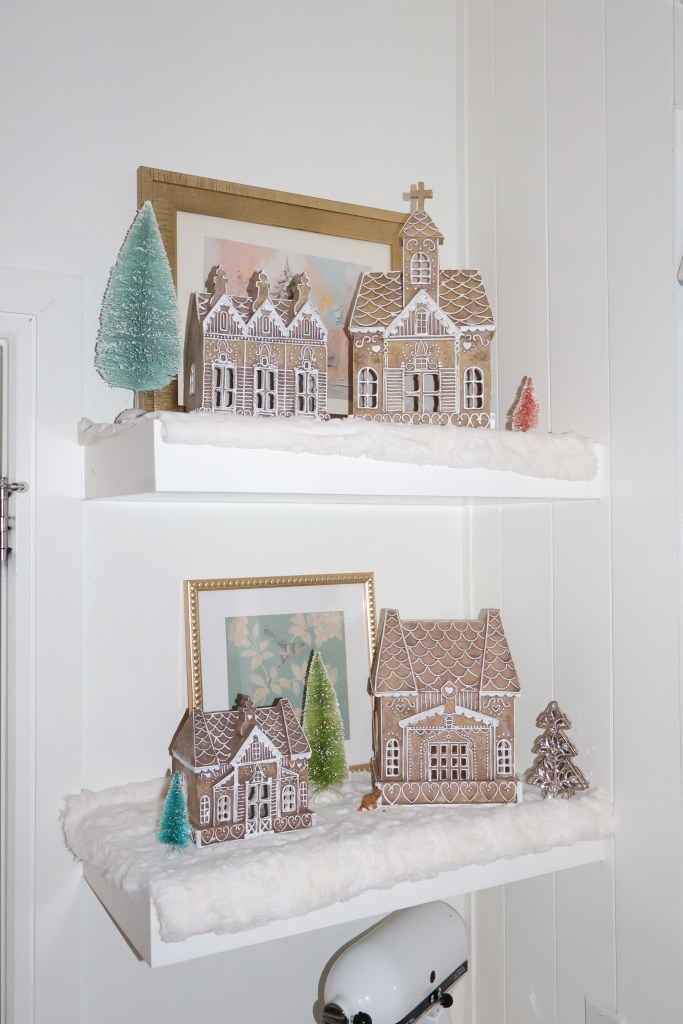
My kitchen gingerbread village, complete with chinoiserie print background. And another rhinestone tree, of course!

I love our home at Christmas, it’s always so sad when it has to come down. But for all things there is a season, and I’ll be working to bring the same feeling of warmth throughout the remainder of winter. In fact, there is snow in the forecast for us this weekend!

Stay warm out there, wherever you are.

xo, Amanda

“It Takes a Village” Christmas Table

Whew, Christmas came in a whirlwind! I may have just recovered from all the activities. We had the privilege of hosting some special people for a holiday meal, and I was so excited by how the table turned out!

Last year, I painted the wooden laser cut village scenes to sit on top of our built-ins in the living room. This year actually turned out pretty sparse on the decor due to emergency surgeries and hospital stays… That’s another story-all is well and on the mend. By the time I got to the village scenes, I didn’t feel like decorating any more spaces. But, serendipitously, that freed them up to be an amazing little centerpiece for our special dinner!

I’ve loved this block printed tablecloth for a while now, and snapped it up along with the LED birch trees for added drama.

I was really eager to use the etched glass chargers I found on clearance from At Home (they were a great dupe for the Terrain mercury glass chargers). And I gasped when I saw the matching napkin rings at Home Goods (almost perfect dupe for the now sold out napkin rings from West Elm)!

Since the punch was such a hit at Thanksgiving, I wanted to make another special drink or punch for this dinner. My punch bowl came with only 8 cups and I needed 10. During my hunt for extra cups (and ones that were not actual leaded glass), I noticed that Crate and Barrel’s hatch glass collection now had teacups with saucers! No lead, dishwasher safe, say less.

I wandered the aisles of Hobby Lobby looking for snowy fabric to wrap around the trees, and stumbled across the most darling place card holders that look like little evergreen trees in galvanized pots. You know how you just know something is going to work? I could literally feel the zing of creative energy when I picked them up. And at 60% off, it would have been a crime to leave them!

A star topper place card and ribbon finished it off, and voila! I just couldn’t believe my eyes when it all came together.

It truly takes a village to love on and support the churches in our area, and my husband has been blessed with the best team for the job. They are kind, generous, hard working and creative people who love their jobs and love him. It’s such a gift to watch, and I love that we got a chance to give a little of that love back.

Did you host this year? I’d love to hear about it!

xo, Amanda

Custom China Plate Christmas Ornaments

Welcome back to another DIY Christmas post! Handmade Christmas decor just seems so much more special, don’t you think?

I saw these ornaments on Instagram and knew I had to make my own with my Old Havana dishes from Anthropologie. I decided to have two trees downstairs, since I wanted to be able to see the lights from outside. I bought another 7′ pencil tree from Michaels to put in our dining room since the space is not big enough for a slim or full sized tree.

For this project you will need:

  • 3″ Acrylic Disks (with holes makes things much easier, like these)
  • Cardstock
  • Elmer’s Clear Glue
  • Water
  • Paintbrush
  • Ornament hooks or thin metal wire
  • Ribbon, optional (3/8″ is a good width)
  • Small hole punch (optional)

Now, I tried two other ways to make these: regular paper, clear round stickers, and Mod Podge. The method I’m using for this post gets the better results. Regular paper crinkles too much. The clear stickers would only work if 1) you have a printer that can print white; or 2) you are okay with semi-transparent and also a matte finish (even on glossy stickers). Mod Podge left streaks under the acrylic, where the diluted glue did not.

Choose photos of your favorite dishes. I chose options from Anthropologie, Dillard’s, Ginori, Fortnum & Mason, Famille Rose, and Halcyon Days. I selected the images, then pasted them into a Canva document using the template for PLS819. These are the 3″ round labels, but we just want the correct sizing. Remove the background of your image, then resize to just inside the circle for the template. Follow the instructions on the first two sheets to remove the cut lines for printing, otherwise your plates will have a black outline.

Let’s get started!

Here are my plates in the template:

Print onto cardstock and then cut out each plate. Do I wish I owned a Creative Memories Circle Cutting System? Yes, yes I do. But scissors had to suffice.

At this point, you’ll have wished you removed the plastic coating on all of the disks. If you didn’t, go ahead and do that before getting your glue ready.

Now, dilute your clear Elmer’s glue with a little water – just enough to make it easily spreadable. I used a foam paintbrush to apply the glue to the face of the plate cut out, then stuck it to the back of the acrylic disk so the image shines through the disk. Turn it over and work out any air bubbles, then set aside to dry.

After they’ve dried, poke holes in the paper through the acrylic, attach your ornament hook, then tie your ribbon in a bow at the top. Voila!

Check out how adorable these are! I love that you can customize however you want to your home. Your holiday decor should reflect you!

What other crafts are you guys making this year? Let me know in the comments!

xo, Amanda