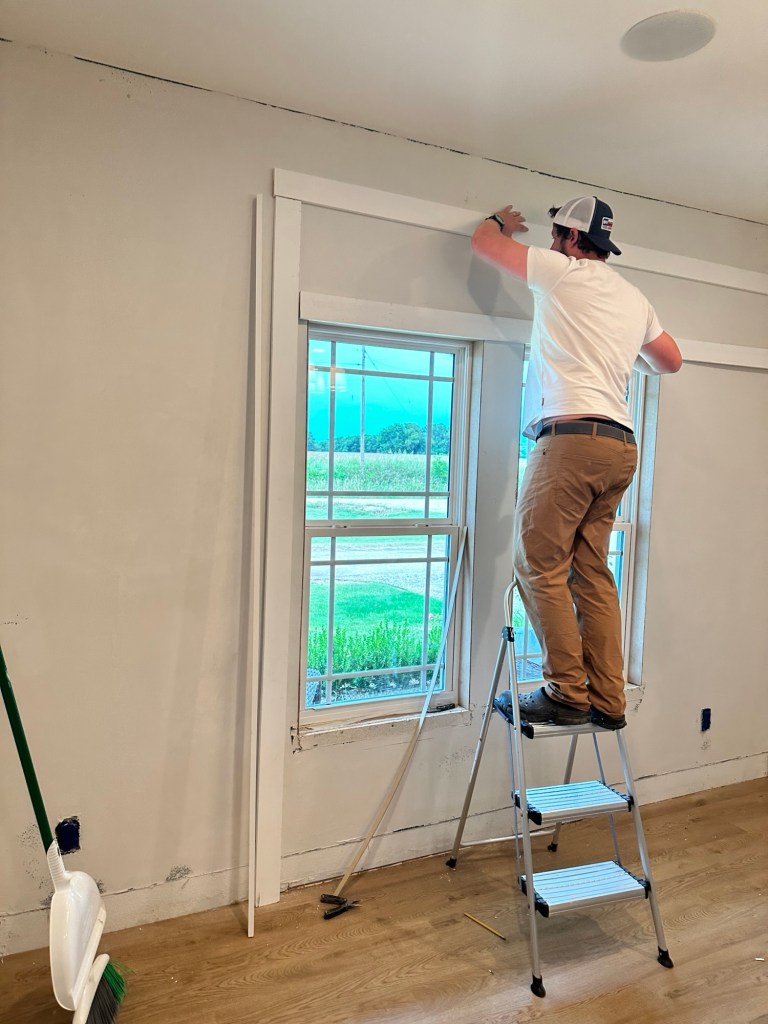
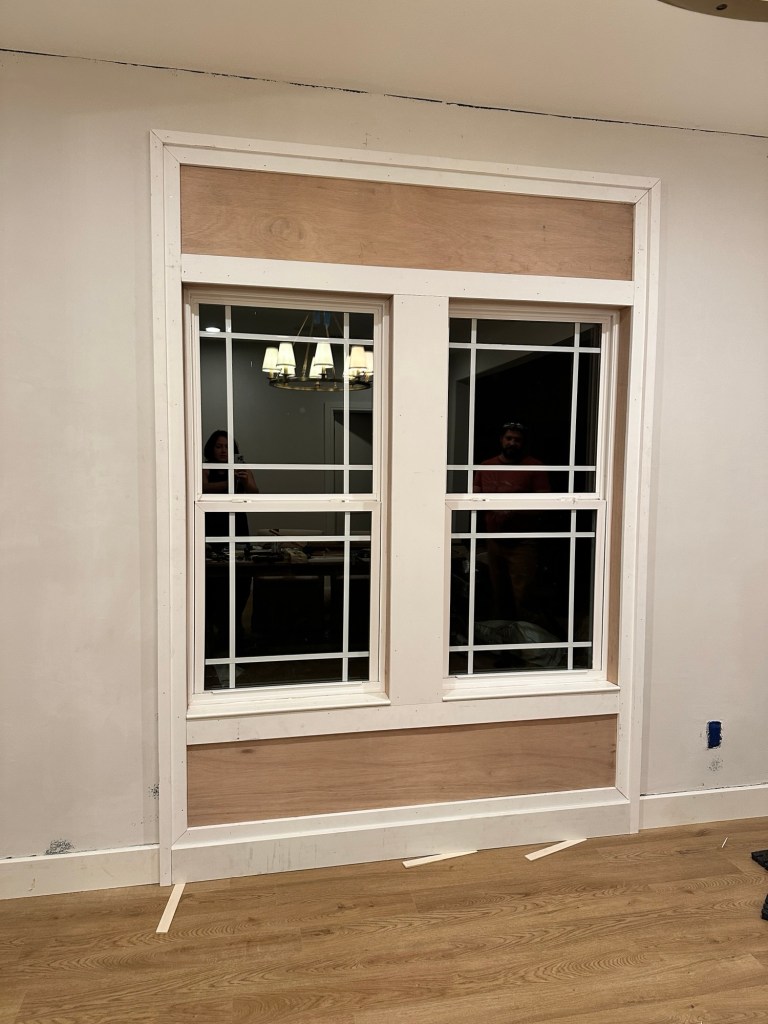
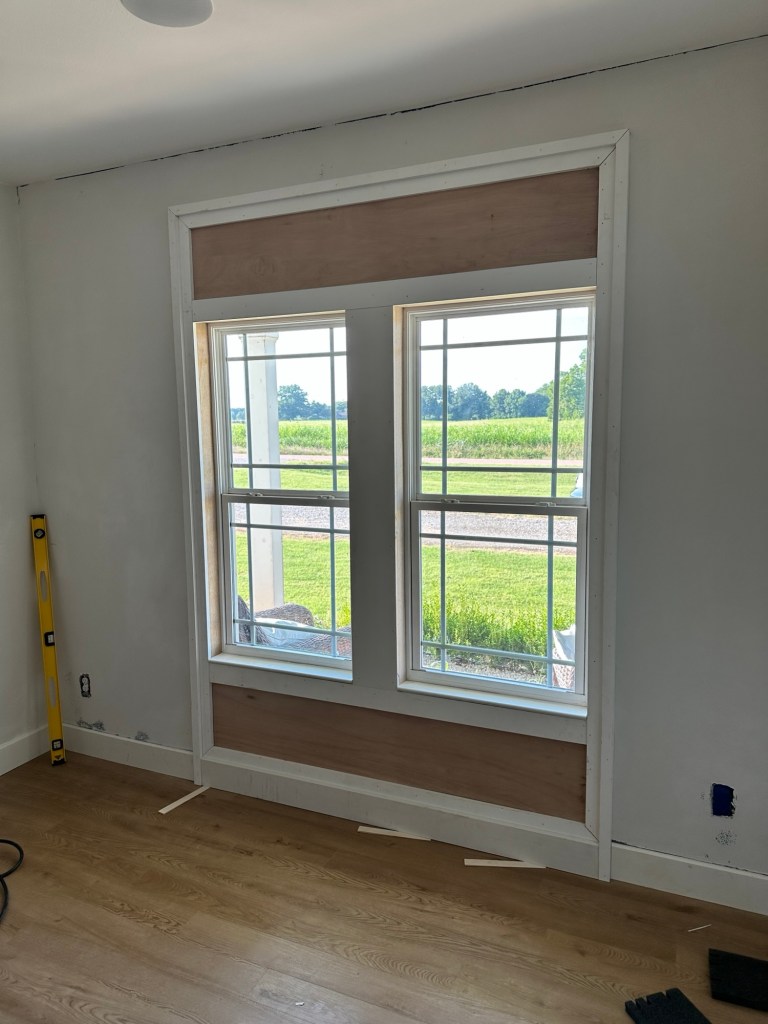
Whew, we had a busy weekend working to frame out around our dining room windows!
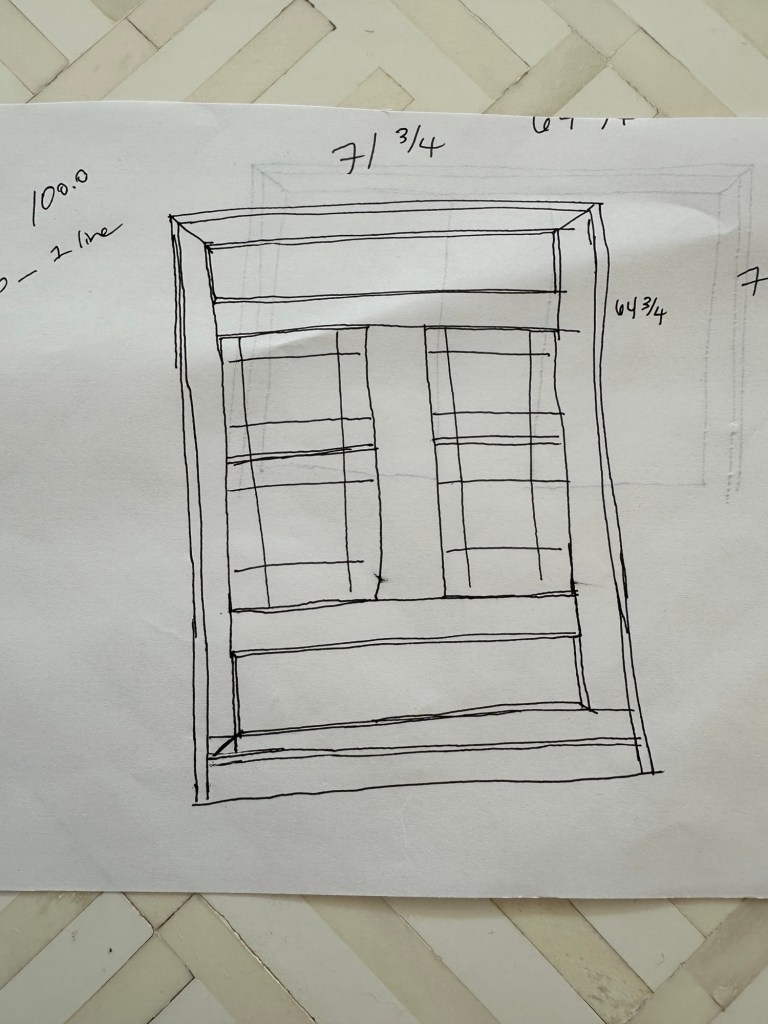
As I stated in my previous post, I could not find an inspo pic anywhere. So, the first day was a lot of problem solving and brainstorming to get the look I wanted. I love the detailed simplicity of Greek Revival style trim. Just enough to be fancy, not enough to invoke Victorian undertones.
We settled on this design, and while I’d change the width of the outer pieces, I’m pleased! My original plan was to have the 4” boards surrounding the whole thing, with a 1×2” edge. That never looked right, so I woke up Saturday with the idea to attach the 1×2” to the 4” to look like a raised surround with a more gentle profile. If I had a do over (because, let’s face it, I did not want to make yet another trip to Home Depot), I’d do the same with maybe a 5 or 6” board. But, with the window coverings I doubt I’ll even notice when all is said and done.
Then came the filling of nail holes and priming. There were several of the brad nails that did not sink all the way, and after trying to hammer them in using some kind of metal pin and a hammer, I turned to the internet. Voila’! Take your *empty* brad nailer and shoot again over the raised nail. The mechanism in there will hit it again to go deeper. It took a few practice shots (creating bigger holes that I wanted), but it worked so well! Problem solved!
I also read that one should prime before caulking, as dry wood takes the moisture out of the caulk, compromising it.
So, first I filled and sanded. Then I primed the surrounding walls that had been skim coated with Roman Pro-999. Then I did a rough coat of Zinnser Primer on the trim that I will sand after it’s dried.

While that was going on, my fabric samples arrived! Now, Austin does get veto privileges, so we’ll see if the chevron sticks around. But aren’t these gorgeous?

Pretty good weekend for a couple of newbies!
xo, Amanda
